A place to encourage the creativity of artistic minds of all ages. Offering Ideas, Inspiration and Instruction and sharing the work of others who inspire me!
Finally, here is the video about how to create your own shimmery alcohol inks. A substitute or compliment to the new Ranger Pearl Inks with mica powder. I am sure many of you have already thought about doing this. Just incase you haven't, here is what I did. As well, a bit of a review about the types of pointy tip bottles I like best. Watch Below!
A bonus is the latest look at our ever changing kitchen table top using the shimmery inks.
Materials
This technique really creates a galaxy effect, as if you can actually see stars and lights swirling around the heavens. The way the iridescent film refracts and reflects the light, a cosmic effect with great dimension is created.
I used iridescent nail art film, but you can of course use iridescent cellophane or Angelina Film and/or iridescent mylar. Not sure why it is called mylar by some, because when I think mylar, I think shiny silver foil like balloons. Not a material that is translucent. So be sure that whatever you use is translucent so the LED or UV Light rays can penetrate through, to cure the layers. Watch Part 2 Here:
Tips And Ideas: Tool Needed for This Cool Dimensional Technique:
💓Bezels or Bezel Tray, you can make one from polymer clay too
💓Iridescent Nail Art File, And or any translucent Iridescent Cellophane type fil or sheets that can hold a crease when crumpled and that UV/LED rays can go through.
💓Black nail polish, or black acrylic paint, or black alcohol ink (do not use Indi Ink)
💓A Silicone type craft mat to work on
💓Small craft scissors
💓A Light to cure whatever type of resins (including the gel no wipe top coat)
💓Tweezers -Make sure you have a pair of tweezers to place the pieces into the wet resin. And a toothpick or needle tool to push and manipulate the pieces around.
💓You can incorporate chameleon and chrome powders as well
💓Rubbing alcohol and baby wipes or paper towel to clean resin and such
💓Your Creativity To prepare watch part 1 here
Finishing Touches
After all the layers of resin (no wipe UV/LED top coat) and cellophane are all cured, you may notice you have some sharp pieces protruding out the to that would prevent a smooth dome from forming. The resin coated the iridescent shards and therefore can be snipped down with little sharp scissors as well as sandal. I snipped all around and then used a nail file that is for false nails. I ran it all around the raise rough spots and whatever was hanging over onto the lip of my bezels. Just enough until I could tell the UV resin I was to pour on and dome, would be able to level out and do it's job, to make a shiny smooth, glass like dome.
Come have some fun experimenting with a great galactic cosmic technique using Resin (gel nail polish no wipe top coat) and nail art iridescent film.
What I Used..
Black out media ie: black nail polish, black pinata alcohol ink (DO NOT USE INDIA INK IT DOESN'T WORK!), Acrylic paint
-NAIL ART IRIDESCENT FILM OR IRIDESCENT CELLOPHANE, MYLAR (MUST BE TRANSLUCENT AND IRIDESCENT OR COLOUR SHIFTABLE
-Bezels
-UV Resin
-And/Or No Wipe UV /LED Top coat for finger nails
Q-Q-Tips or I also use makeup applicators that alway come with my Born Prett powders
-Rubbing Alcohol
- Gems, and chrome flakes or powders or duo tone mica powders if you want
-UV and/or LED torch light or boxed light.
Happy Friday everyone! It has been a busy time and I was hoping to get a new "Craig Paints Video,"
as well as a new tutorial/Learn With Me video about these really cool holographic pendant technique. I couldn't wait for the proper materials to come in, so I decided to use what I had on hand. The video will be out within the next few days, Lord willing.
I just love the dimensional effects. If you are interested in a tutorial involving polymer clay, check out Ginger Davis' at Blue Bottle Tree. The one I am working on has no clay and was inspired by watching YouTube videos.
I decided to at least share a few pictures of what's to come and what we've been working on lately.
The past few weeks, I didn't have the ever popular Yupo "paper" and wanted to create a similar surface so I could use my alcohol inks. Yupo paper is not actually paper but polypropylene sheets that are nonporous. They are used a lot for alcohol ink painting. Now that I have tried the real thing, I can see why artists use it. Colours are bright and bold, no bleeding or absorbing, just pure pigment flow.
However, aside from being able to use alcohol inks on other nonporous substrates or surfaces, I thought hey, I can create a nonporous surface using my acrylic medium and/or gesso and such. Nonporous means a non absorbent ssurface so the inks can move and flow. You can see why when you put a drop on cardstock or paper, a porous surface and see how it wicks up the ink. The fun and beauty of alcohol inks is what the do when the meet each other. Far different than any paint I have ever worked with. Try it and you will see why this medium is so addicting!
Come see what I did and maybe you could use these ideas too.
Watch Tutorial Below
For more details and such, please connect to my creativity blog here https://heartfullycreating.blogspot.com To connect more, check out:
Alcohol ink definitely can not be compared to Acrylic paint. Which is what I am most familiar with. Originally, I tried alcohol inks in and on my polymer clay projects. They help created stained glass effects and sea glass effects. Since two dimensional art is what I am most familiar with, it makes sense that I would be curious about trying this medium out on a two dimensional surface. After watching countless tutorials on YouTube, I couldn't wait to begin experimenting. It is clear that you need to buy every colour possible! Ha ha, just kidding. Nevertheless, it is a good excuse to buy even more art supplies. You can use any kind of alcohol ink. That includes those created using Sharpie markers, Copic or other ink refills.
This is just one of the many changes my piece looked like.
For today's video, I started out using a small canvas board, about 5" x 7" that I added a couple of layers of Gesso. /that is a white coloured concoction used to prepare surfaces for painting. In this case it was to help create a smoother, insoluble surface for the inks.
As you watch the video you will see how much my piece morphed from one look to the other. I will save the surpises for the video.
I hope you enjoy watching the way alcohol inks can be used in so many ways, including creating beautiful art pieces. Not to mention colouring metals, glass, plastics, fabric, polymer clay, and ribbon, freshwater pearls, beads, foil....endless options.
As you watch, please leave your comment if you wish. I am curious to know at which stage did you think I should have stopped? At which point did I over do it? Do you think you will try alcohol inks? If you already use them, what do you create with them?
Now Watch And See How Far I Went
SAVE Money!!
Remember have fun with it. You can use alcohol inks on any nonporous surface. I am working on alternatives to the really expensive Yupo paper. It looks like great stuff, but for anyone wanting more options that are inexpensive and easy to do - I'm all for trying that. Which means I will be experimenting more by applying a coat or two od acrylic gel medium or gesso to pare, cardboard or even acetate.
If you apply white acrylic gesso or paint to acetate or old plastic sheets (I save clear plastic/acetate lids and packaging) you can use the alcohol inks on the shiny acetate side and the white will help show it through.
To protect your final surface spray with a fixative or try applying brush on led or uv resin (I use no wipe top coats)
Thanks for hanging out. Hope you try it out. I WOULD LOVE TO HEAR FROM YOU. iT REALLY HELPS ME, IF YOU SHARE AND SUBSCRIBE!!
Join Craig as he prepares for a new acrylic painting. We share the essentials to begin a painting. Hopefully you will be a little inspired to paint. So we will follow him step by step as he works on a new masterpiece!
Watch Video Below!!
My husband Craig!
Preliminary Drawing on his canvas
I will be working on my own creations and posting videos soon.
If you want to help out feel free to check out these links and share em!
Love you all.
Anita
So excited to share this discovery with you. Just as I keep finding, that nail art tools are very compatible with polymer clay, I found another handy and better still, cheap tool to help us with polymer clay! So watch the video about it and how you can drill holes and file polymer clay for under $3! (no, not sponsored)
Watch Now!...
Where Can I Buy This? I don't have the exact shop link on Ebay, but click here to go to the exact cordless nail file drill that I am using. Always check out the sellers feedback before buying from them. You won't be disappointed. Thanks for stopping by.
Happy Thursday guys! If you have been following ABERGIECREATION on Instagram (ABC is my main name for social media and my Etsy shop), then you’ll know I have been working on making beads and dangle drops with alcohol inks and translucent clay. My plan was to create a tutorial as well as talk about using alcohol ink refill ink and not just Adirondack and Piñata inks. Well, haven’t stopped long enough to edit the video and I am still creating more and more beads. Thought I would share some pictures from the last weeks until I get the tutorial made (Should be up by Wednesday or sooner).
It is So fun mixing colours and incorporating glitters, powders and glow in the dark powders too. Hope you try it. Talk to you soon. Thanks for stopping by!
If you like having fun watching other people makes creative messes, then you have come to the right place!
Yay, finally the "Faux" Turquoise tutorial is complete! Well technically, because the variations are endless when it comes to faux stone. Now just like I explained in the video, the word "Faux" is in quotations because I enjoyed creating my own variations of Turquoise. That means this tutorial is not for anyone seeking an authentic turquoise look. Contrary to real turquoise, there is sparkle and striations that you don't find in the original.
Watch And Learn Here:
The colours I used....
All Premo brand, Peacock Pearl, Bright Green Pearl and Turquoise. In one variation I did use the white Pearl.
Coming soon, will be a talk and review about UV resin because that is what I tried to do with the pieces I made with my turquoises.
Hope you are inspired to try creating your own faux stone variations.
Thanks for stopping by.
HeArtfully Creating,
Anita
Hi artists of all ages! Hope you are enjoying your week so far. It has been a busy time as I frantically try to complete some extra special projects for some extra special friends, Check out this post to see what I am talking about.
Between that project and others, I was able to post a new basic video tutorial about creating stamens for my polymer clay flowers using the "ball to cup" style. Yes, I made that up. Not sure what to call that technique. Any ideas?
So take a watch below if you want to learn a lesson you may never have jeard of before. The lesson is a bonus along side the stamen one :0)
Watch Below!
Hope you are creatively inspired even a little.
Thanks for stopping by!
HeArtfully Creating
Anita
Hi guys! Hope you're all having a good day so far. If you follow me on Instagram you may remember that I shared a teaser photo a couple weeks back, of something I was working on for someone special. Said I would be posting more soon, so much for that. But finally here is what I was working on. This is a little bit tutorial but more of a come and learn with me video. It involves epoxy resin and of course they always wonderful polymer clay. Hope you're inspired to try out some of these techniques.
Hi guys! Hope you are all enjoying some form of creativity. It has been a productive time for me thanks to discovering those great bracelet cuff templates (check that out here) and because of some special projects for those I love. Stay tune for more about my most recent one, a special birthday gift
I got to give to my Dad yesterday. He turned 75 today! I will call it a learning experience in resin and polymer clay. You will see sometime by the weekend!
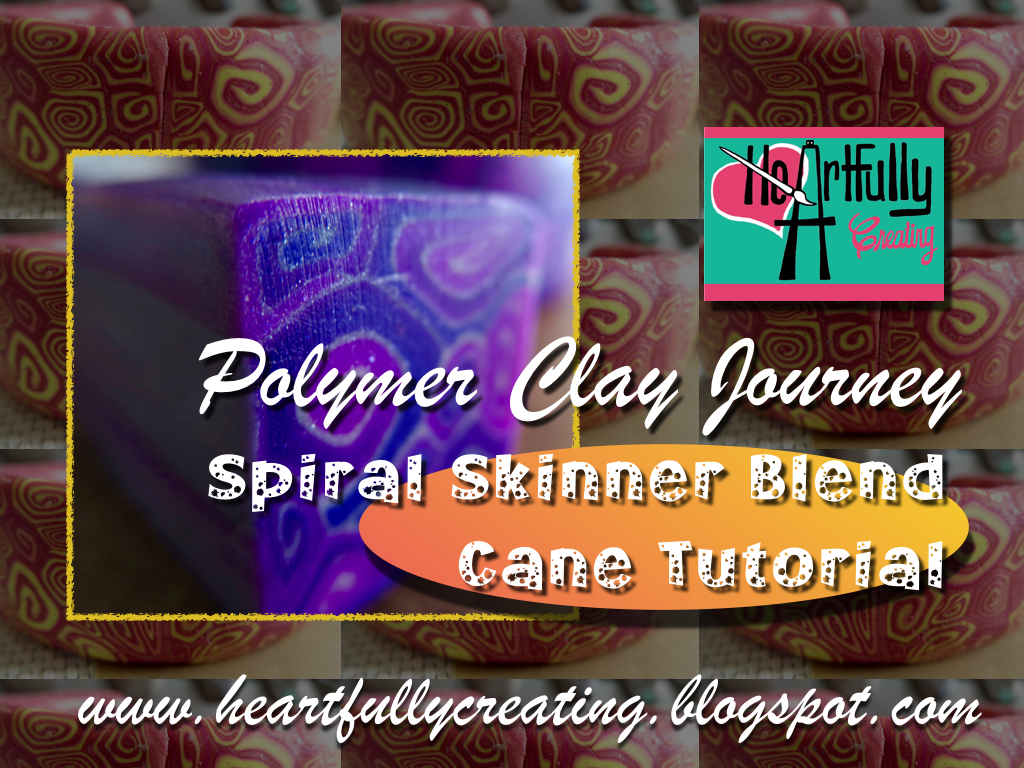
My last tutorial was about using those great bracelet cuffs but I was using a Spiral Skinner Blend Can that I just made up using some old bulls Eye canes I had. However, I was so excited about sharing that, that I didn't share how to make the purple spiral skinner blend cane. So here is the "Learn with me tutorial," on that. Just watch below. I started working on an illustration to show you how to do the skinner blend itself, but as often happens, I draw too many details and didn't get it done in time. Thankfully if you search "skinner blend tutorial" on You Tube, you will find many great tutorials. Here is one by Cool Tools. Watch My Learn With Me Tutorial Right Below:
What You Need To Make A Spiral Skinner Blend Cane?
💓A Polymer Clay Skinner Blend Cane (about 2 inches long and about 1 inch across.
Make sure you have a contrasting outer layer of clay on the outside of your cane. I used Premo Pearl for this cobalt blue and fuschia pink cane- that creates a gorgeous purple.
Make sure you have a contrasting outer layer of clay on the outside of your cane. Storing Or Using Your Cane
As you can see in the tutorial video and in the pics, my cane is created with spirals but once it is reduced and ready, the spirals are in various shapes. I purposely want my spirals to become abstracted designs that would work well to us in a variety of projects.
You can slice it thin or thick, depends what you want. I used it and some others as a veneer or covering to make cuff bracelets. Now even if my slices are a bit skewed, I just roll them out to join seams. That distorts them some more. Which for my purpose is cool. That way there is more variety to my pattern.
To store canes and polymer clay in general, make sure it is in a polymer safe container. I have alo rolled or covered mine in wax paper and ziploc brand plastic baggies. If they are stored for a long time, they will crack when you slice them. It is best to re-squeeze or roll them to warm them up.
Some people have no problem using old canes. I have decided they are only okay if it is a project that won't require too much flexing. In my case, the canes still seem to crack to easy and I get disappointed. Which has caused me to conclude that instead of making so many canes and even pre rolled sheets ahead of time, I should make what I need as I need it. That is just my lesson learned so far. Yet, I did have a large flower cane and it worked out well a couple years later. I think the canes with translucent clay and alcohol inks are the most prone to future cracking. You try what you want and see what happens. Room temperature makes a difference too. Warm is great for me, makes clay easier to condition. Cold temps, too frustrating to work with.
Question Time
Have you noticed a difference working with polymer clay if your environment is warmer or colder?
a) YES b) NO c) SOMETIMES
HeArtfully Creating,
Anita
Hope you re inspired to try making a simple fun cane like this or even making a bulls eye cane. That is the starting point for so many other great canes.
Thanks for stopping by!
Subscribe! Like and Share!! (if you want of course :o)