Showing posts with label art blog. Show all posts

Friday, December 4, 2020

Affordable Art Supplies: Artistro Acrylic Paint Pens Reviews And Colour Swatches


Happy Friday everyone!  Finally, I completed a paint pen video review for the affordable Artistro brand. For those of you who are new the videos and the art blog go together. So any links to products or materials are in the article on the heart fleet creating site.

Because I love colour so much, makes sense I am an artist, you'll see the video features a bazillion photos and video clips of the swatching process as well as the photos from when I lay out all the colours in order. I just love colour and seeing these beautiful paint pens on black paper and white paper, really help to show you what they can do and the kind of coverage that they have.

Watch How Beautiful Artistro Paint Pens Are Below


Connect More

Saturday, May 25, 2019

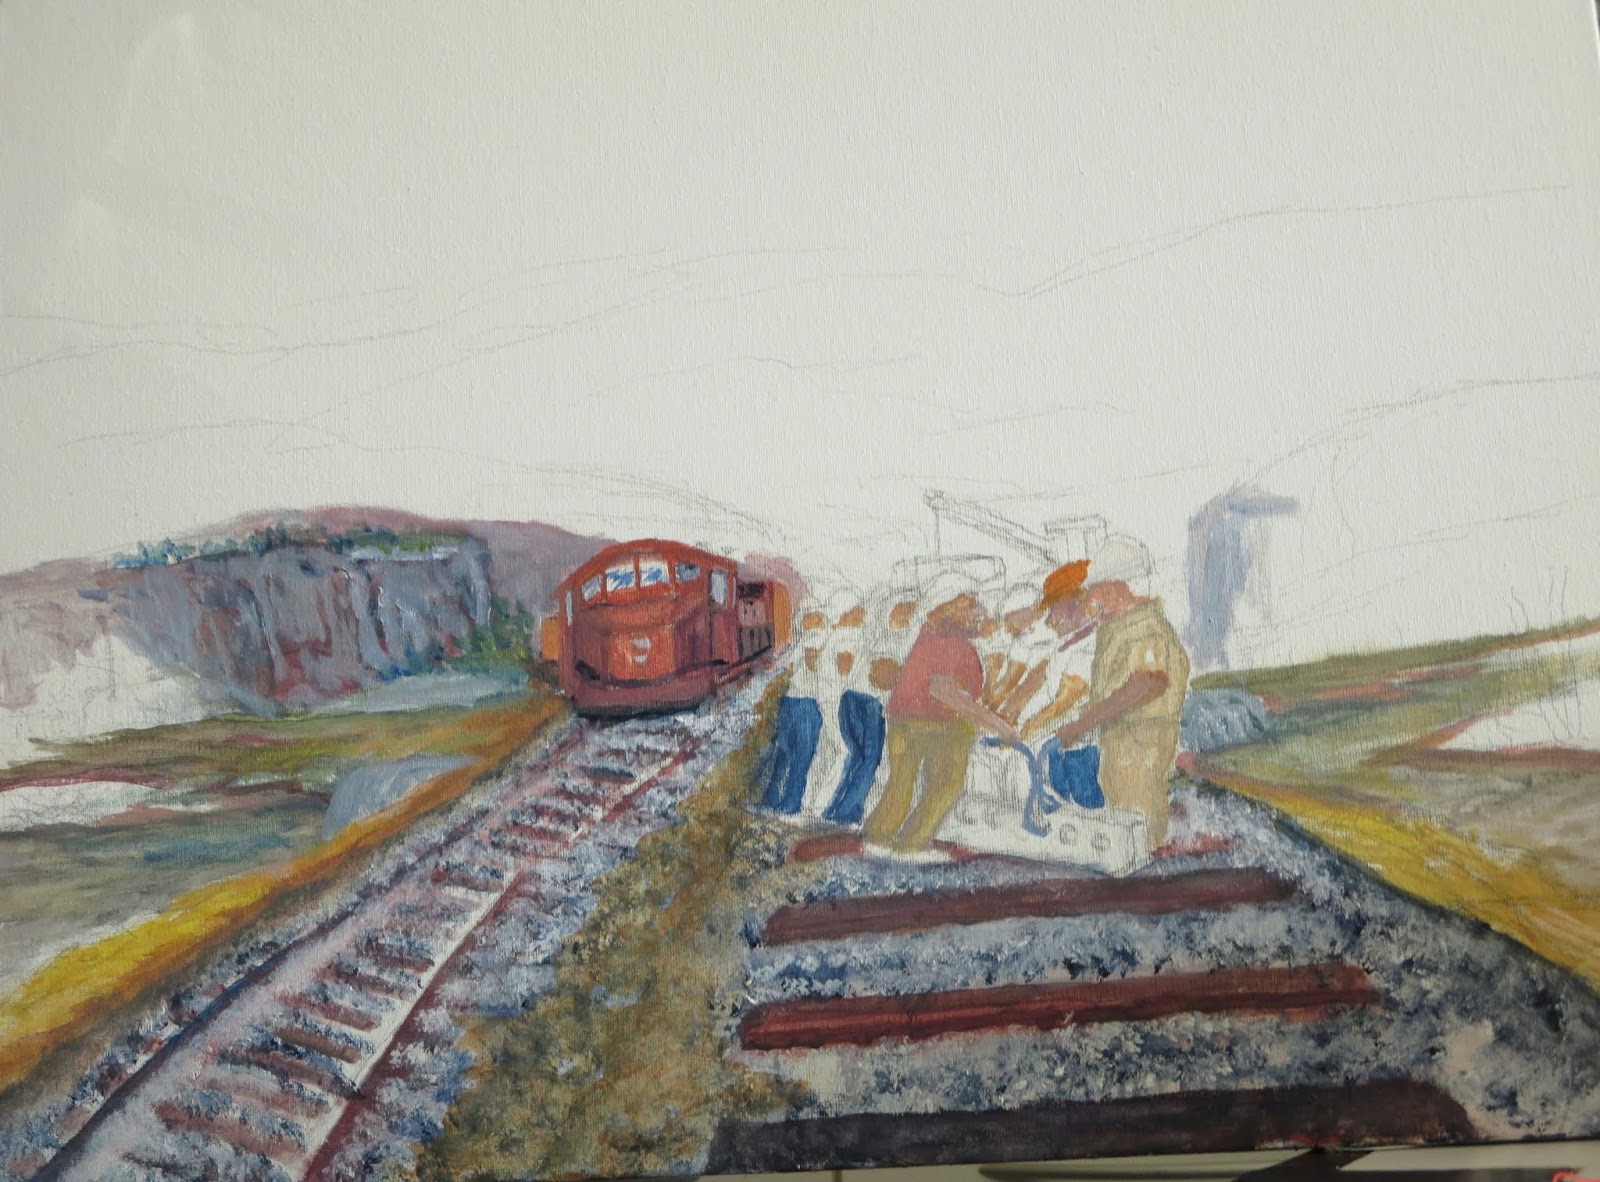
Craig Paints Two: Beginning A New Painting About His Railroad Memories

Hi guys. Yay, Craig started another painting. If you have been following us at all, you know he likes to paint what he remembers, not from photos. Along with his art, he loves telling stories. Wach as he starts with a blank canvas.
Watch Craig begin his new painting Below

Come back to see more updates!

Here are a few more pics of what I have been doing!
Connect More

Sunday, January 29, 2017

Practical Polymer Clay Projects - Hot Pink Floral Tea Light Holder

If you would like to make other kinds of gifts or even home accessories for your self, you might like this article. In December, the idea was to make gifts for some ladies we know. What do many ladies and girls like? Flowers and candles of course! Time to create floral candle holders. Often ideas are gained from simply using your art making materials. I have discovered that using translucent polymer clay and colouring it with translucent alcohol inks, or just teeny bit of coloured clay, allows you to make pieces where light can shine through. The thinner the clay, the more the light glows through. So that is what I did.
Hot Pink!
This hot pink candle holder was formed around a ceramic sphere that I found. As you will see in the next article, I formed and shaped the petals onto the glass or ceramic shape. It is important to make sure you make a test holder if you are uncertain of how the baked clay will be once removed. It is possible to make it too closed and high, around the form that you can not remove it. I have one like that!
Below are some photos of the completed holder.


Tuesday, October 20, 2015

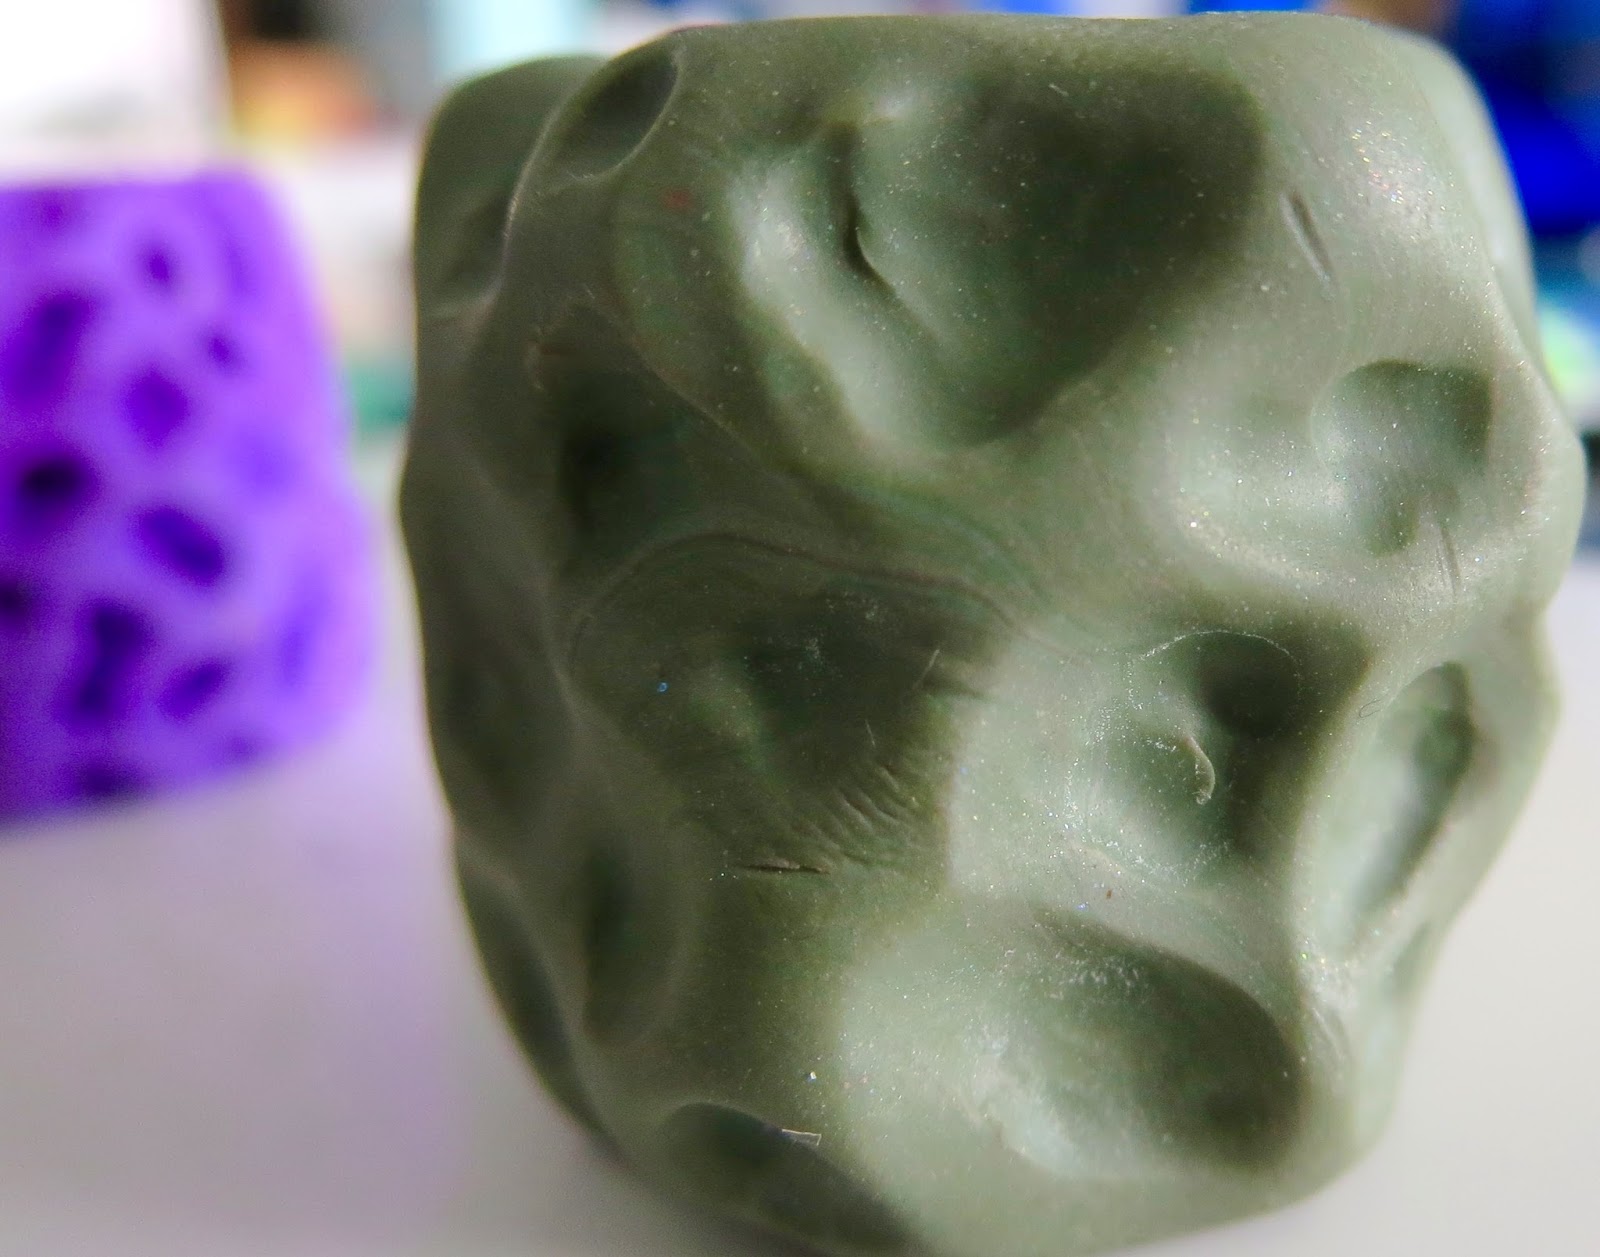
Polymer Clay Journey: Making Texture Rollers...

Making texture sheets, using your own designs, is a lot of fun and a great creative expression that can be re-used as many times as you

want. Unless your sheet breaks of course. After seeing texture rollers  in a Polymer Clay Tutor product demo and the sculpted tool you can buy, I thought why not? So I tried making some texture rollers out of polymer clay and here are the results. 
Just watch the corresponding video below on our YouTube channel. 

Materials Needed and Baking Clay Advice
 If you have hands, that is your number one needed tool.

∆ You don't need fancy tools, just a craft or X-Acto knife

∆ Polymer Clay

∆ You can use anything to help make your impressions into the
I like to cover my tools and tin can holders in clay!
clay, popsicle sticks, toothpicks, utensils, needle tools, ball tools, cake decorating tools. Just do not re-use anything you use for polymer clay on food after. Keep them as special tools.


∆ If you want to purchase inexpensive polymer clay tools, I bought a lot for free shipping on Ebay from Asia. Just search for wax carving tools, clay tools, cake decorating tools, wire tools and nail art tools. From those searches, you will find a lot of cheap, helpful useful instruments.


∆ A Dedicated pan to bake on, I use a ceramic tile on cake pans I no longer use and then cover the items with an aluminium pan to protect the clay from discolouring.

∆ A Smooth craft sheeted surface. I use a large ceramic tile or piece of glass to work on.

∆ Bake your clay as per the package directions and then some. I
Add caption
follow all the advice I have heard which is bake always, at least for one hour to make it stronger. You can't burn your clay at the temperature on the package. Only if your oven isn't working right. Then it helps a lot to use an oven thermometer to make sure you oven is heating to the correct temperature.


A Closer Look
As well, here are some photos. No, I didn't film any of the actual making parts, but I think it is pretty self explanatory. I suggest looking up the video mentioned in the texture sheet article by Katie Oskin. Just think instead of a flat sheet of clay, you need to lay or imprint your designs or textures on a polymer clay cylinder. It is a great way to use up scrap clay. All clay is useable and has no reason to be wasted!


Love To Hear From You
If you have any thoughts, questions, ideas or suggestions, please write them below. I would love to hear from you or if there is something you would like to see or learn about. If I can help, I will do my best.

HeArtfully Creating,
Anita


Subscribe! Like and Share!! (if you want of course :o)

LIKE HeArtfully Creating Here on FACEBOOK: https://www.facebook.com/HeArtfullyCreating/

HeArtfully Creating Blog: 

A Bergie Creation Shop Blog: http://abergiecreation.blogspot.ca

A BERGIE CREATION - my handmade jewelry shop

Facebook:

Twitter:

YOU Tube Channel

Pinterest:

HeArtfully Creating: