A place to encourage the creativity of artistic minds of all ages. Offering Ideas, Inspiration and Instruction and sharing the work of others who inspire me!
Hi guys! Happy, almost Spring time! Recently, I just purchased a few brands of acrylic paint markers from Amazon Canada. For decades I painted using acrylic paint from the tube. Stevenson was my choice brand. If you are new here, I am a visual artist who loves sharing all things creative and encouraging folks of all ages to create. In the past few years I have been focused mostly on creating with polymer clay, in 3-D. Due to my weak hands, the clay has been a challenge. That means I have to branch out or should I say, return to my original art making method, drawing and painting. Years ago I tried the Sharpie brand of oil paint pens. When they worked, they were great. But, they clogged or dried up too easily. That is the extra fine tips. So I gave up. Working on an easel on canvas with a palette and paint from tubes and jars is not a method I can return to. So to at least come close, I thought I would try the acrylic paint pens.
Which Ones To Use?
Well, there are so many brands on Amazon, I can't say. So I thought I would share what I discover here incase anyone else is interested in my discoveries. So far I am loving these great drawing instruments. Watch below to see my first review/discussion about the AROIC brand (click here to see them on Amazon). Watch Anita's Video Review On AROIC Paint Pens
Thanks for stopping by. Happy Creating!
Soon I will be reviewing a different brand.
Hi guys. if you hang around here or my YouTube channel, you will know, I have an addiction to sparkly powders, glitters and anything iridescent or holographic.
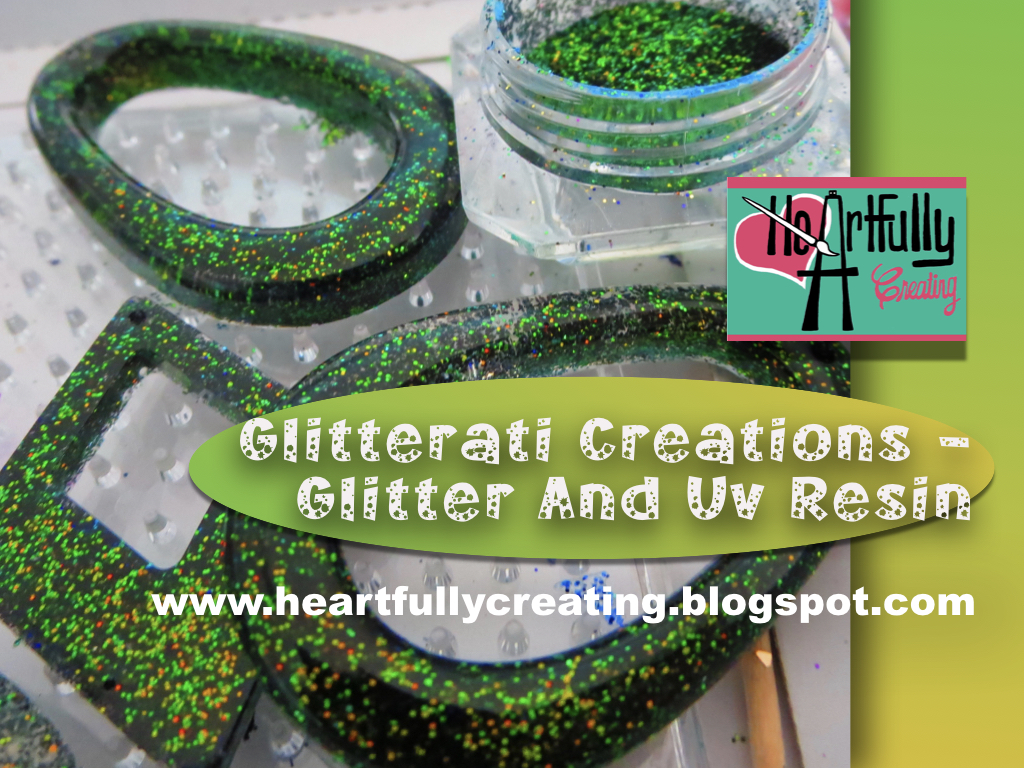
Below I created a very short video sharing a lesson or two about working with UV resin and glitter. As well as showing a few of the sparkly creations using inexpensive molds from Bay.
Watch Below
Biggest Lesson Learned About UV Resin
First of all, don't use opaque silicone molds with Uv resin and glitter. The mold needs to be able to allow ultraviolet light through. Trust me, unless you are only using a wee bit of
colourant, you will be disappointed when you unfold Over and over, I have had to reveal gooey, icky uv resin. This is even with mica powder. Only use a teeny bit and try it.
I do prefer epoxy resin because there are no disappointments when unfolding Of course unless, you didn't mix it well enough. What Are Some Of The Materials I Used from EBay(click item to go to the links)
HeArtfully Creating: Craig Paints Part 5- Another Stroke Farther...Let's see where Craig is at now. Again Most of the fun is just hearing Craig talk about his flashbacks and feelings when painting a specific area of his landscape.
Hi fellow artists of all stages. Sorry, it has been a while since keeping you up to date on my dear husband's painting in progress. That means again, this video includes a few visit/updates with Craig. Come and see where he's at now (or when I last checked in.) Most of the fun is just hearing him talk about his ecstatic feelings painting a specific area of his painting. As always, my husband is great at recollecting his childhood...Come and see or I mean, Watch Below...
Hi artists of all ages! Hope you are enjoying your week so far. It has been a busy time as I frantically try to complete some extra special projects for some extra special friends, Check out this post to see what I am talking about.
Between that project and others, I was able to post a new basic video tutorial about creating stamens for my polymer clay flowers using the "ball to cup" style. Yes, I made that up. Not sure what to call that technique. Any ideas?
So take a watch below if you want to learn a lesson you may never have jeard of before. The lesson is a bonus along side the stamen one :0)
Watch Below!
Hope you are creatively inspired even a little.
Thanks for stopping by!
HeArtfully Creating
Anita
Hi guys! I hope you all enjoyed the changing of seasons. For us it became spring. Recently, I have been hooked on learning how to make cuff bracelets with the help of an Easy Cuff Kit by Teresa Selgado of Tiny Pandora. And here is the link to her great tutorial You Tube channel. Worth buying (not sponsored :o)
I am going to share the tutorial about how I made the Skinner blend Spiral cane for the cuffs today. So stay tuned. Hope you are inspired to create after watching the tutorial below! Watch!
HeArtfully Creating,
Anita
Subscribe! Like and Share!! (if you want of course :o)
Hope you guys are happily creating out there! I would love to hear from you and see your work, hear your ideas and questions. Please join our Heartfully Creating Facebook Group to do that. We also have a Facebook page.
Back to today's video sort of tutorial with a brief talk about composition. Composition is the overall visual appeal of our art work. The tips are valuable ones I learned in university and apply to all artistic disciplines.
Take a watch below to see my newest window decoration and learn a bit more about faux stained glass and composition.
Be inspired to create!
Subscribe! Like and Share!! (if you want of course :o) Come and join my HeArtfully Creating Group on Facebook. Here is where you can show us your original artwork, questions and thoughts here. There is a guideline page.
I was excited to see that one of my first tutorial videos has received 8000 views! Guess which topic? It was an early one I made inspired by Kater's Acres. Katie has a tutorial video about how to make your own polymer clay texture sheet. Thank you Katie.
For me 8000 views for one video is a huge deal for me. When I am use to seeing 10 -20 views! Clearly, I am not the only one who loves texture making in polymer clay. I recently broke down and purchased online, my first Christi Friesen Texture Stamps, making three artist stamps in total. Lisa Pavelka's Flourish set is the only one I had for over a year.
Texture is an element of design that artists use to make their compositions interesting. Other elements are line, shape, colour, and space. We incorporated all of those tools be it a painting, sculpture, photograph....all visual art. Some of us prefer one element more than another. My favourites are colour and texture. What do you prefer to focus on the most?
On that note, let's have some fun focusing on texture and polymer clay. I wanted to have some fun and have compiled all my texture related videos below.
I hope you are inspired to make your own stamps or rollers, or to buy ready made artist's stamps like Christi's or Lisa's.
So grab a refreshment or some clay, sit back and enjoy texture making.
Watch...
Wow, over 8000 people have Watched This Video!
Create Your Own Texture Plates
Make Your Own Texture Rollers
A Signature Stamp Is A Very Custom Texture
My First And Only, so far, Sutton Slice tutorial Using Lisa Pavelka's Texture Stamp
Making Your Own Texture Stamps
Texture Rocker Tutorial
Using My Christi Stamps For The Mica Shift Technique
HeArtfully Creating, Anita
Subscribe! Like and Share!! (if you want of course :o)
If you are using polymer clay then you may have already come across clay that was too hard to knead or condition. Eventually, you just give up and want to chuck it. Well, don't give up yet. I discovered through various tutorials and experiments that it is possible to soften clay and even make stiff clay, easier to use. Watch my short tutorial below!
So next time you need softer clay, you know what to do! Now if your clay was
sitting in the sun and is hard, then I don't think it can be re-softened because it was most likely slightly cured or baked already. Keep clay away from heat.
Avoiding hard clay...
Buy clay as fresh as possible and keep open clay in polymer clay safe storage containers, cling film and such. I do use foil and wax paper some times.
It is easy to see why so many of us love mica powder, because colour has POWER! When it shimmers and sparkles, it has even more power! I didn't get to share my powder swatches on the black and white clay in my last Mica Swatch article/video -click here to see -so here they are. It is worth checking out how Mica powder or other powder pigments change depending on the background or surface they are laid upon.
Experiment, have fun. If you don't have jars of powder, inexpensive eye shadow, works well on raw polymer clay as well. Try layering colours as well. For added effects, you can use rubbing alcohol on a swab or sticky packing or scotch tape to remove the powder.
Watch Below:
Mica Power!
HeArtfully Creating!
Anita
Subscribe! Like and Share!! (if you want of course :o) LIKE HeArtfully Creating Here on FACEBOOK: https://www.facebook.com/HeArtfullyCr... HeArtfully Creating Blog: http://heartfullycreating.blogspot.ca... A Bergie Creation Shop Blog: http://abergiecreation.blogspot.ca A BERGIE CREATION - my handmade jewelry shop www.abergiecreation.etsy.com Facebook: https://www.facebook.com/abergiecreation Twitter: https://twitter.com/abergiecreation YOU Tube Channel https://www.youtube.com/user/anitaand... Pinterest: https://www.pinterest.com/abergiecrea... HeArtfully Creating: http://heartfullycreating.blogspot.ca Sure Hope Gazette: http://surehopegazette.blogspot.ca Walking Way Overrated http://walkingwayoverrated.blogspot.ca
If you are new to using polymer clay, You may not know that the one piece of machinery most of us use is either a pasta machine or a polymer clay conditioning machine. Essentially, the latter looks just like a pasta machine. My husband bought me one when I first started claying a couple of years ago, from the Michael's craft store. Normally I don't recommend going there because it is so expensive- Unless you have a coupon for 40% or 50% off of course. Needless to say, he did.
First of all, I do recommend the Amaco machine. Mine worked well.
The machine is by Amaco. Actually contrary to some of the reviews I've seen, it worked very well, for just over two years. It wasn't until recently that the knob that I'm going to talk about in the video below, fell right off. The knob I'm talking about is the one that tightens the clamp - Like a C clamp that holds the machine to the table while you crank it. It was plastic of course. Kind of ironic, since polymer clay Is polyvinyl Chloride which is a type of plastic as far as I understand it anyway. Necessity Breeds Ideas...
Wrestling with what to do next, I got the idea to make a new knob for The clamp. After all Polymer clay once cured or baked, when thick enough, is quite strong. Want to see what happened? Did It Work? You will have to watch below:0)
Subscribe! Like and Share!! (if you want of course :o)