A place to encourage the creativity of artistic minds of all ages. Offering Ideas, Inspiration and Instruction and sharing the work of others who inspire me!
Hello everyone! Hope everyone is having a great February so far. Recently I have been needing to rest more than I normally need to. So when I am able to be productive creating, I have been trying to turn many of my mini art works into jewelry and finally getting those
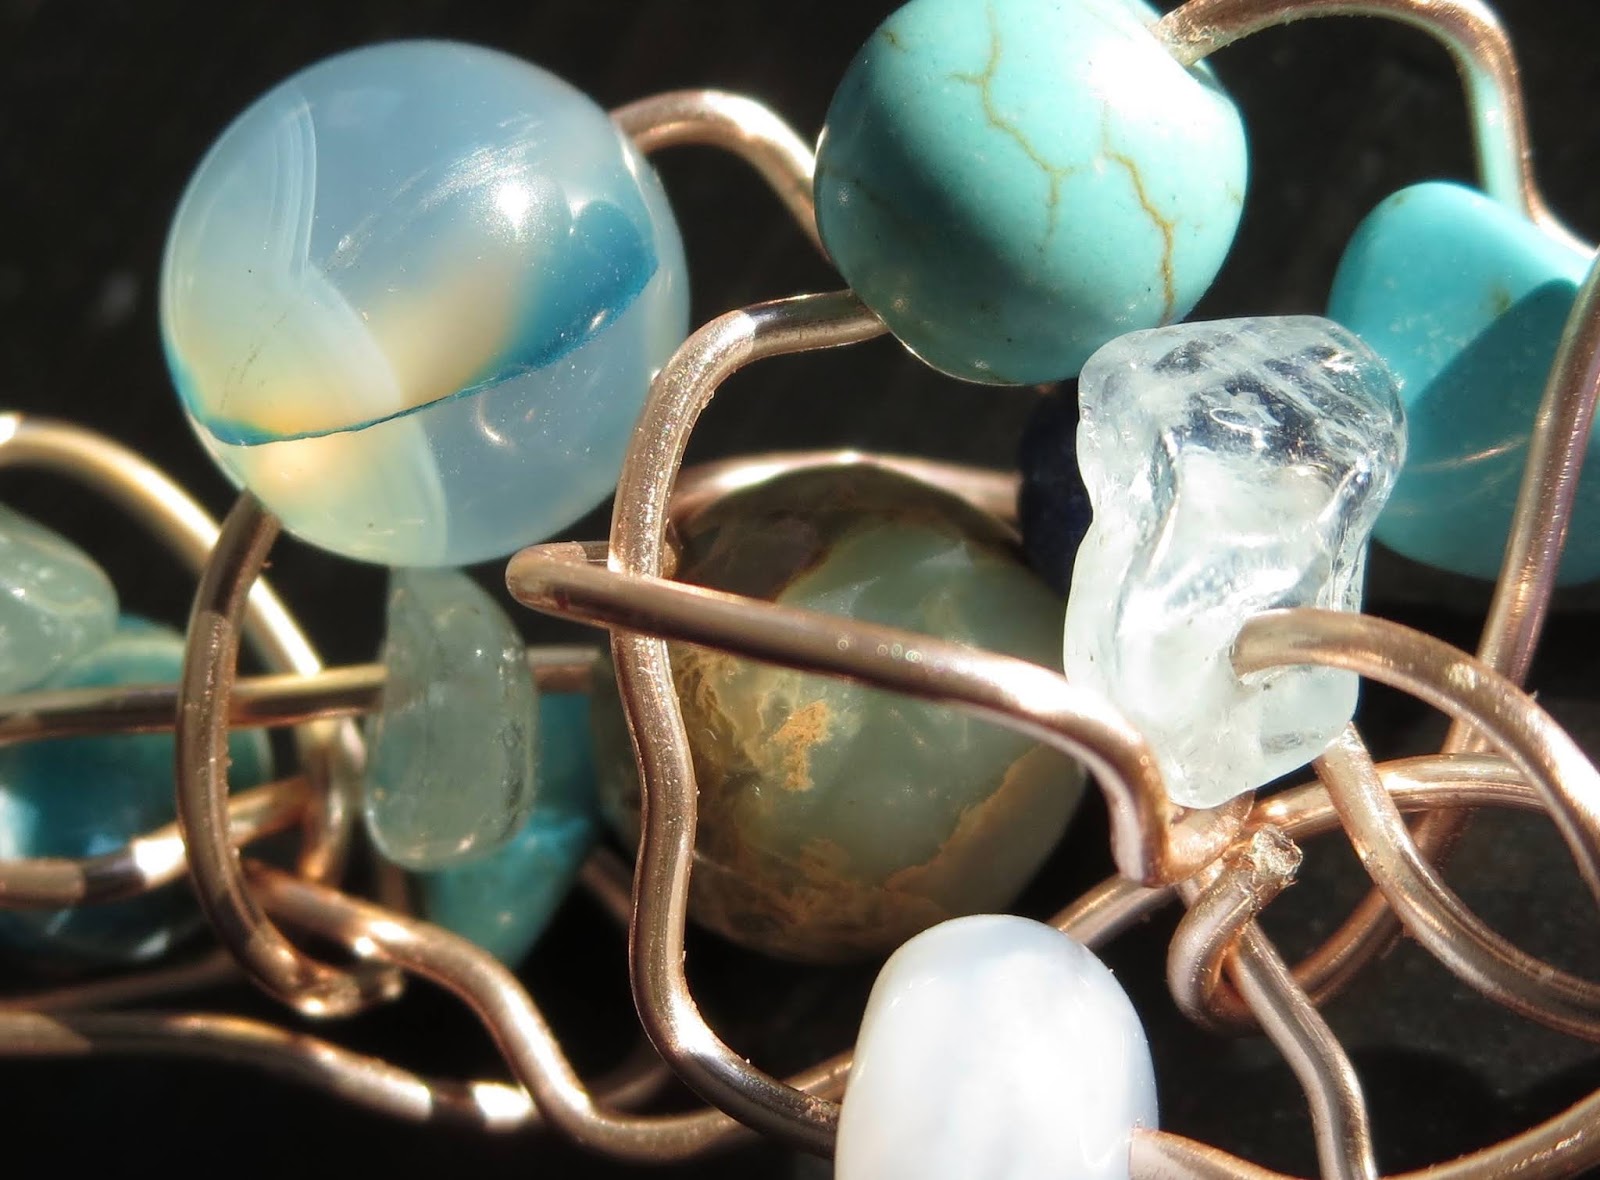
pieces photographed, edited and then listed in my shop at Etsy (A Bergie Creation). But I have found time to also work on some new polymer clay pieces and after watching a channel I enjoy watching Matts Crazy Art, I also got inspired to work with all the wire I bought a while ago. Check out the video that inspired this pendant I made last night. Matt has a really great attitude about enjoying creating. He is funny and very encouraging!
Watch Matt Create Here
What have you been working on lately? Are there any new skills you have learned or are hoping to learn? I have been wanting to try using the merino roving wool I bought a while ago. Needle felting is another fun art making technique. The polymer clay is still a favourite but I must confess it is getting more challenging for my not so strong hands to manipulate. A bummer, but I am not giving up. In fact the next few pieces are some recent clay works I have completed.
Some posies
Colour Shifting With Texture Earrings
Earrings With Some Holo Glitter Surfaces
Look Depending on how you look at these, they change colour!
Well that's just a bit of where I have been at lately. I hope you check out matt's fun videos and that you are expressing yourself artistically in some form or other. I would love to hear from you. Below are other links to connect. Happy creating artists! Connect More
Hi guys! I just wanted to share A pair of faux knitted square stud earrings that I recently made for fun. After watching some photo knitting Techniques and polymer clay, I tried and tried and couldn't seem to get it to look like knitting.
After some more learning, I figured out what I was doing wrong.
So please learn from my mistake, I'm going to post a couple of video Tutorials So you can learn how to create the faux knitting look in clay.
My mistake? Make sure you twist the two strands of clay in one direction, twisting away from you and then the second set of strands, twist towards you, laying them down side by side, in alternating directions.
That way when you lay them side-by-side they will look like the knitted look you're going for. For the longest time I was stumped and didn't get it, I'm a slow learner. The key is to not give up. Once you get that part, it is a very Simple technique that looks real. We all know that knitted items are soft and squishy. So when you touch these, Of course they are not.
To Make The Pink Square Studs that I Did You Need...
💗 A set of earring studs with backs that have a flat disc to attach clay to
💗 2 complimentary colours of Polymer Clay of your own choosing
💗 Krazy Glue or a strong bonding glue OR, you can push the post base into the clay in it's unbaked state and bake it on
💗 Mica Powder for Sparkle
💗 Straight blade cutter
💗 Needle tool
What Next?
💗 Watch the video tutorials below to learn how to "knit" with clay. The smaller you roll out the strips of clay, the smaller your "knitting" stitches will be. In the videos below, are a few various sizes. MoClay's brooch stitches are about the closest to my stud square size.
Once you create a small sheet of "stitches," cut out matching squares. Mine are about 1cm x 1cm or 10mm x 10mm. I did not use a cookie cutter but if you have one, you can.
Then I laid each square onto a contrasting colour that I rolled out to the same thickness almost. Taking a straight blade, slice along all 4 side of your knitted square. Smooth it all out on the edges with your fingers.
💗Texturing: I took a needle tool and poked a texture into the back and sides of the coloured back.
💗Highlighting: Then I took a a hint of mica powder from the lid of my powder and highlighted wherever I thought best.
💗Bake face up, flat, on a piece of cardstock or paper on a ceramc tile, at the manufacturer's temperature for one hour. Yes, it says a shorter time on the package, but I have learned from other artists the clay is stronger when baked at least one hour even if it is thin. Or you can bake them on a crumpled up tissue if you want.
💗Once Cooled. I just squirted a bit of Krazy Glue on the center back and placedd the posts on. Let sit for a while.
Voila, all done!
FAUX KNITTING TUTORIAL VIDEOS
Be inspired and comment below letting me know if you have try this technique. I would love to know how it went for you.
Hi guys! Been behind posting lately. Wanted to share some projects I have been working on in Polymer clay. The pictures below are a couple of pendants, one is a Pebeo Abstract Painting I did on a resin cast and then made a polymer pendant. The teardrop is a beautiful labradorite stone encased in polymer clay.
Be inspired to create.
Thanks for stopping by!
Anita
Had a visit from little Humphrey in my studio/house this week....too bad I am allergic :o(
Good day! Summer is almost officially here and in our Northwestern Ontario City, summer weather is lagging behind. I hope wherever you are that the weather is just the way you like it. For me it is
Polymer Clay Puffy Hearts and Jewelry by me! Anita Berglund
basically the only time of year when I find it warm enough to go outside. It doesn't really matter to me anyway because I am always creating in my studio. I tried working outside before and the winds, dust and all that fun stuff, interferes with my art making too much. Polymer clay especially picks up dust and dirt really easy. Below I have share some clean clay tips as well as some of the pieces I worked on this week! Have fun!! Click HERE if you want to see my A Bergie Creation Shop Blog
Keeping It Clean If you are working in polymer clay you may already know this, if not, now you will! Something I have learned over time, especially from the many great online polyclay artists. If you want your clay pieces to be professional enough to sell or just because you want them to look their best, you must keep the clay clean. This means.... 1. Make sure your work area, hands and surface as well as tools are all wiped super clean. I use rubbing alcohol or baby wipes. Be cautious because some wipes have fibres that can come off and end up on any of these items. 2. Work in a pet free zone. Animal hair can float anywhere including right onto your clay working area. Unless you want to incorporate it, try to keep your area a pet free zone. If not, make sure you wipe it all down prior to working. 3. After your piece is assembled, you can clean off your unbaked clay with a cotton swab or clean cotton/soft cloth and rubbing alcohol prior to baking/firing in the oven. 4. If you baked the piece and missed a speck of dirt (this can be particularly annoying with white clay!), I have learned that you can use nail polish remover. I have never tried it. If you do, let me know how it went. It isn't something I want to depend on so I try to keep everything clean before baking. Hope that helps a little. Keep it Clean! HeArtfully Creating, Anita :o) Join the 2016 Polymer Clay Challenge! Thanks to Katers Acres!
https://www.facebook.com/groups/2015PCChallenge/
Polymer Clay Puffy Hearts and Jewelry by me! Anita Berglund
Polymer Clay Puffy Hearts and Jewelry by me! Anita Berglund
Polymer Clay Puffy Hearts and Jewelry by me! Anita Berglund
Polymer Clay Puffy Hearts and Jewelry by me! Anita Berglund
Polymer Clay Puffy Hearts and Jewelry by me! Anita Berglund
Polymer Clay Puffy Hearts and Jewelry by me! Anita Berglund
Polymer Clay Puffy Hearts and Jewelry by me! Anita Berglund
Polymer Clay Puffy Hearts and Jewelry by me! Anita Berglund
Polymer Clay Puffy Hearts and Jewelry by me! Anita Berglund
Polymer Clay Puffy Hearts and Jewelry by me! Anita Berglund
Polymer Clay Puffy Hearts and Jewelry by me! Anita Berglund
A while back, I was having fun creating texture sheets and stamps for my polymer clay designs out of polymer clay. They work really well. It does take trial and error, because some designs can be to uneven to imprint your clay well. As well, you want to try different depths. You can essentially "carve" into a thick sheet or piece of clay to you can "add" to a sheet of clay. Click here to go to the article I did back then about my handmade polymer clay texture rollers and click here for the texture sheets. Here are a few photos of the results from testing out my favourite dandelion seed texture sheets.
All made with these texture sheets below I made last year!!