A place to encourage the creativity of artistic minds of all ages. Offering Ideas, Inspiration and Instruction and sharing the work of others who inspire me!
Showing posts with label lessons learned. Show all posts
Showing posts with label lessons learned. Show all posts
Thanks to our neighbourhood finally being updated with fibre optics wifi, it will no longer take two hours to upload a ten minute video. That definitely kept me from posting videos like I wanted to. So excited! For instance, This half our video took about 30 minutes compared to hours!! To inspire me even more, watch and have fun with us as I learn and explore our brand new Cannon M100, I will be able to create more videos and Vlogs and Tutorials along with just plain stuff! To add to my new and improved ability to make more videos, tutorials and vlogs, we just received our new Cannon M100 camera. Today it was gorgeous outside so I got to go on a walk and talk, whilst I try out different camera/video settings! For today's second day of exploring our camera and our neighbourhood take a Watch Below!!
Always learning. All part of life as an artist. It means a lot to me to share the lessons I learn with anyone who wants to listen. Perhaps you won't have to waste supplies like I have. As well. I would love to hear about your experiences and lessons too. We can all learn from each other. This is a short video...Watch Below
Hi guys. if you hang around here or my YouTube channel, you will know, I have an addiction to sparkly powders, glitters and anything iridescent or holographic.
Below I created a very short video sharing a lesson or two about working with UV resin and glitter. As well as showing a few of the sparkly creations using inexpensive molds from Bay.
Watch Below
Biggest Lesson Learned About UV Resin
First of all, don't use opaque silicone molds with Uv resin and glitter. The mold needs to be able to allow ultraviolet light through. Trust me, unless you are only using a wee bit of
colourant, you will be disappointed when you unfold Over and over, I have had to reveal gooey, icky uv resin. This is even with mica powder. Only use a teeny bit and try it.
I do prefer epoxy resin because there are no disappointments when unfolding Of course unless, you didn't mix it well enough. What Are Some Of The Materials I Used from EBay(click item to go to the links)
Hello. This video is more of a "come learn with me," and a bit of a review or opinion video talking about my experience so far with mostly UV resin. Didn't want to repeat what I already covered in previous videos on resin. Watch now!
Hi guys! Decided that I had to share a short video about my recent project for a couple dear young brides to be. I have created beaded and friendly plastic hair accessories over the years, but so far have not made polymer clay hair accessories.
Below is a short video that features photos of my recent designs as well as some information you may find helpful. One lesson learned was about the "no-name" Hot fix glass crystals I bought from China on Ebay.ca. The above piece was decorated with Martha Stewart's white glitter and Pearl Ex micro Pearl mica powder.
My UV resin fun, cube beads with glow in the dark powder inside!
Hi guys! Hope you have been enjoying the beginning of March so far. Well, below is a learning with me style video about UV Resin. The coolest result of my fun was seeing what happened with the glow in the dark powder I used. To see some really pretty results, watch the resin fun video that I just uploaded minutes ago! Watch And Learn With Me Below
Keeping with the autumn theme, I had a great idea.... I cut out and hand textured some small leaves with my craft knife. Thought the clay mix of translucent with alcohol ink, would look really cool if I made varying shapes and baked them on a jar. As well, coating the surface partially with a golden mica powder.
Dimension!
To make sure they would be interesting, I carefully lifted and shaped each leaf, giving it a more realistic texture.
Then I had the "brilliant idea of pushing on some clear embossing powder. Well, doing it after texturing and positioning them on the jar, was probably the mistake that made my leaves like corn flakes. They are too bumpy and icky looking!
Take a look and see how dastardly they turned out. But that is how we learn. If we don't experiment, we won't know what works and what doesn't.
Thanks for stopping by.
HeArtfully Creating,
Anita Bacon, Corn Flakes or Leaves? You Decide.
Sorry, I haven't completed that second texture Rocker and Roller video yet. But for now, I wanted to share this really cool texture rocker that I sculpted. By the time I was done, I thought it looked like a mess of Octopus tentacles. What do you think? A Lesson Learned
I explained in this video/post (click here) about creating texture "Rockers" to make it easier to use for those of us with weak hands. (So much for that theory.) As you can see, it definitely impressed textures but, my details were to deep and detailed. That meant, a couple of impressed areas tore up. As well, I couldn't rock it, I had to lay the sheet on the texture rocker and press it in.
How can we learn if we don't try things out!
Hope you feel a little inspired.
Thanks for stopping by.
HeArtfully Creating,
Anita
Subscribe! Like and Share!! (if you want of course :o) LIKE HeArtfully Creating Here on FACEBOOK: https://www.facebook.com/HeArtfullyCr... HeArtfully Creating Blog: http://heartfullycreating.blogspot.ca... A Bergie Creation Shop Blog: http://abergiecreation.blogspot.ca A BERGIE CREATION - my handmade jewelry shop www.abergiecreation.etsy.com Facebook: https://www.facebook.com/abergiecreation Twitter: https://twitter.com/abergiecreation YOU Tube Channel https://www.youtube.com/user/anitaand... Pinterest: https://www.pinterest.com/abergiecrea... HeArtfully Creating: http://heartfullycreating.blogspot.ca Sure Hope Gazette: http://surehopegazette.blogspot.ca Walking Way Overrated http://walkingwayoverrated.blogspot.ca TUMBLR http://anitaberglund.tumblr.com
This article is about I'm boxing and setting up of my new Alice pasta machine, As well as a bit of a review about my Amoco machine. There's a bit more you may be interested in. It is about my first panic attack regarding The Atlas 150 machine. Take a look at this picture and I will tell you more Once we get through the unboxing/review part.
As I mentioned in the previous Post about my Amaco machine that lost It's clamp knob, most polymer clay artists used a conditioning machine Which is essentially a pasta machine, Or as I started out - Using a Amaco clay conditioning machine. Now it is not an essential piece of equipment but it is extremely helpful if you do not have strong hands or you produce a lot of clay sheets. Definitely Worth, investing in an inexpensive clay or pasta machine.
As I mentioned in the video and article Prior to this one, The Amaco Clay conditioning machine works perfectly for me for over two years. Aside from the knob falling off, Which my has been rectified by Using a part of his C clamp, It worked great. Now I do not know what normal life expectancy is for a clay conditioning machine, So maybe over two years is too short, I don't I don't know. What I do know is for someone who started out not knowing for sure if polymer clay addiction would Be something I was able to use, starting out on a half-price Amaco Clay conditioning machine, that never gave any hassles, was a great idea. Half price because my husband used the Michael's craft store coupon.
Last week I decided I better get a replacement machine because the Amaco clay Conditioning machine finally started to wear out. For the first timeIt history, In My studio that is, It started to jam the gears and then began clicking and seizing up almost. Noticing that most clay artists use the atlas Bar Marcato pasta machine for their clay, I asked the question on a polymer clay, Facebook page AndDid some research- Concluding that the absolute best Clay conditioning machine is made by Lucy Clay in Europe. It is not something I would be able to use or could afford, So it appears that the good old standby brand Is the Atlas Pasta machine. Thanks again to those who recommended it.
Hello is the video that I made of my husband on boxing the atlas clay machine. Of course there is great excitement And hoopla. So you have to check it out by Keep watching because I also talk about the Amaco machine In case you're interested. Take a Watch Here:
First Impressions And a Lesson Learned
Now for a bit more detail on what happened when I first started trying my new atlas 150. Initially On setting Zero and nine, which are the thickest settings- all was wonderful. The Handle Sits inside the machine very well, Not dropping out like in the Amaco. It also cranks Smoothly and beautifully, you really can feel the quality in the machine. Assuming all was working fine, I continued on with my day And didn't try any other settings on the machine.
Day Two: Wanting to play with it, I took a different piece of clay than the one we used on day one and started reducing it, as soon as I went to a thinner setting, about three and even four, the clay looked like this! Needless to say, I was mortified! I had heard talk on another tutorial about how the cheaper Sculpey brand machine does stuff like this, but Never the great Atlas machine! Ready to Write a letter to the company and return it from where I purchased it from. As well as, let those who recommended this machine know what it happened and ask if I am doing something wrong, I suddenly got the idea to try a clay that was not as soft or sticky.
Keep in mind the Amaco clay could handle this piece of clay no problem.
We began rolling out a stiffer piece of clay I'm thankful we discovered that the rippling effect did not happen On all clay. That was when I realized duh, oh yes it
is a pasta machine after all, Not meant for Clay. It would make sense that you would need to add flour if it was a pasta dough that was too sticky. But then if this is the case, then why are people using this machine instead of the made for clay machines? Like I said with the Amaco machine, I did not have any problems like this.
I must say that after we testedIt, I and my husband were amazed at how send the clay can get. There is no way I will ever use the mega thin settings on this machine, But I can see why those who can handle their clay well, Would want a machine like this. Just curious about the whole Ripple thing.
Conclusions:
Be careful not to use using very soft or sticky clay. This particular batch had FIMO mixed into it With Premo, Fimo gets very soft And even sticky, not to mention it was a very warm day inside. I am assuming the Atlas has this restriction for clay.
What is your Experience?
Because I know so many people use the atlas machine for conditioning or clay. And because I've never heard anyone complain about rippling playOr having to use a certain Condition of clay, Meaning do not use sticky clay. I really want to know if this is just me, is there something wrong with my machine or is this normal?
Howdy guys! I've noticed that Wednesdays are often referred to as works in progress days. Well, I've noticed that in the polymer clay world anyway. It is where people share pieces that they are working on but are not done yet. So this is my first works in progress Post, I think so anyway. Maybe more like works I thought were completed, but then started to take photographs for my online Etsy shop, but noticed, thanks to direct sunlight and macro photography.... the Tiny little bubbles and flaws in the polyurethane gloss! This time, I thought I was so careful. And some of the pieces have yellow spots. Again, does anyone out there have any ideas as to what I am doing wrong? Too much at one? Should it be a really thin layer after layer? All that then means, the pieces I thought were complete and ready to prepare for sale, are not. Argh!
Back to my works in progress. Been working on textured, polymer clay "dangles," created using my own texture plates/rollers/sheets (Here is article 1, 2 and 3 on making your own texture/image sheets and rollers) , whatever you want to call them. The first piece has, thanks to the inspiration of Christi Friesen's polymer clay art work, where she talks about incorporating inclusions, which is anything not made from polymer clay. I incorporated items like micro beads and a small faceted Glass bead. The surface was then treated with Mica Powder, acrylic paint, and finished with that frustrating water based polyurethane. I thought it looked great at first, but then as you take the photos under direct sunlight, then you see all those darn bubbles...teeny ones!
Here are a pile of some more photos of some of the pieces that I turned into earrings. I think they look pretty great, as long as I don't zoom in with a macro lens! Maybe I am being too picky. Oh
HeArtfully Creating is all about encouraging creativity in all it's ways. I may be a visual artist, who spent the majority of her artistic life working in two dimensions, illustrating, drawing and painting. But as most of you know, when creating is in your DNA, you are not restricted to just one or two disciplines. To not experiment and learn all there is to learn when it comes to the plethora of art making methods, feels wrong to me. Yes, there are are some artistic adventures that I tried, enjoyed for a bit, but often would always fall back two painting and drawing. Some of those adventures were things like wood burning pictures, dip it wire/flower making, rug hooking, embroidery, needle point, crocheting, knitting, weaving, sewing, macrame, leather work, paint by numbers, spool knitting, paper mache, and tissue paper flowers, to name a few. Now most definitely, there are some skills that I gained in that list, that I would use off an on for years to come for practical purposes. After all, it is wonderful to make your own clothing, pot hangers using macrame, and making your own sweaters, and hats and such, using knitting or crocheting! Not to mention the gifts you can make! In this recent decade, jewellery design and creating, has been a great three dimensional experience. Polymer clay has enhanced my ability to "paint" in a sense, in a three dimensional way. I love that ability.
Hi guys! That's Anita's beautiful birthday cake in the back!!
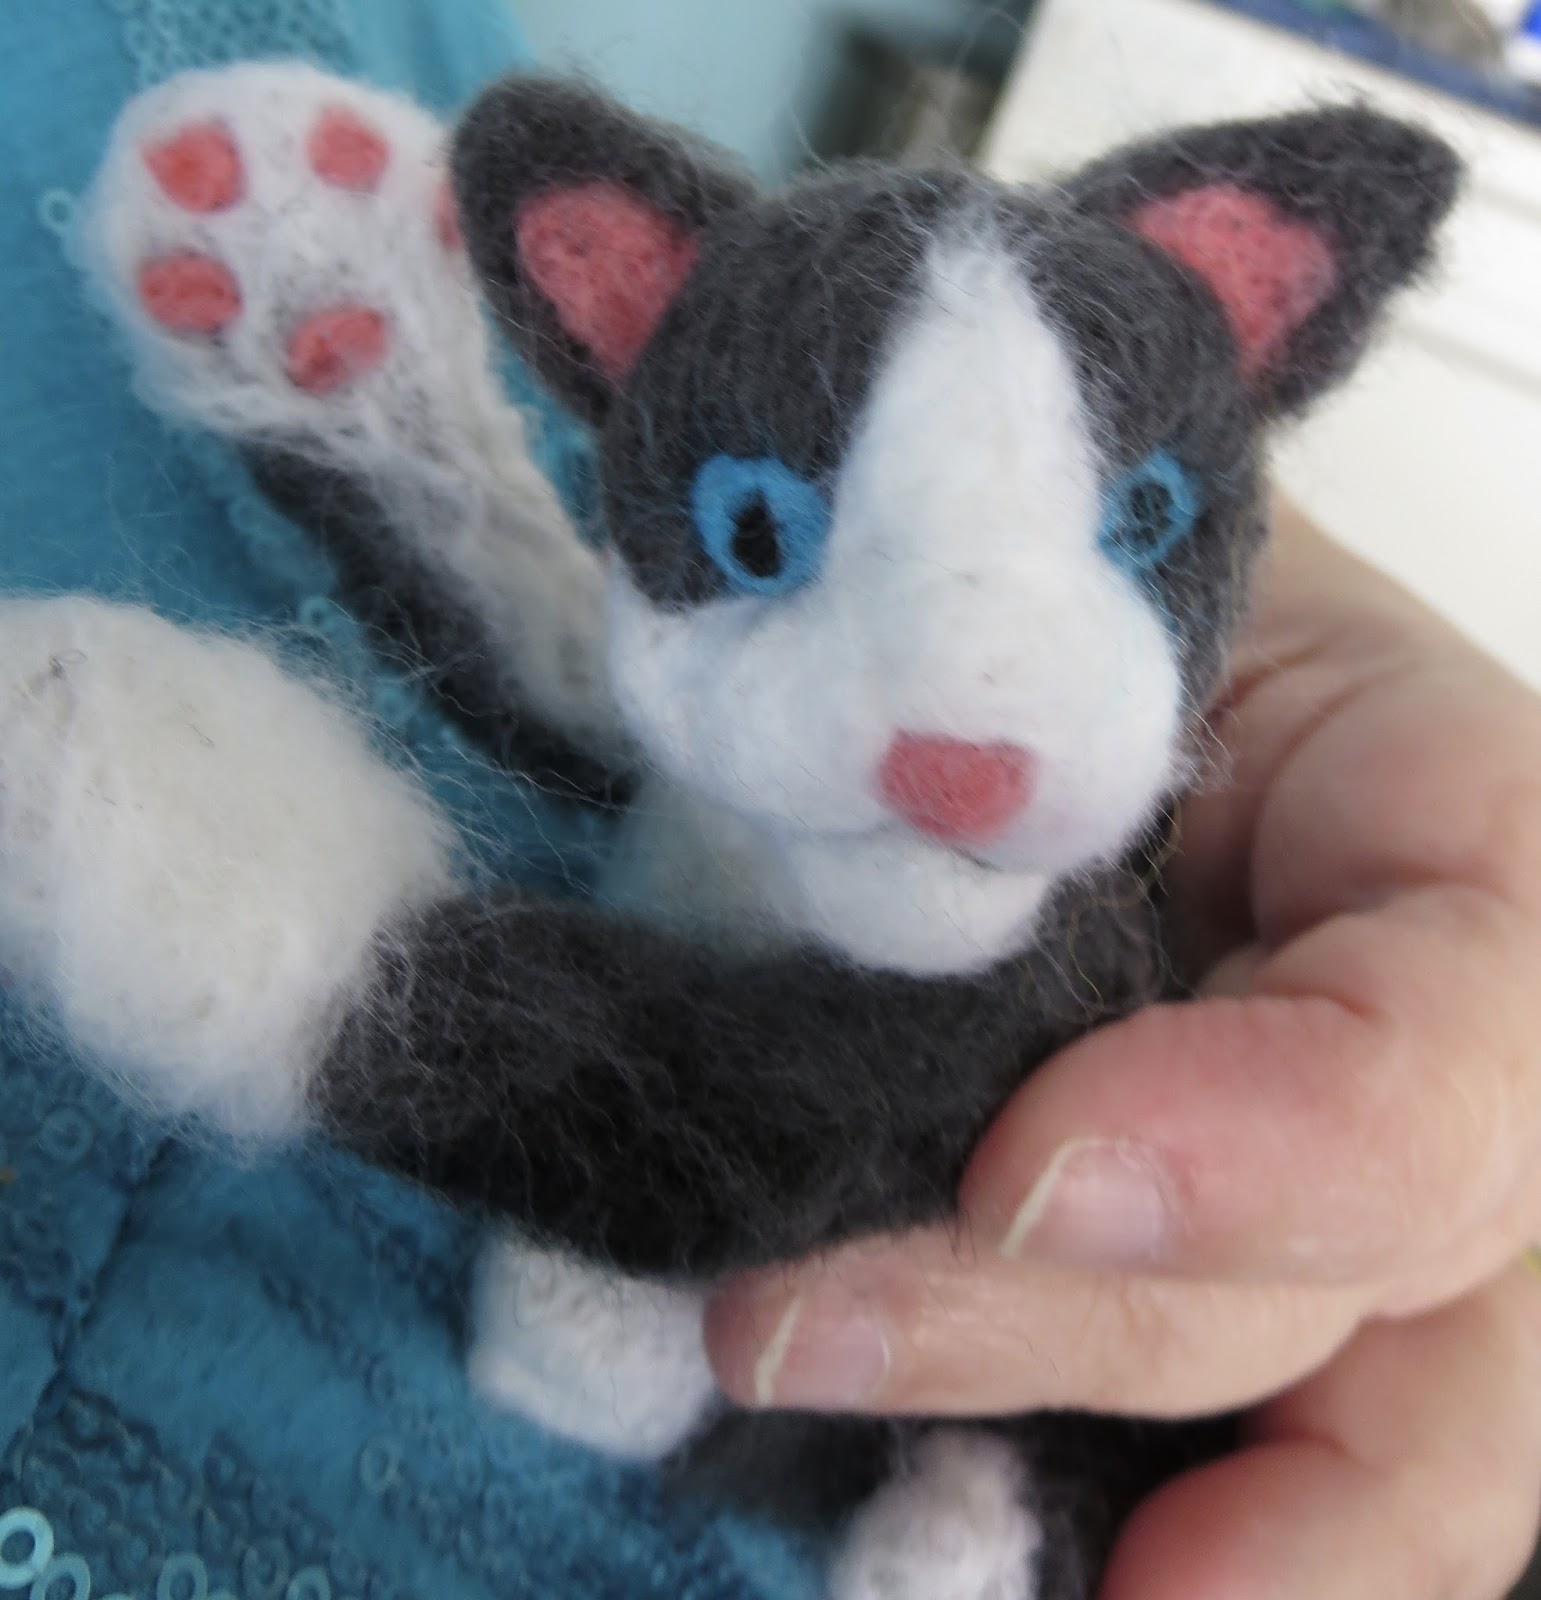
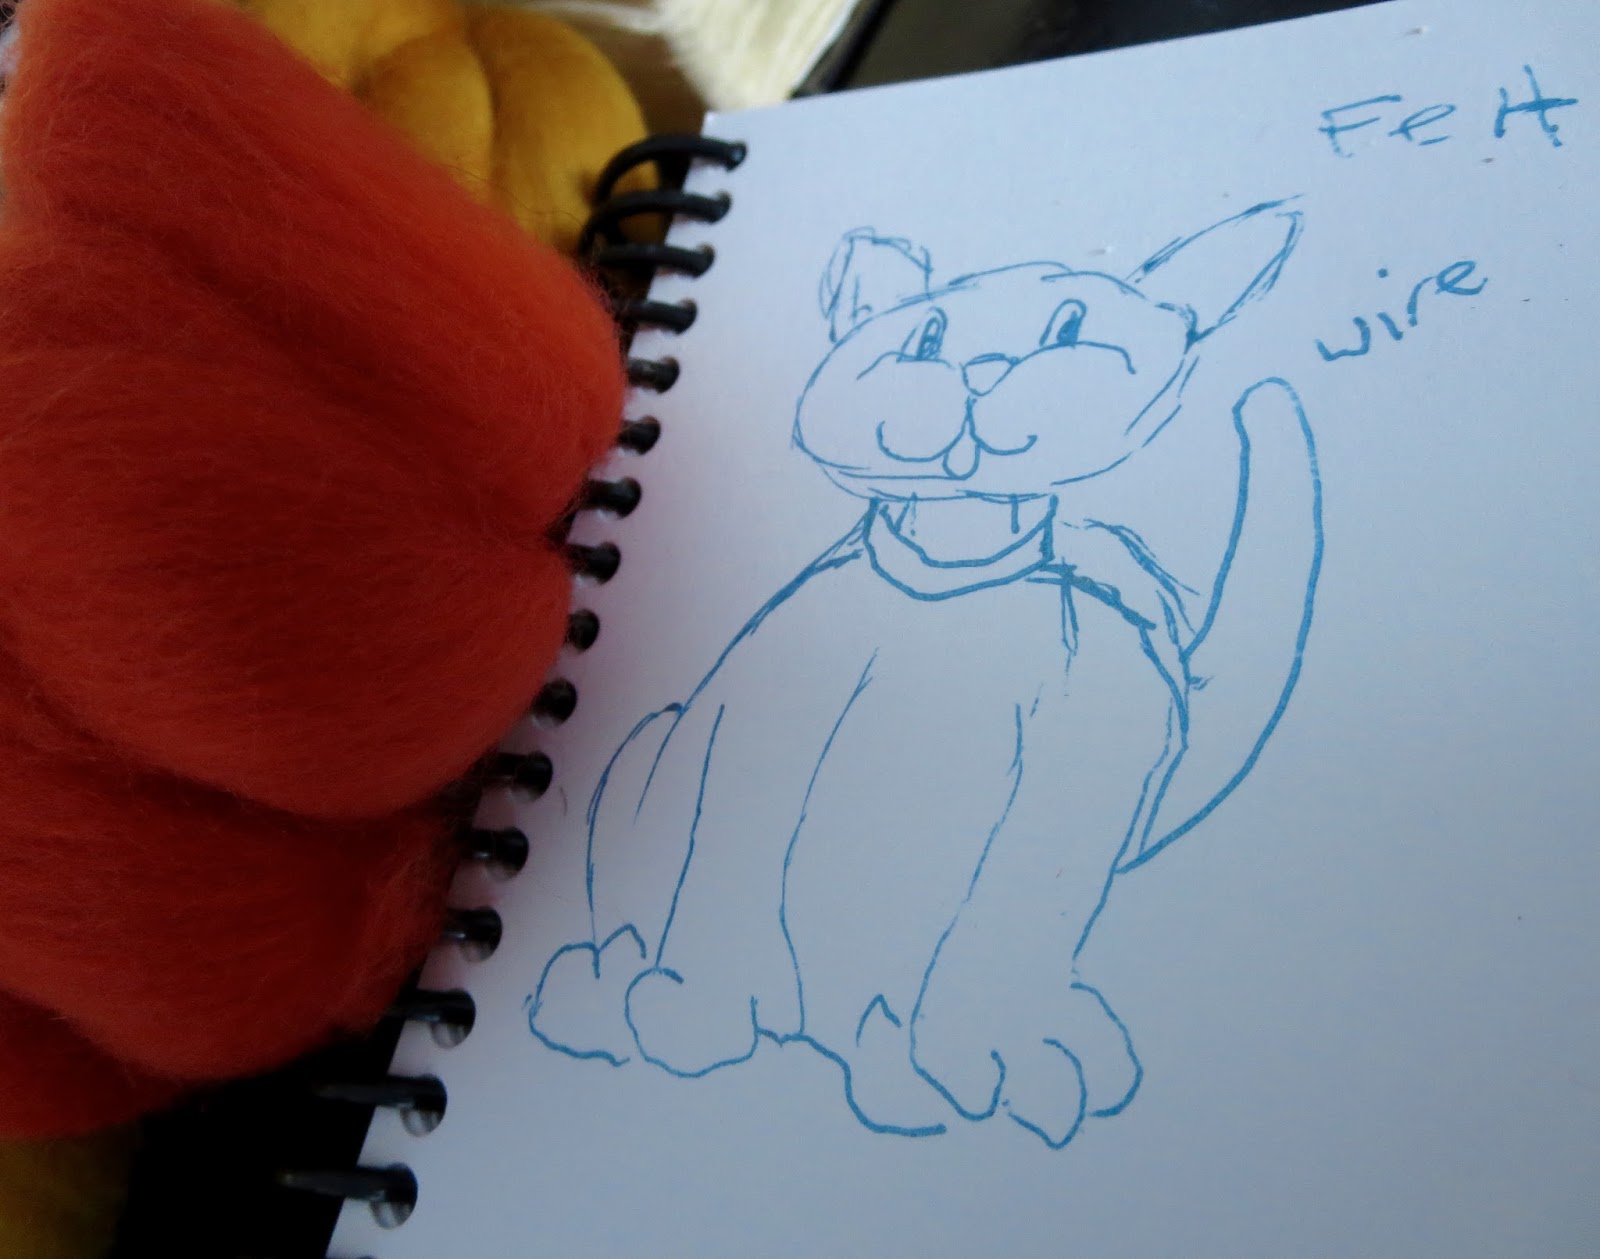
A couple months ago, I stumbled on lessons about felt making. I was never aware of how it was made. I learned about wet felting and needle felting. Since needle felting seemed manageable, I ordered an inexpensive kit on Amazon, and have since purchased some super soft merino wool. Here is a sneak Peek to see a few of he projects I have been learning to do. It is like sculpting with wool and a needle. You can make jewellery components, little fuzzy critters, felt fabric, jewellery, accessories. scarves, hats...flowers....endless possibilities.
"Here I am in the beginning!"
Meet Maggie!
She is still cute! This kitty was attempted a month ago or so when I thought I figured it out enough, so I could make a kitten for a family member. Well, I was not happy with what I did, so now, I call her maggie (my last cat was grey and white with a pink nose.) But since learning something new means learning valuable lessons, I want to share Maggie in process any way.
As soon as I am done, I will be sharing the video with more details about my felting experience thus far!
Be Inspired! HeArtfully Creating!
Anita
Subscribe! Like and Share!! (if you want of course :o)