Showing posts with label original art work. Show all posts

Wednesday, December 27, 2017

A New Hand Drawn Illustration by Me: Facial Expressions

illustration by me, Anita Berglund
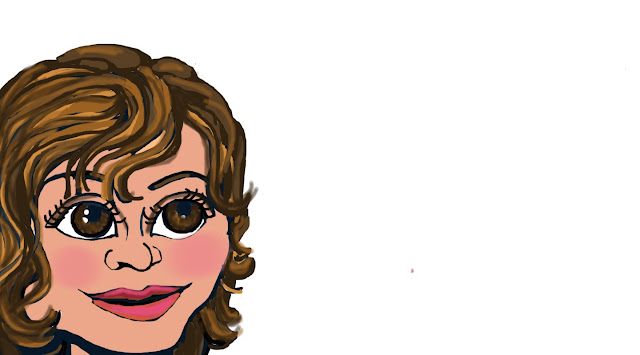
 Hi guys! Hope you are enjoying creating in some form or another. I want to share a recent drawing I just completed to illustrate another blog site I have called Walking Way Overrated. Below was an incomplete version and then I added and changed things like her facial expression. It is tricky for me to draw someone's mouth slanted to portray puzzled look.
halfway done
illustration by me, Anita Berglund
HeArtfully Creating,
Anita

Subscribe! Like and Share!! (if you want of course :o)

Come and join my HeArtfully Creating Group on Facebook.
Here is where you can show us your original artwork, questions and thoughts here. There is a guideline page.

"LIKE" HeArtfully Creating Here on FACEBOOK

A Bergie Creation Shop Blog

A BERGIE CREATION - at Etsy, my handmade jewelry shop

 LIKE ABC On Facebook

ABC On Twitter

YOU Tube Channel

Pinterest

Tuesday, January 19, 2016

Purposeful or Functional Art: Personalized Greeting "Cards"- Part 2

A Work in progress, not complete. Illustration by Anita Berglund
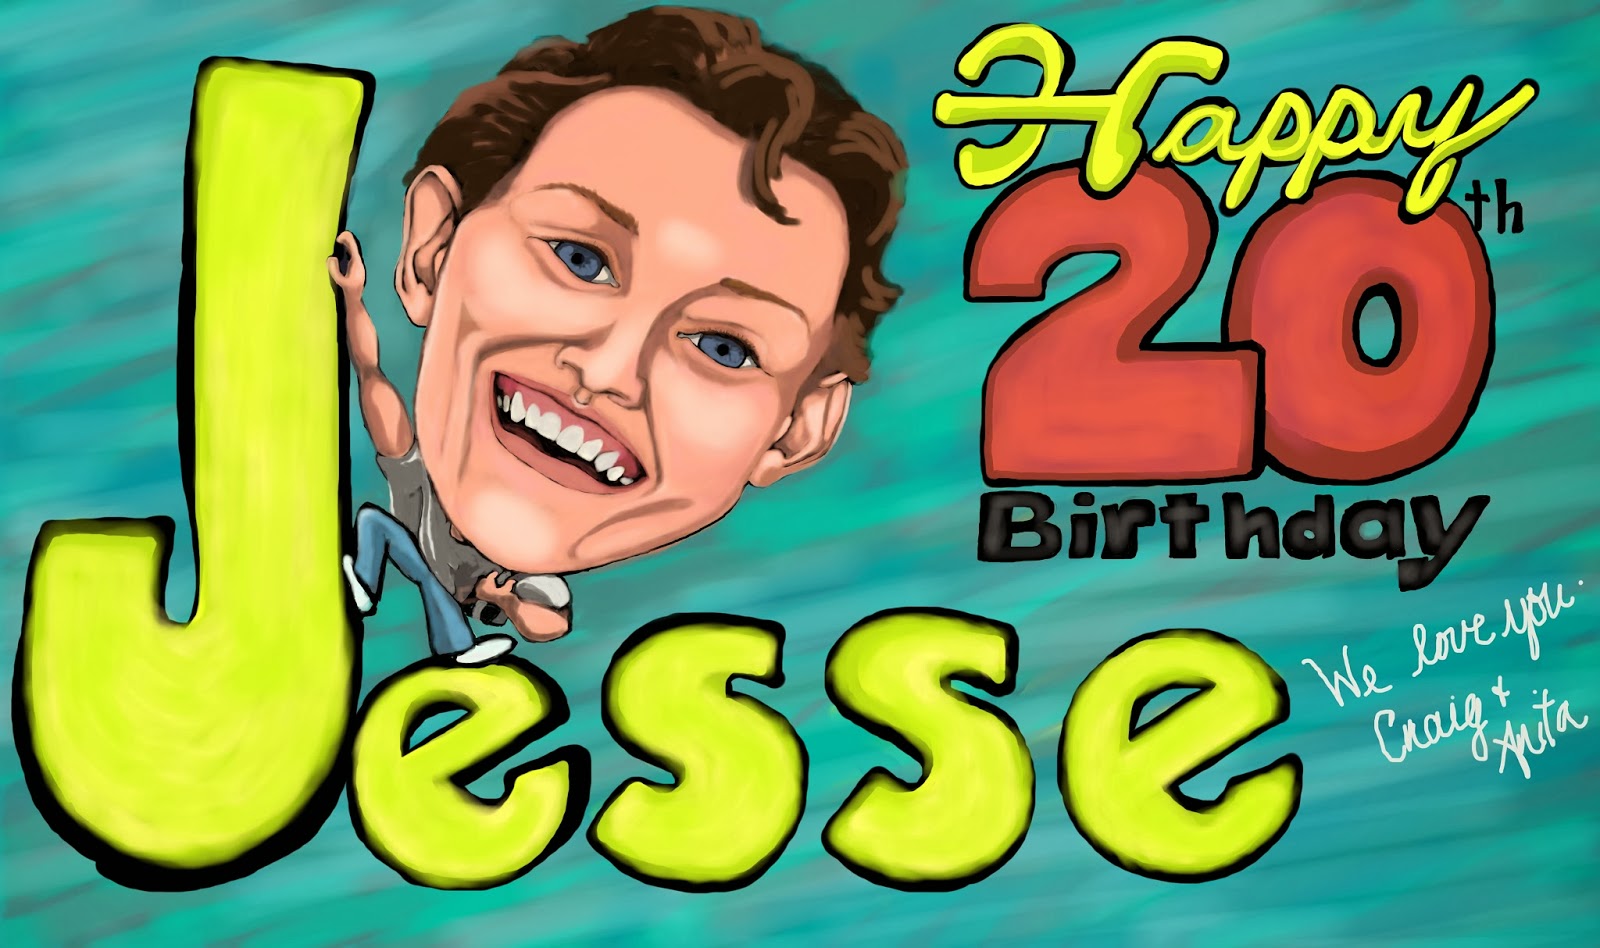
Okay, I shared just a few examples of the original greeting cards I made years ago using traditional methods. Remember paper, pencils and markers! These days I have bee using my computer to draw and paint images. Something that I started out doing for fun was to take photos of friends and family and open the photo up into a drawing/painting app like Sketchbook Express. And then....I just embellished a lot! Adding costumes and backgrounds. So you can see some of the process I  am posting a series of before, during and to the finished result images.
Print Anywhere!?
What is great about digitalizing your work by drawing digital or scanning your work into a jpeg file, you can email your personalized, original art work to the recipients. And they can do what they want with it including making it wallpaper on their computer, print it out in whatever size it can be. If you go to printing web sites you will see original images on t-shirts, mugs, posters, calendars, pins, pretty much anything you can print on.  That is something you might want to consider if you want to make gift that way.
Have Fun!
When you create heArtfully, you are enjoying, even loving what you are doing and that means it won't feel like a chore. As well people care if you take time to create something personalized just for them. So if you don't already make your own cards and gifts, I encourage you to.
Time To Share...

This is a compilation of faces from photos of family members- Illustration by Anita Berglund


Family members of ours who went from this...
To this...
To This...
To the final result, this! Illustration by Anita Berglund

Here are my parents before...
Add caption Illustration by Anita Berglund


Mom and Dad again...I collaged a pile of old photos and had some fun....
Here Was the final result! Illustration by Anita Berglund
Wanting it to be perfect, I was happy that it turned out pretty good. Always room to perfect! Illustration by Anita Berglund


Here is the before process....Illustration by Anita Berglund

Friday, October 9, 2015

Polymer Clay Journey: Making your own Texture Sheets/Plates

As with any artistic discipline, I like to learn all I can and develop what I can in an attempt to be as original and as unique as possible. As a visual artist I must say, when it comes to the huge variety of polymer clay tools, such as texture sheets, texture rollers, and image transfer methods, cookie cutters, moulds for all shapes....etc.

As tempted as I was to purchase some to help make beautiful pieces. I just couldn't do it. Why? Because as a visual artist, I really struggle with feeling bad or guilty, not working with my own images and shapes. And even if you aren't a professional artist, you can still make your own designs. All you need is the desire to do so. It is far more rewarding, for me anyway, to know that a piece of jewelry or whatever it may be, was all my own work. Maybe I have guilt issues, using existing tools like texture sheets, but it is where I am at at this moment in time.
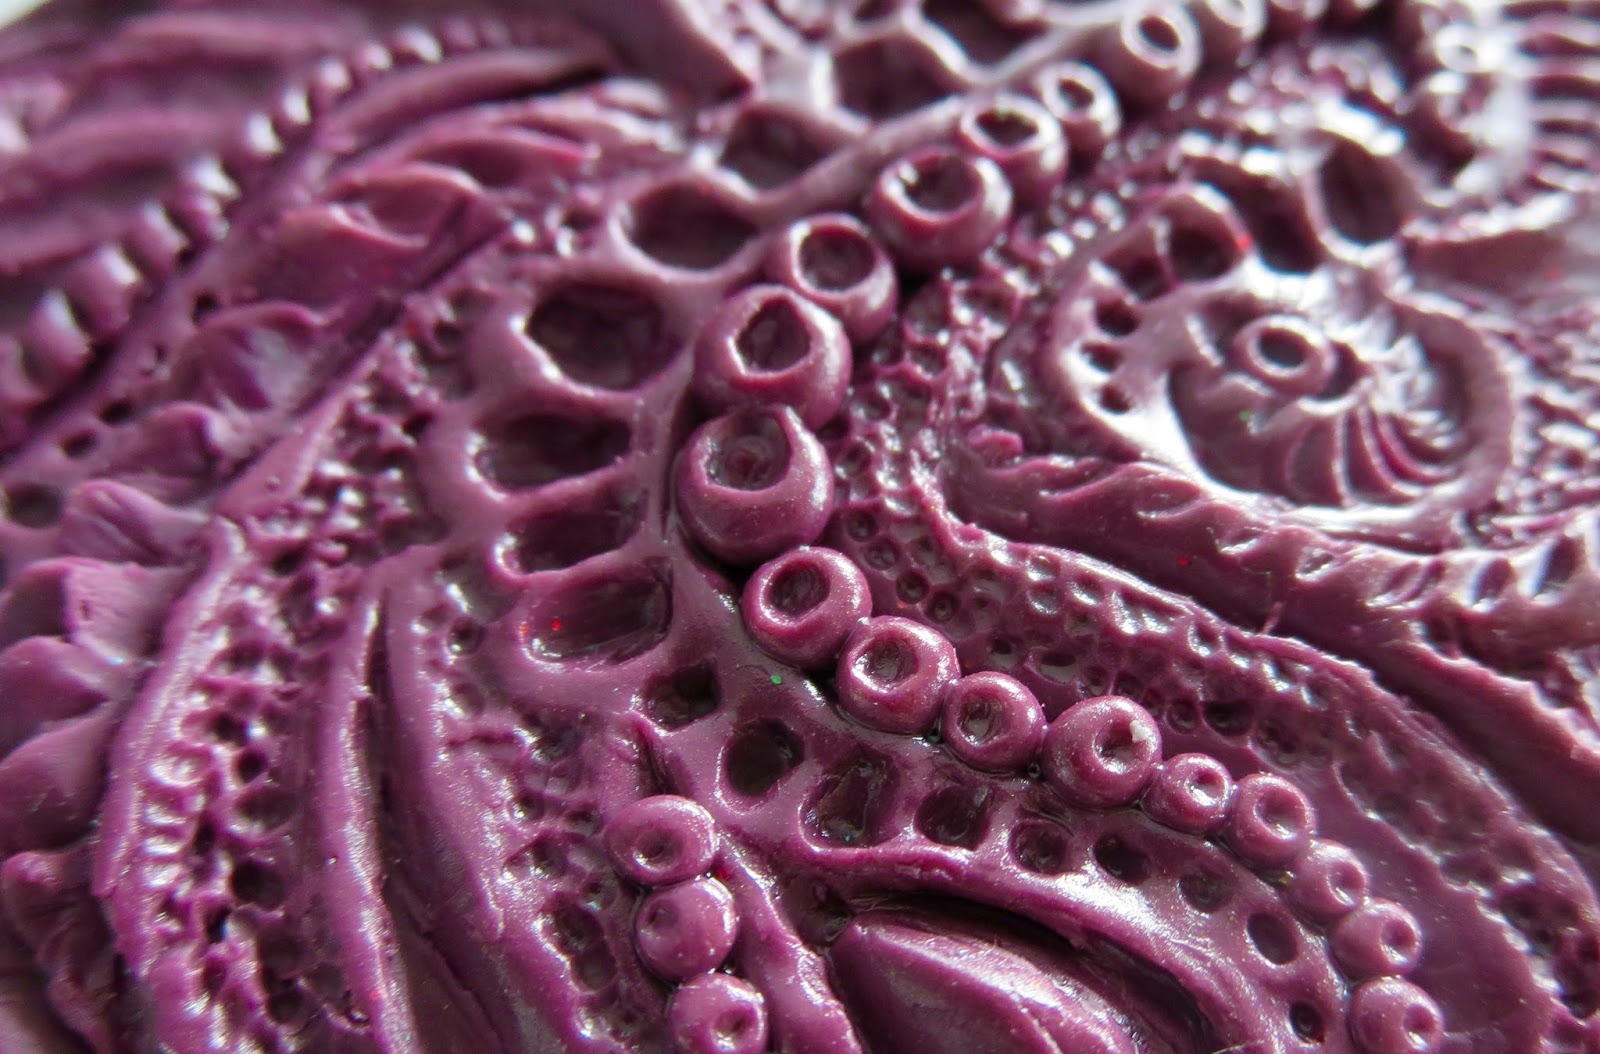
Here is my first texture plate and the impression I made on the right in a pendant.

Here is my first texture plate and the impression
I made on the back of the pendant 
That being said, at the beginning of my poly clay journey, I didn't know that it was possible to be completely original by making your own textures plates or sheets, as well as moulds. That was until I started searching and discovered folks like Katie from Katers Acres, and some other poly clay artists, who offer tutorials online on how to make a texture plate or sheet out of polymer clay. Yes, there are countless texture making materials out there. But, it is so much more rewarding, if you so choose, to design your own textures and designs and then be able to use those textural designs in your clay creations.


Here is the result of raw then baked clay, after pressing
the texture sheet (on left) into raw clay.


This video is a highlight just to share some of the texture sheets and rollers that I have made from beginning to end. Think of it as doodling on a sheet of clay. In my case, some of the texture plates were carved or pushed into, and some were in the technique of "addition." meaning, you roll out clay lines, dots, shapes and such and add them to a flattened piece of clay. Then bake it and voila, you have your very own texture/design making plate.
After watching a review on Cindy Leitz's Polymer Clay Tutor channel on YouTube, I learned about texture/design rollers you could purchase. Here is that video...

She is another artist I have and keep learning from. I suggest checking her videos out. However, the designs, would not be my own, so I experimented successfully with making my own texture rollers. They work wonderfully! Not saying all these tools
 that you can purchase are not good, they are great for anyone who doesn't want to or can't make their own designs.

Suggestions When Using A Polymer Clay Texture Sheet.
Silicone never sticks to anything. That is fine if I was using silicone, but so far, I am not. It means that since my texture impression stamps are made of baked polymer clay, that means there is a fish that the textures can stick to the clay you are trying to imprint on.
What to do? I actually discovered that Baby Oil is one of my favourite tools. I rub baby oil all over the surface of my baked clay texture roller or sheet in a thin layer, especially putting it into the deeper crevices. The professionals may shake there head at me, but I just know that because the clay is so porous, it works well at releasing the raw clay.
Or you can use a spray bottle of water. Just lightly spray the clay with water or the plate/roller and then water releases your texture maker. Water and clay do not mix, so make sure it is dry after. Blot it gently with a lint free cloth or bounty paper towel.

This video doesn't show the making" it process, just the final results. But I will share some links below so you can see how Katie from Kater's Acres first showed me in her video.

Hope this helps a little.

Questions, thoughts or Comments, please feel free to write them down below.
Subscribe! Like and Share!! (if you want of course :o)

LIKE HeArtfully Creating Here on FACEBOOK: https://www.facebook.com/HeArtfullyCreating/

HeArtfully Creating Blog: 

A Bergie Creation Shop Blog: http://abergiecreation.blogspot.ca

A BERGIE CREATION - my handmade jewelry shop

Facebook:

Twitter:

YOU Tube Channel

Pinterest:

HeArtfully Creating: 

Thursday, September 17, 2015

THE STORY OF MY SHOP "A Bergie Creation"

A closer look at my Etsy Shop Story....
I have been creating ever since I could hold a pencil. As a self taught artist, my main discipline has been Visual. Everything from illustrating, to painting, to graphic design. It didn't hurt that early on inspiration seeds were planted, as I got to see my Dad's colour pastel and oil landscape paintings. Not to mention, my parents always provided me with craft kits and art materials. I remember playing
around with "Dip It" plastic film, wood burning, rug hooking, spirograph, paints, Laurentian Coloured pencils, plaster of paris moulds and figures to paint, spool knitting....oh, the memories.

Out of High School, I was hoping to take our university's Honours Bachelor of Fine Arts program. Sadly, it wasn't fully wheelchair accessible so I was unable to attend. After some employment stints, (not art related), while always drawing and such, I finally decided to enrol at our local College. (about 1989-1991) in Arts Administration. Even though it was a great learning experience, especially since, I got to complete a 4 month internship in fundraising at the Royal W inning Ballet and in the education department at the Thunder Bay Art Gallery, I concluded that the management side of the arts just wasn't for me. Creating is in my blood.

It helped that, after obtaining a one year employment contract as the education assistant, while at the Gallery, I was given the opportunity to do just that, create. Better yet, I learned how much I love teaching and inspiring children to make art. Aside from assisting with art lessons,  I also got to teach some cartooning lessons to children. They also let me Illustrate their fundraising cookbook!


Whether in school or working, my entire life has always been spent creating wherever I could, illustrating, painting, sketching - designing whatever and even the few arts and craft projects. I give credit to my dear Grandma Harris, who would have me sleep over at her home when I was a kid and she always had a craft kit for me to put together, if no kit, there were styrofoam egg cartons and other materials to cut up and make something from.

Aside from my usual creating projects, learning the new age of computer desk top publishing became a new passion. Again, self taught, I was hired to work on a local small publication doing layout and design. That lead to the inception of a small coffee paper, called Superior Coffee Talk. A friend did all the leg work, seeking out advertisers and shops that she would then deliver to. It was great fun to work on designing and publishing a fun little paper for a quick read during a comforting cup of joe.

In the late 1980s, I forgot to mention that I was blessed with receiving my first solo exhibition in the
Pictograph Art Gallery in Atikokan, Ontario. The subject back then, reflected my heart at the time, fashion illustration. And...about twenty years later (about 1998), thanks to our university finally becoming fully wheelchair accessible, I enrolled part time in that HBFA program and honed my composition, design, painting, drawing and printmaking skills. Not to mention, receiving great inspiration by being able to learn a tonne in a couple of art history classes as well as, being selected to participate in a few "Lakehead University's juried art exhibitions."

In 2001, I was blessed yet again, with falling in love and marrying my now husband, Craig.

About nine years ago, I was blessed with an Ontario Art Council "New Works" Grant. The theme was "All Creation Sings." My inspiration was to paint God's creation in whatever manner inspired me. The paintings were in acrylic and the subject matter included fruit, flowers and vegetables. Inspired by Georgia O'Keefe, I too feel that you can't just look at something like a flower at a distance or as a whole. It is when you look very closely that you can seen amazing details that most people miss. That is basically how to best describe my paintings.

On my own, working on some meaningful polymer clay figures.

polymer clay in my shop

Acrylic paint on canvas by Anita Berglund

Acrylic paint on canvas by Anita Berglund

A marker rendering by Anita Berglund

A marker rendering by Anita Berglund


To some up my Etsy Shop Story.....
Creating has always been in my DNA, my blood, if you will. It is too difficult for me to focus on just writing a story about my shop, because there is so much more. The actual online shop was a practical decision for me. In that, due to being physically challenged, I am unable to travel and do things like sell my work at Markets or do the "leg" work seeking vendors. When I saw what Easy offered, it was a perfect opportunity to  sell my work.

Drawing, Illustrating, Painting, design work and such, have always been my number one focus. It wasn't until 2008, when a spontaneous, practical need, prompted my dive into designing and making jewelry! I love it, but like my always bouncing brain, my ideas lead to changes in materials and designs, so nothing is ever the same way. Well, the only consistent design, is my number one seller, "The MINI Collection" small hoop earrings.

Most recently, my newest creative tool has become polymer clay. Love the fell, the colour and the endless possibilities. For more details about me personally, please feel free to check out my blogs and YouTube Channel.

For me, making jewelry has been like painting with wire and beads and most recently, polymer clay!

A SIDE NOTE:  Please, if you have children, encourage them to create. Always have art making materials available. No, you don't have to spend lots of money, just paper and pens and pencils, crayons...pressing flowers, leaves in pages, cutting, glueing, pasting....I think you get the idea. And remember, don't tell them that sky's aren't purple or green, if they colour it that way (I say that because I really did hear a parent say that to their child once, it was so painful to hear and watch)...there are no rules when it comes to kids and art. It should never be a painful process, if they aren't enjoying themselves, then, don't force them.

Tuesday, July 7, 2015

Inspired By More Flowers...

Just wanted to show you the video I just made to share some more about just how inspiring flowers Georgia O'Keefe knew that, take a look at some of her beautiful paintings. It was because of her, that I even thought of painting close-ups of these most colourful blooms. Check out this Kid's activity page on Pinterest about Georgia's work.
 Leon checking out my unfinished painting.
have been in my artistic life. You'll see a few of the hundreds of photos of those flowers I took. Oh, I forgot to say, that some of the flowers, I even planted from seeds just so I could be inspired when they grew up! If you want to know how to be inspired try looking at flowers in a really close way. God didn't want us to just pass them by.


Click Below to watch Inspired By Flowers....


Drawing With A Mouse!


I have been drawing and painting for almost half a century and didn't learn this method of drawing
until a few years ago! Being an old fashioned girl, I've used pencils, coloured pencils too, as well as pastels and markers, not to mention acrylic paint, for yes, painting! Drawing with my mouse was
something I played around with years ago but never took it seriously. But, about three years ago or more, the thought came to my mind, "I wonder if there are any drawing devices for the computer?"
Lo an behold, I found a Bamboo Wacomb drawing tablet on Amazon.ca and used the basic Corel program that came with it. 
Back to Kindergarten
However, when I first started with the more serious attempts at drawing digitally,  it was like being
An Unfinished digital drawing...I might finish it some day.
five years old again. Five is great, but I am in my late forties and drawing is something I have done most of those years. So imagine picking up a pencil for the first time and having a shaking hand? That is what it was like. It took a lot of frustration and trial and error to discover software that could make my lines straighter.
If you have downloaded apps or software like Sketchbook Pro or iDraw, you may already have discovered what I did. I couldn't draw circles or straight lines, it was far too wobbly. Believe it or not it was easy to do with a pencil, but not on the computer. That was why at first, I would draw out the basics in pencil, then scan it and then draw over it with the mouse or tablet. See the picture to the right? See the pencil lines? That is real, good old fashioned pencil.
Never Give Up!
However, what kept me from giving up was being able to draw, colour and erase as many times as I wanted to. Not to mention, the fact that it was just easier for me to look up at my monitor and not with my neck bent down for hours. And the other awesome feature, some software simulates all art media like chalk pastels, watercolour paint, pen, marker, pencil and even various canvas or paper surface textures! Super cool.
Needless to say, I was inspired to not give up.  And by the way, you don't need the Bamboo drawing device, you can just use your mouse. In fact, some times it seems like you have more control with the mouse. Most computers come with paint programs that are free, so try it out.
Sharing Some of My Digital Drawings...

This drawing was drawn just for this blog to illustrate a topic  By Anita Berglund

I was trying to show a feeling - what does this drawing make you feel? By Anita Berglund

Illustrations communicate messages, what is this one saying? By Anita Berglund

This is another drawing in a cartoon style to communicate a message.   By Anita Berglund

Always Learning...
As, I am with all art forms, I am still learning the world of drawing digitally. Since this blog is intended to inspire creativity as well as offer up some lessons, I wanted to share some of my digital drawing attempts so far. I want to encourage you to try it if you haven't already or if you experienced frustration like I did, to say, don't give up! I would love to see your drawings. Message me if you have something you want to share. Remember to save your pictures so you don't lose them if your system crashes. Mine crashed when I didn't have enough RAM. Which is memory. If your computer slows down, every now an then save, and reboot. It will clear the RAM (Random Access Memory) and hopefully, give you some more drawing time.

The Bamboo by Wacomb device comes with a small flat surface that plugs into a USB port and a pencil like device. The programs I like to draw most with, as a beginner is an app called iDraw. For some reason the original software doesn't work anymore. With iDraw, you can control the steady part. Meaning you can make adjustments to help your line making, anywhere from 0-100% control.
This is A cartoon of Craig doing laundry that I drew for another blog

This one was made as a digital card using the photos as a base t work from.


 Illustration by By Anita Berglund