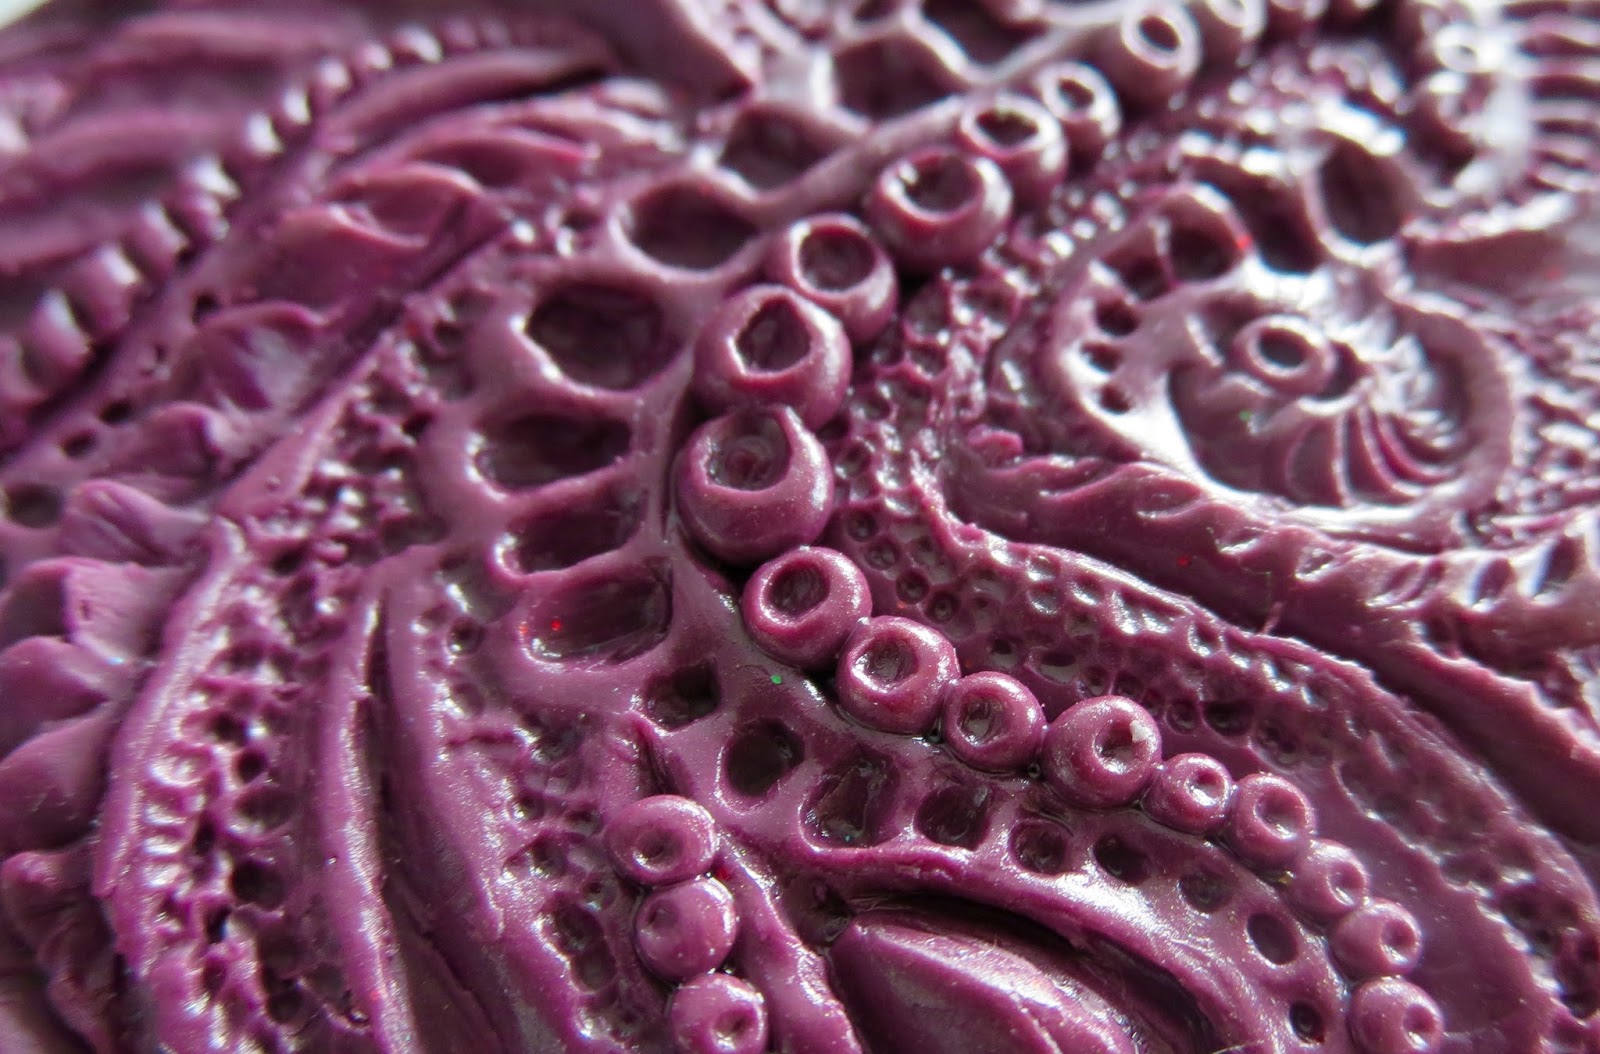
Showing posts with label textures. Show all posts

Monday, June 20, 2016

Practical Polymer Clay Project: Happy Dad's Day - Gift Idea - A Hybrid Faux Stone "DAD" Key Ring

2016- Faux stone from polymer clay - key chain for my Dad made by me!
Yah, I know it is the day after of D-Day (Dad's Day), but I still want to share what I tried to create for my Dad. He loves rocks. In fact he and my sister have risked life and limb to get some good rocks via Lake Superior. (Hope I got that right)
When you want to make a gift for someone, it helps to try to focus on coming up with an idea based on what  you know the gift receiver likes. It just makes it more meaningful and might please them. Mind you, anything handmade from a friend or family member, is always meaningful!
Faux Stone or as my mom calls it "Fox" Stone, means "fake" in English. Faux is a French word.
Rock, Stone, Gemstone?
When you want to try to make your clay to look like a specific surface, such as faux stone It is best of
course to have a reference point to look at. Or just make it up. That is what I did. Nope, I just worked from my memory and instead of getting a Jasper stone surface, I have a hybrid, (made my own kind) a cross between granite and jasper.   Here are some samples of granite and jasper types. As I looked them up, I was inspired to try more re-creation in poly clay.  As well, below are some great links about other stone types as well. Be inspired....
Click this link to learn more about granite.
Click Here to See Rock Types
Click here to see the many varieties of Stone including gemstones

I am sorry I didn't take any how to or works in progress photos. But,  here are the basics incase you might be inspired to try making a personalized key chain.
What I Did
1. Smooshing Colours:
We all know what it means to smoosh right? As an artist, colour mixing is one of my favourite things to do in the art making process. When I use paint, I use a paintbrush. But when I work in polymer clay, I smoosh. That means to take the colours you want to combine to get another colour, like blue and red make purple or red and green make brown...and mix it together until the colours are well combined into the colour you want.
Depending on the kind of colours used for mixing, your end results may surprise you. If it isn't what you wanted, do not give up. Keep adding and subtracting. I don't do this, but I know other clay artists who like to keep records of "colour recipes." Where you might either make a sample of the colours you used and how much of each, to result in the colour you wanted.
This works well, if you want to get the exact same mixed colour every time. Maybe it is the visual artist in me, but, I like to eye ball it. Mind you, that means I never seem to get the same colour twice. As well, I often run out if the project is large. So mental note to self, "make sure I mix A LOT of the colour I need.
2. Colours used? In this project, my goal was to create rock like surface. That means I then took the colours I "smooshed" together, made ropes, thick, thin or use chunks of colours I thought might make a great faux stone look. Then do some smooshing, or twisting and folding and twisting. The goal is to marbel-ize the clay, creating that rock look. Be careful not too over smoosh the colours or else you may cross the line from marbleizing and effects to a whole new colour mix.
3. Shaping It. In this instance, my goal was to make a personalized key ring for my Dad. So, it makes sense that I wanted it to spell "DAD." My husband had the idea to cut "DAD," out of the clay instead of making each letter and trying to connect them into one piece. I tried Craig's idea and that is what worked.
You can shape it how ever you want.
4. Armature or Support: I forgot to say that if you want your piece to be extra strong, you can place a sturdy 18 gauge wire inside the piece. This piece has a wire running through some of it to strengthen it. At least I think I did. My memory is a tad foggy.
5. Texturizing: Once you have the shape you want, then it is time to create a rock surface.
2016- Faux stone from polymer clay -
key chain for my Dad made by me!

Some rocks are polished and shiny. Natural rocks usually are never polished and shiny. For my keychain, I wanted the stone to look as if it was hand cut or carved and then ground down to a semi smooth surface. How to texturize a stone surface. You can use an old toothbrush, sandpaper (just push rough sandpaper onto the clay surface. You can use a needle or pointy tool and literally dab the clay until it looks how you want. I used a spiral bristle tool that looks like a giant mascara brush.
6. Rings and Do Dads: I wanted to embellish the clay to make it interesting. Using a drop of liquid polymer clay, I set in a steampunk gear and poked some details into the clay. As well, I needed a place to suspend the key ring attachment so, I inserted a large metal steampunk gear ring.
Also, while the clay was unbaked, I added some light touches od shimmery mica powder for fun and pizazz.
7. Finishing Touch Ups. Once the clay is baked according to package directions on a
2016- Faux stone from polymer clay - key chain for my Dad made by me

ceramic tile, tented with a foil piece or foil cake pan and it is cooled completely. You can sand it a little and buff it up a bit. Or leave it as it is...or you can use a polymer clay compatible glaze in the finish you want. I used a renaissance wax to protect it.
7. Gift It!
2016- Faux stone from polymer clay - key chain for my Dad made by me!

2016- Faux stone from polymer clay - key chain for my Dad made by me

Saturday, May 14, 2016

STUDIO LIFE: Using My DIY Texture Sheets

A while back, I was having fun creating texture sheets and stamps for my polymer clay designs out of polymer clay. They work really well. It does take trial and error, because some designs can be to uneven to imprint your clay well. As well, you want to try different depths. You can essentially "carve" into a thick sheet or piece of clay to you can "add" to a sheet of clay. Click here to go to the  article I did back then about my handmade polymer clay texture rollers and click here for the texture sheets.
Here are a few photos of the results from testing out my favourite dandelion seed texture sheets.


All made with these texture sheets below I made last year!!


Friday, October 9, 2015

Polymer Clay Journey: Making your own Texture Sheets/Plates

As with any artistic discipline, I like to learn all I can and develop what I can in an attempt to be as original and as unique as possible. As a visual artist I must say, when it comes to the huge variety of polymer clay tools, such as texture sheets, texture rollers, and image transfer methods, cookie cutters, moulds for all shapes....etc.

As tempted as I was to purchase some to help make beautiful pieces. I just couldn't do it. Why? Because as a visual artist, I really struggle with feeling bad or guilty, not working with my own images and shapes. And even if you aren't a professional artist, you can still make your own designs. All you need is the desire to do so. It is far more rewarding, for me anyway, to know that a piece of jewelry or whatever it may be, was all my own work. Maybe I have guilt issues, using existing tools like texture sheets, but it is where I am at at this moment in time.
Here is my first texture plate and the impression I made on the right in a pendant.

Here is my first texture plate and the impression
I made on the back of the pendant 
That being said, at the beginning of my poly clay journey, I didn't know that it was possible to be completely original by making your own textures plates or sheets, as well as moulds. That was until I started searching and discovered folks like Katie from Katers Acres, and some other poly clay artists, who offer tutorials online on how to make a texture plate or sheet out of polymer clay. Yes, there are countless texture making materials out there. But, it is so much more rewarding, if you so choose, to design your own textures and designs and then be able to use those textural designs in your clay creations.


Here is the result of raw then baked clay, after pressing
the texture sheet (on left) into raw clay.


This video is a highlight just to share some of the texture sheets and rollers that I have made from beginning to end. Think of it as doodling on a sheet of clay. In my case, some of the texture plates were carved or pushed into, and some were in the technique of "addition." meaning, you roll out clay lines, dots, shapes and such and add them to a flattened piece of clay. Then bake it and voila, you have your very own texture/design making plate.
After watching a review on Cindy Leitz's Polymer Clay Tutor channel on YouTube, I learned about texture/design rollers you could purchase. Here is that video...

She is another artist I have and keep learning from. I suggest checking her videos out. However, the designs, would not be my own, so I experimented successfully with making my own texture rollers. They work wonderfully! Not saying all these tools
 that you can purchase are not good, they are great for anyone who doesn't want to or can't make their own designs.

Suggestions When Using A Polymer Clay Texture Sheet.
Silicone never sticks to anything. That is fine if I was using silicone, but so far, I am not. It means that since my texture impression stamps are made of baked polymer clay, that means there is a fish that the textures can stick to the clay you are trying to imprint on.
What to do? I actually discovered that Baby Oil is one of my favourite tools. I rub baby oil all over the surface of my baked clay texture roller or sheet in a thin layer, especially putting it into the deeper crevices. The professionals may shake there head at me, but I just know that because the clay is so porous, it works well at releasing the raw clay.
Or you can use a spray bottle of water. Just lightly spray the clay with water or the plate/roller and then water releases your texture maker. Water and clay do not mix, so make sure it is dry after. Blot it gently with a lint free cloth or bounty paper towel.

This video doesn't show the making" it process, just the final results. But I will share some links below so you can see how Katie from Kater's Acres first showed me in her video.

Hope this helps a little.

Questions, thoughts or Comments, please feel free to write them down below.
Subscribe! Like and Share!! (if you want of course :o)

LIKE HeArtfully Creating Here on FACEBOOK: https://www.facebook.com/HeArtfullyCreating/

HeArtfully Creating Blog: 

A Bergie Creation Shop Blog: http://abergiecreation.blogspot.ca

A BERGIE CREATION - my handmade jewelry shop

Facebook:

Twitter:

YOU Tube Channel

Pinterest:

HeArtfully Creating: