A place to encourage the creativity of artistic minds of all ages. Offering Ideas, Inspiration and Instruction and sharing the work of others who inspire me!
Hi guys! Hope you're all having a good day so far. If you follow me on Instagram you may remember that I shared a teaser photo a couple weeks back, of something I was working on for someone special. Said I would be posting more soon, so much for that. But finally here is what I was working on. This is a little bit tutorial but more of a come and learn with me video. It involves epoxy resin and of course they always wonderful polymer clay. Hope you're inspired to try out some of these techniques.
Whenever I see a great glass jar, I tell Craig to save it for me! So far, I have way too many bottles and jars but hey, it is best to have too many- because you never know when you want to make a gift or just feel like decorating a vessel. This project was created using a salsa jar. The shape of the jar was perfect for a vase. The bummer part is, my husband didn't like the salsa, so we won't be getting any more of these jars! :o(
Below is the video showing detailed photos of the vase making process. Or should I say, the jar transformation process. Colour Note: The colour purple is definitely a difficult colour to represent accurately in Digital photography. So as you will see, it looks like I am showing you to very different coloured vases. The true colour is not the blue purple as you see to the left, it is actually a reddish purple. Either way, the end result was pretty cool and I think my mom liked it.
Click here or below to see a great video with one of my favourite YouTube polymer clay artists, the unruly housewife - here she shows how to Cover a jar using clay that has been textured and coloured with Mica powders.
Materials needed to make a vase:
💗 polymer clay (I used Premo) Now, you can create canes or mokume-gane blocks to slice and add onto the surface like I did. Or just create a blend or mixture of whatever colours you want.
💗A Glass Jar or a tin can if you want
💗A cutting blade
💗Baking pan and aluminum foil to tent over while baking.
💗Ceramic tile to work on and bake on.
💗Mica powders
HeArtfully Creating is all about encouraging creativity in all it's ways. I may be a visual artist, who spent the majority of her artistic life working in two dimensions, illustrating, drawing and painting. But as most of you know, when creating is in your DNA, you are not restricted to just one or two disciplines. To not experiment and learn all there is to learn when it comes to the plethora of art making methods, feels wrong to me. Yes, there are are some artistic adventures that I tried, enjoyed for a bit, but often would always fall back two painting and drawing. Some of those adventures were things like wood burning pictures, dip it wire/flower making, rug hooking, embroidery, needle point, crocheting, knitting, weaving, sewing, macrame, leather work, paint by numbers, spool knitting, paper mache, and tissue paper flowers, to name a few. Now most definitely, there are some skills that I gained in that list, that I would use off an on for years to come for practical purposes. After all, it is wonderful to make your own clothing, pot hangers using macrame, and making your own sweaters, and hats and such, using knitting or crocheting! Not to mention the gifts you can make! In this recent decade, jewellery design and creating, has been a great three dimensional experience. Polymer clay has enhanced my ability to "paint" in a sense, in a three dimensional way. I love that ability.
Hi guys! That's Anita's beautiful birthday cake in the back!!
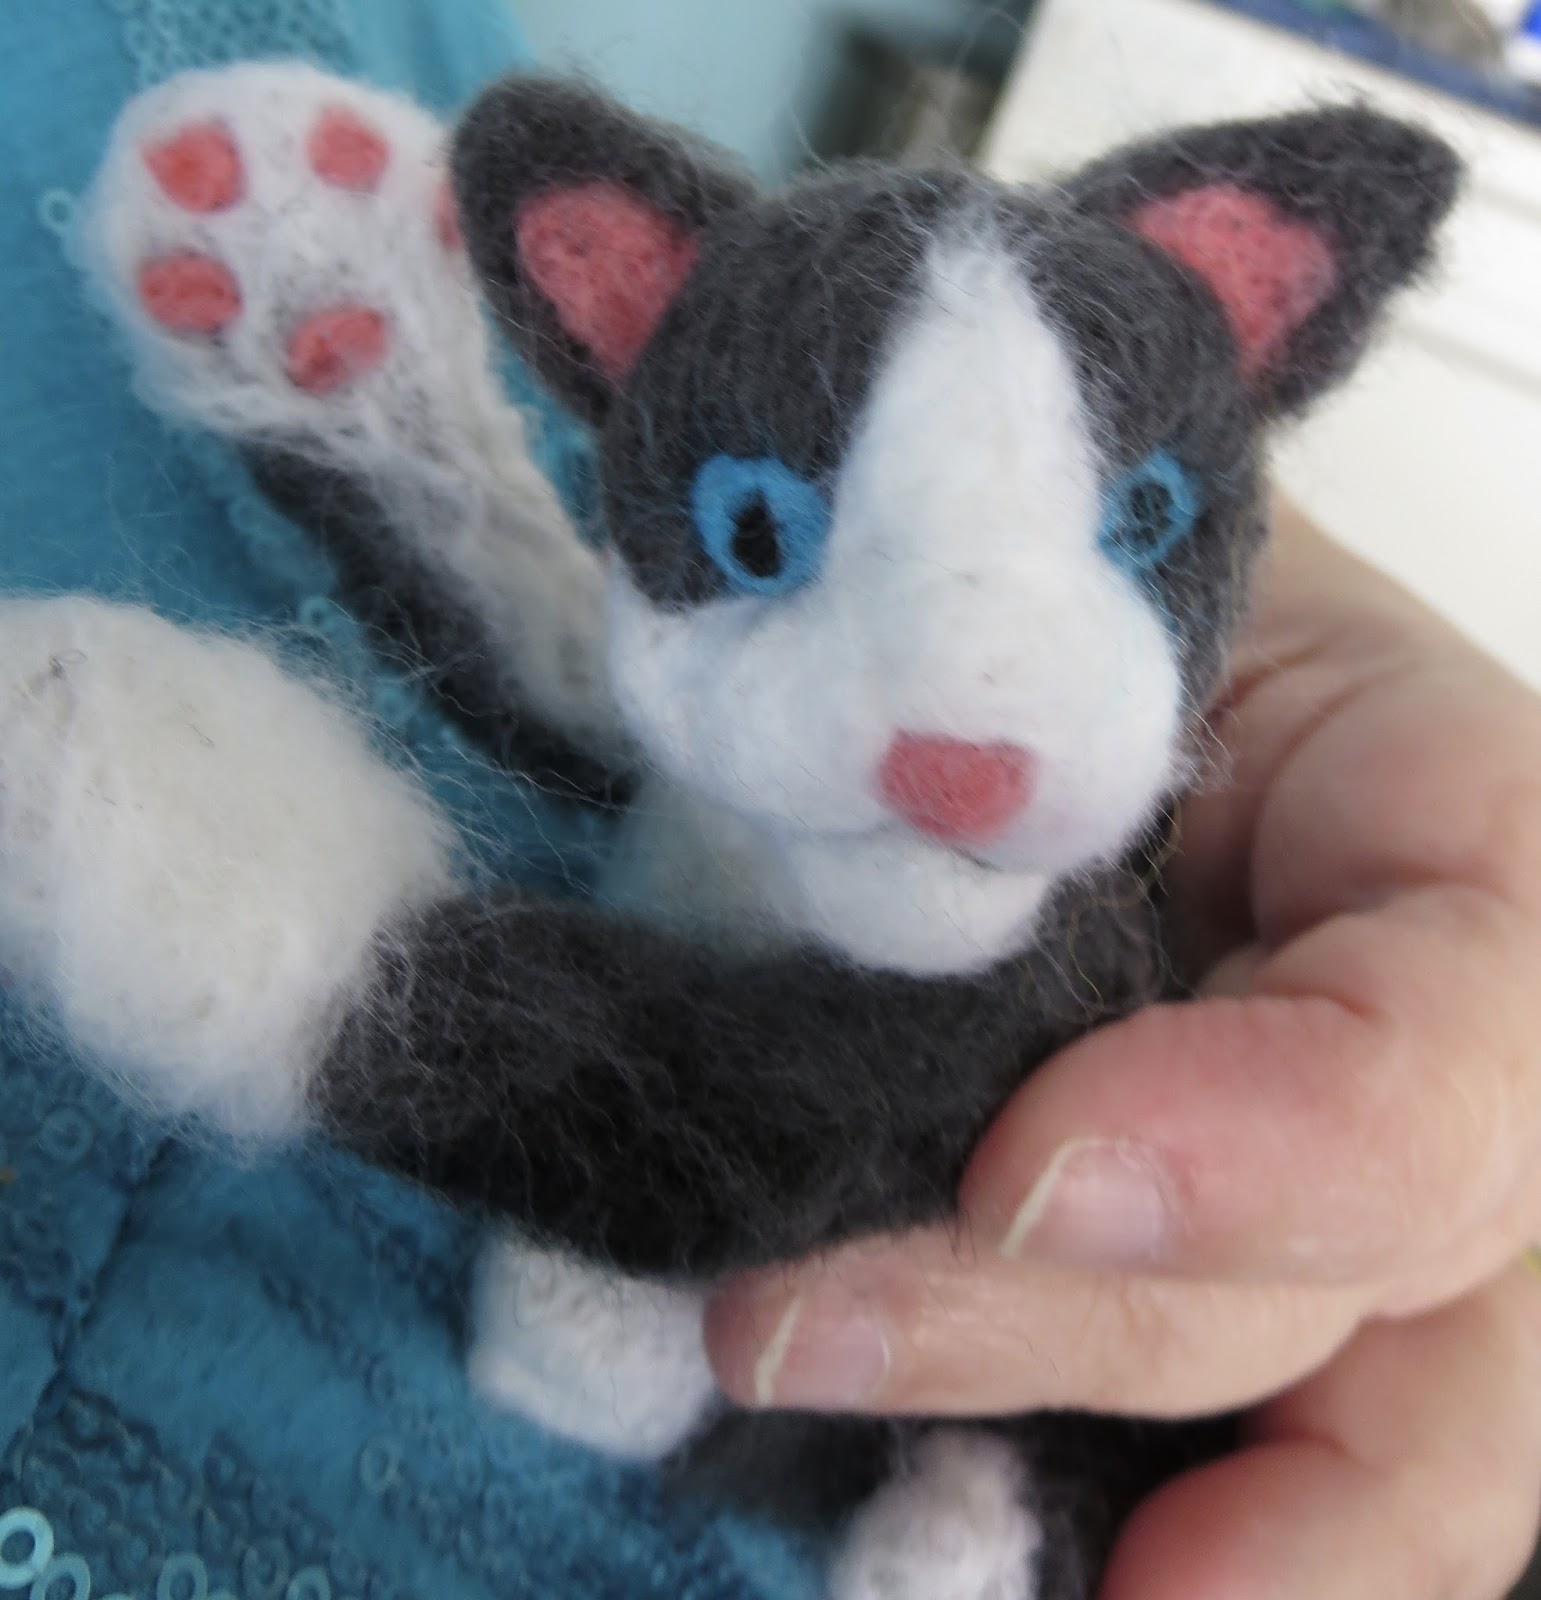
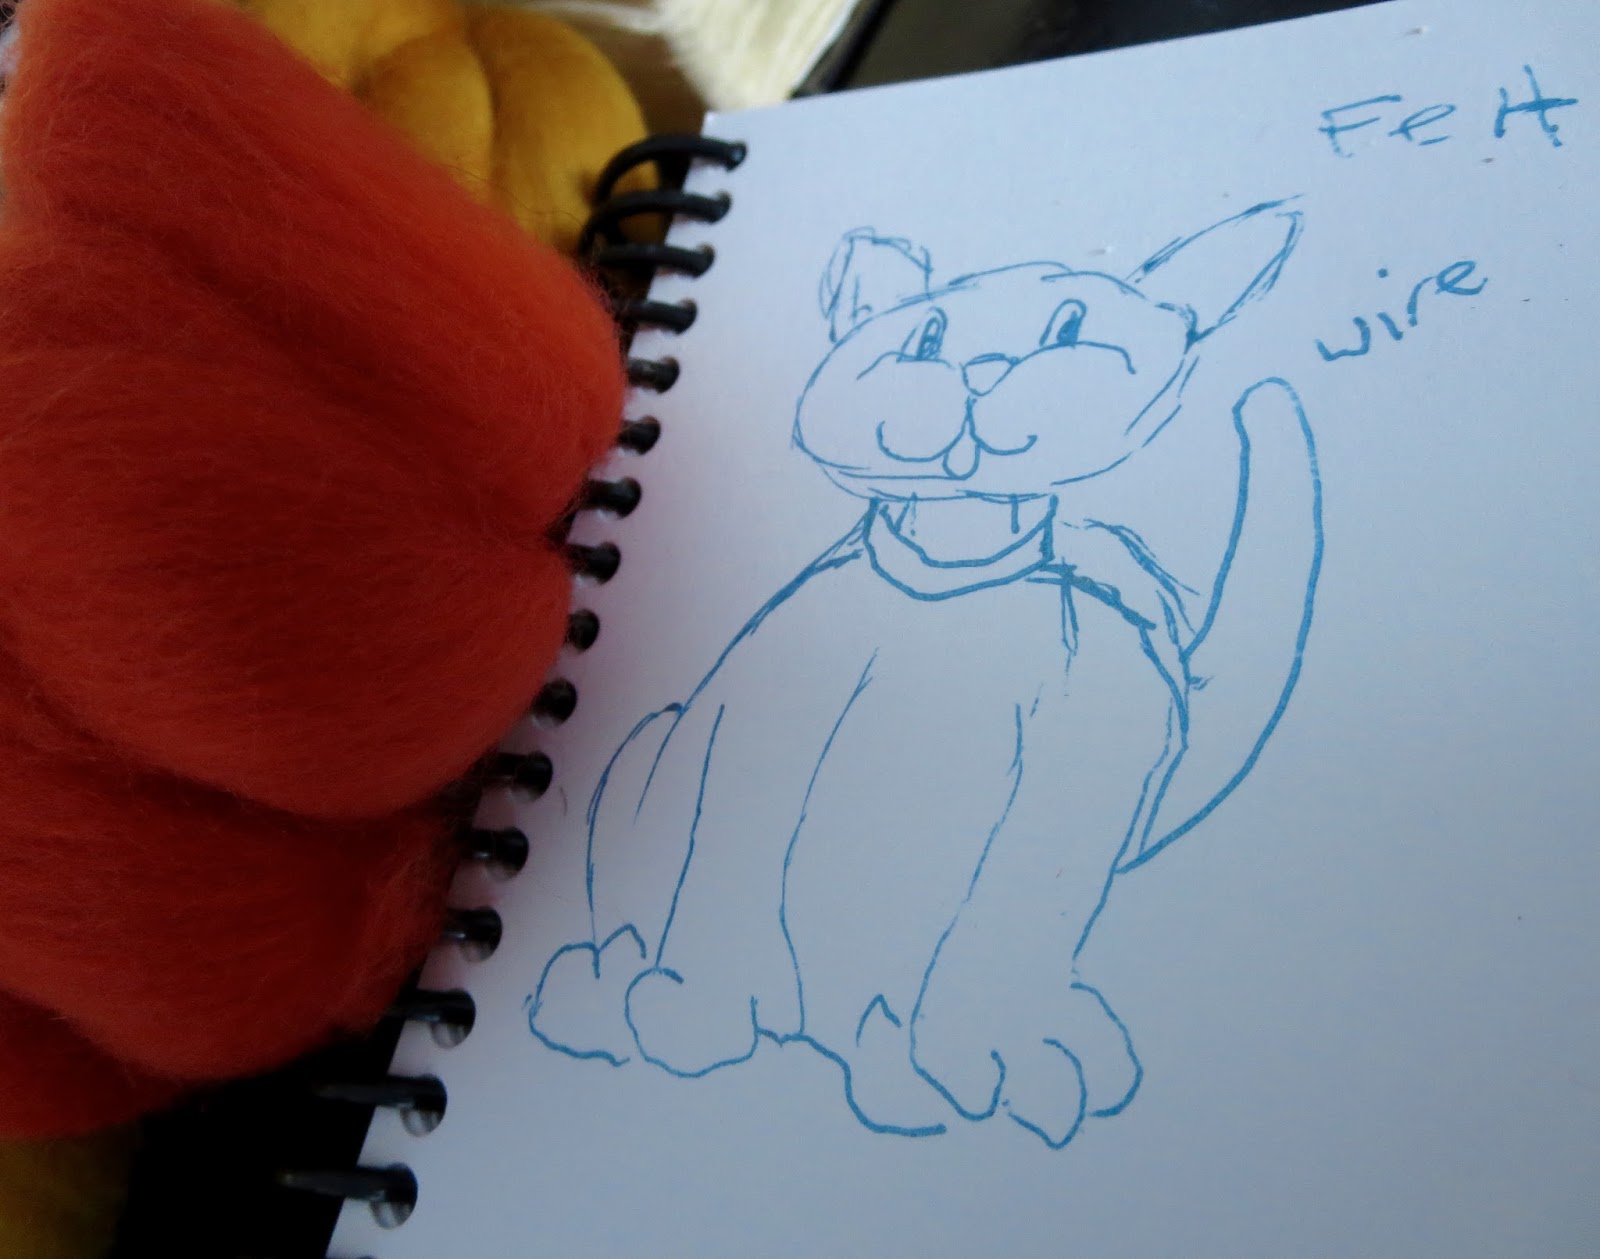
A couple months ago, I stumbled on lessons about felt making. I was never aware of how it was made. I learned about wet felting and needle felting. Since needle felting seemed manageable, I ordered an inexpensive kit on Amazon, and have since purchased some super soft merino wool. Here is a sneak Peek to see a few of he projects I have been learning to do. It is like sculpting with wool and a needle. You can make jewellery components, little fuzzy critters, felt fabric, jewellery, accessories. scarves, hats...flowers....endless possibilities.
"Here I am in the beginning!"
Meet Maggie!
She is still cute! This kitty was attempted a month ago or so when I thought I figured it out enough, so I could make a kitten for a family member. Well, I was not happy with what I did, so now, I call her maggie (my last cat was grey and white with a pink nose.) But since learning something new means learning valuable lessons, I want to share Maggie in process any way.
As soon as I am done, I will be sharing the video with more details about my felting experience thus far!
Be Inspired! HeArtfully Creating!
Anita
Subscribe! Like and Share!! (if you want of course :o)
What to do when you suddenly discover a birthday celebration for someone you really admire posted in a local paper, but you missed it until the night before? Well, in our case, my husband could go and I couldn't. So his job was to make a handmade greeting card ASAP and my job was to make a gift using what I love working with, Polymer Clay. Watch The MR.70 Video Below:
Because we really love this guy, if we had had more notice, I would have worked on one of my really fun, but time consuming figurines. This guy is actually a hero to many of our peers. But, that gift idea was off the table. Hmmm....What can I make in a few hours for our friend that would be personalized and masculine? You see, as a girl (a 51 year old one :o) I tend to have no problem coming up with girlie ideas. Makes sense right?!
Why Key Chains Of Course!
If you ever have a rush gift idea where you do not want to buy something (way to easy and not personal enough - to me anyway), what works for males and females? Why Key chains of course! After all, pretty much all humans have a key, at least one. No, they may not use it, but it is at least a way to make a personalized gift. They can use it on a zipper pull or as a backpack tag or just throw it into a drawer. It is up to them. Nevertheless, it is a personal handmade gift, made HeArtfully from you or me! What Are The Ingredients?
💗To work on: A Glass, silicone, or ceramic tile works well to work with
💗Tools like, assorted ball tipped and needle tools. OR, you can use a toothpick, needle, skewer and a straw, look through your junk drawer. Awe, come on, we all have one! :o).
💗For "MR.70," I mixed a gold glitter polymer clay and some neutral metallic clay in PREMO brand.
💗Unbaked clay adheres to unbaked clay, but since I purchased Sculpey's Bake and Bond, I used that to make sure connecting parts were essential "glued" together. It isn't critical.
💗I love the assorted collection of steampunk metal gears and such. They add a masculine touch in a quick and easy way.
💗For the keychain, I keep the findings or hardware for items like keychains and such on hand.
💗For metallic surface effects, aside from the clay colours, I also added Gilders Paste and Mica Powder. Then to antique it a bit, I used acrylic paint in an indigo.
💗 Ceramic tiles are cheap and easy to get at places like Home Depot. I bake all my pieces on a dedicated baking pan, with a ceramic tile set inside. A tent of tin foil or an aluminium cake pan works well to protect your piece
💗Cardstock or a recipe card works well to place your piece on. But place that on the tile.
What Kind Should I Make?
The next question is what would be a good design? In my mind when designing a key chain, it is important to make sure it isn't too ginormous so they can use it.If you want them to have the option to use it, think of what size would be practical for you.
As always, it is best to sketch out ideas for the shape. If you know any themes that this person likes, then incorporate that into your design. What colours do they like? What are their initials and their new age?
If they love turtles, then make a turtle themed piece, if you don't have any idea or want something more simple and sleek, then what I did was to work with his initials and age. My husband knows him better than I do, so he told me he likes motorcycles. He actually said that after I had already made the keychain. So before firing it in the oven, not only was I able to translate the zero into a motorcycle wheel, to add to the masculinity, I added more steam punk type gears. As well, using some tools, (a straw would work), I was able to imitate screws. Then with a toothpick, tiny ball tool, and/or a needle tool, I impressed marks to add fun details just to enhance the piece. Finishing Touches
Once MR. 70 was complete, I used my finger to rub on an antique gold Gilders Paste and a shimmer of mica powder. Once baked for about 60 minutes at 375F (I learned baking all clay at least an hour makes it stronger- from Polymer Clay Tutor). I let it cool completely and painted on Acrylic Paint In Indigo. Then I wiped it off. That way it goes into the crevasses and indents giving it some dimension and depth.
Once done, I added a clear coating of whatever I have on hand that works on clay. It is to just protect the mica surface. But, you do not have to use anything.
All Done and Ready To Give Away!
Share Your Work with HeArtfully creating on our new Facebook Page!
I am always inspired by the work that other people do. Inspire others or share just to share. Meet us at HeArtfully Creating and upload photos of your art work. It can be anything, paintings, drawings, sculpture, felting, jewellery making, carving, collaging....cake decorating counts too. Anything that expresses your creativity.
Disclaimer: H.C will not permit posts that are to promote sales in a shop or to raise funds.
Please "LIKE"and Share HeArtfully Creating Here on FACEBOOK Thanks for stopping by.
Creating HeArtfully
For the past 4-5 weeks, I have been working on my first Turtle, that is meant to be a Doo-Dad Holder or trinket box.Click here to see the first article when I first introduced him and here for the second article when he was a work in progress. He didn't become Howard until I decided that the sea turtle I started out making for a young friend's special event, just wasn't turning out how I wanted it to be. So when my husband expressed his enjoyment of my turtle thus far, calling him "Howard the Turtle." I decided I would make him just for my Hunny Bunny. That meant turning him from sea to a land or four legged turtle. Turns out his friend use to call him Howard the Turtle and Howard was a puppet turtle character on an old 50-60s kid show called RAZZLE DAZZLE on our national television station called the CBC (Canadian Broadcasting Corporation). It was really neat to discover that he was an actual character! Click The image below or here to see The Video I just completed on mt YouTube channel all about Howard's early beginnings :o)
Lessons Learned...
Howard has gone through a lot, I mean a lot! You will see more when I get part two of Howard's video done. I can tell you that it took about two weeks of trying to perfect his shell, to be a lid for the Art Safety is always important. doo-dad box part... no matter how much I carved away from his shell and his cheek, I could not get his shell to fit under his cheek. Yes, you can easily carve away baked polymer clay. If you are young, don't use sharp craft knives on your own.
So my BIGGEST lesson learned, I should have made his neck longer or left his head straight, no looking back. I know he wouldn't have looked so cute looking straight ahead right?! Or make sure the shell stays thin enough to fit.
Needless to say, I had to recreate a brand new shell and it doesn't look like an oval real turtle shell. He has a heart like shell. But hey, this is HeArtfully creating, so that is appropriate!
I tried to add magnets but, I will share more in part two next week.
Finishing Touches
Acrylic paint was used to change his green mouth and tongue to pink. As well, to add some depth, I painted indigo over the places where there were crevasses like his shell. Then using a damp rag or wipe, I rubbed off the paint, leaving some in the deepest parts.Instead of a glossy varnish, I sanded Howard's head and other areas somewhat. Always use water and varying grits of wet/dry sand paper. Dry sanding is too dangerous because you can breathe in the particles. Then I put Renaissance Wax, let it dry for fifteen or so minutes and I rubbed him down with a piece of cotton denim type cloth.
Polymer clay is definitely, my newest favourite medium! Making my first critter or creature has been such a great adventure, Wanting to show you guys all the stages he went through, and make a video with the steps from the beginning to the end. Hundreds of photos were taken, edited and compiled in the video below. No, I didn't capture every exact step but, I have given hopefully enough information to help inspire someone out here to create their own critter or figurine.
So please enjoy and if you have any questions, thoughts or ideas, please leave them in the comments area below.
I took a tonne of photos to document the stages. Wanting to inspire others interested in all things creative, this is part one of two - all about Howard's creation. He is about the size of a hand, my adult female hand, that is!
Comments? Thoughts? Ideas? Insight? or Questions ! Subscribe to stay posted. LIKE! SHARE! SUBSCRIBE! HeArtfully Creating! Anita
2016- Faux stone from polymer clay - key chain for my Dad made by me!
Yah, I know it is the day after of D-Day (Dad's Day), but I still want to share what I tried to create for my Dad. He loves rocks. In fact he and my sister have risked life and limb to get some good rocks via Lake Superior. (Hope I got that right)
When you want to make a gift for someone, it helps to try to focus on coming up with an idea based on what you know the gift receiver likes. It just makes it more meaningful and might please them. Mind you, anything handmade from a friend or family member, is always meaningful!
Faux Stone or as my mom calls it "Fox" Stone, means "fake" in English. Faux is a French word. Rock, Stone, Gemstone?
When you want to try to make your clay to look like a specific surface, such as faux stone It is best of
course to have a reference point to look at. Or just make it up. That is what I did. Nope, I just worked from my memory and instead of getting a Jasper stone surface, I have a hybrid, (made my own kind) a cross between granite and jasper. Here are some samples of granite and jasper types. As I looked them up, I was inspired to try more re-creation in poly clay. As well, below are some great links about other stone types as well. Be inspired.... Click this link to learn more about granite. Click Here to See Rock Types Click here to see the many varieties of Stone including gemstones
I am sorry I didn't take any how to or works in progress photos. But, here are the basics incase you might be inspired to try making a personalized key chain. What I Did 1. Smooshing Colours:
We all know what it means to smoosh right? As an artist, colour mixing is one of my favourite things to do in the art making process. When I use paint, I use a paintbrush. But when I work in polymer clay, I smoosh. That means to take the colours you want to combine to get another colour, like blue and red make purple or red and green make brown...and mix it together until the colours are well combined into the colour you want.
Depending on the kind of colours used for mixing, your end results may surprise you. If it isn't what you wanted, do not give up. Keep adding and subtracting. I don't do this, but I know other clay artists who like to keep records of "colour recipes." Where you might either make a sample of the colours you used and how much of each, to result in the colour you wanted.
This works well, if you want to get the exact same mixed colour every time. Maybe it is the visual artist in me, but, I like to eye ball it. Mind you, that means I never seem to get the same colour twice. As well, I often run out if the project is large. So mental note to self, "make sure I mix A LOT of the colour I need.
2. Colours used? In this project, my goal was to create rock like surface. That means I then took the colours I "smooshed" together, made ropes, thick, thin or use chunks of colours I thought might make a great faux stone look. Then do some smooshing, or twisting and folding and twisting. The goal is to marbel-ize the clay, creating that rock look. Be careful not too over smoosh the colours or else you may cross the line from marbleizing and effects to a whole new colour mix. 3. Shaping It. In this instance, my goal was to make a personalized key ring for my Dad. So, it makes sense that I wanted it to spell "DAD." My husband had the idea to cut "DAD," out of the clay instead of making each letter and trying to connect them into one piece. I tried Craig's idea and that is what worked.
You can shape it how ever you want. 4. Armature or Support: I forgot to say that if you want your piece to be extra strong, you can place a sturdy 18 gauge wire inside the piece. This piece has a wire running through some of it to strengthen it. At least I think I did. My memory is a tad foggy.
5. Texturizing: Once you have the shape you want, then it is time to create a rock surface.
2016- Faux stone from polymer clay -
key chain for my Dad made by me!
Some rocks are polished and shiny. Natural rocks usually are never polished and shiny. For my keychain, I wanted the stone to look as if it was hand cut or carved and then ground down to a semi smooth surface. How to texturize a stone surface. You can use an old toothbrush, sandpaper (just push rough sandpaper onto the clay surface. You can use a needle or pointy tool and literally dab the clay until it looks how you want. I used a spiral bristle tool that looks like a giant mascara brush. 6. Rings and Do Dads: I wanted to embellish the clay to make it interesting. Using a drop of liquid polymer clay, I set in a steampunk gear and poked some details into the clay. As well, I needed a place to suspend the key ring attachment so, I inserted a large metal steampunk gear ring.
Also, while the clay was unbaked, I added some light touches od shimmery mica powder for fun and pizazz. 7. Finishing Touch Ups. Once the clay is baked according to package directions on a
2016- Faux stone from polymer clay - key chain for my Dad made by me
ceramic tile, tented with a foil piece or foil cake pan and it is cooled completely. You can sand it a little and buff it up a bit. Or leave it as it is...or you can use a polymer clay compatible glaze in the finish you want. I used a renaissance wax to protect it. 7. Gift It!
2016- Faux stone from polymer clay - key chain for my Dad made by me!
2016- Faux stone from polymer clay - key chain for my Dad made by me
I discovered a great way to be inspired to create. As an artist, I may always have ideas of what to do next in my head, but that can be a problem. Too many ideas that seem to collide all at once, leaving me overwhelmed. Katie Oskin is a great Polymer Clay Artist that I have discovered in my learning about polymer clay adventure. She offers challenges to help artists have weekly and monthly goals. An excellent idea. It helps me to have an idea. This article is inspired by another poly clay artist, Lisa Pavelka. Each project is based on her book about the basic fundamentals of polymer clay. This month I transformed a basic glass jar into something unique using polymer clay. I wanted to share before and after photos of the jar I did. The design was created using hand mixed translucent red polymer clay. I prefer Premo aand Fimo. Hey, they rhyme. My goal was to make a piece that would be a sort of faux stained glass effect. You can see once it was baked, that a lit tea light, causes the poppies to glow. Here is the accompanying You Tube video so you can see the details...