A place to encourage the creativity of artistic minds of all ages. Offering Ideas, Inspiration and Instruction and sharing the work of others who inspire me!
A Sneak Peak Just before I look into how to rearrange my new metal paint palettes. Definitely, not use to these kinds of palettes after decades of Acrylic painting palettes!
We were about to campout in our living room last night. But before I settled down into my wheelchair seat to watch Daniel Craig's James Bond with my Craig, I was determined to edited the video. I had just made. Silly me thought it would go quickly! But nope. This new Learn With Me video is a good 45 minutes of Playing Around discovering and playing around with few of the bazillion Procreate Paint brushes on my IpadPro. Still slowly learning bit by bit but I could't wait to show you the great artistic possibilities.Watch Video Below
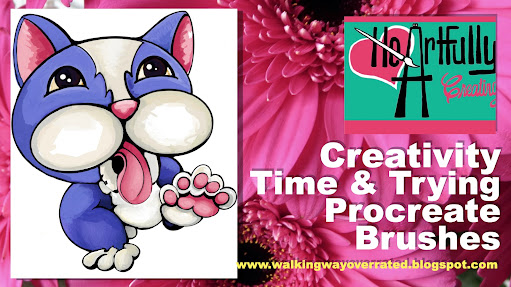
First of all, Here Is a new digital drawingProcreate on my IpadPro. I have been working, so far i am calling her Bluebelle. She's a work in progress.
Now all you Creatives, Check out Anita's New Fun Video Below. Took her about 5 hours in total to edit it, 330am and back at by 10am (we lost sleep thanks to Spring clock spring ahead - (Something called Daylight Savings Time) Editing me trying to clean it up and make it look as best as possible. From lighting to colouring, angles and inserting text as needed. Hope you like it and I hope you like it even a little!
Hi guys! I was able to create another video regarding working with mixed media. It's a very long process so I didn't want to bore anyone by filming every step of the way. So this video is a bit more of a learn with me/tutorial as I ramble on about whatever pops into my head. Tried to edit some of that out, didn't think anyone would really want to hear too much about Star Trek versus Star Wars!
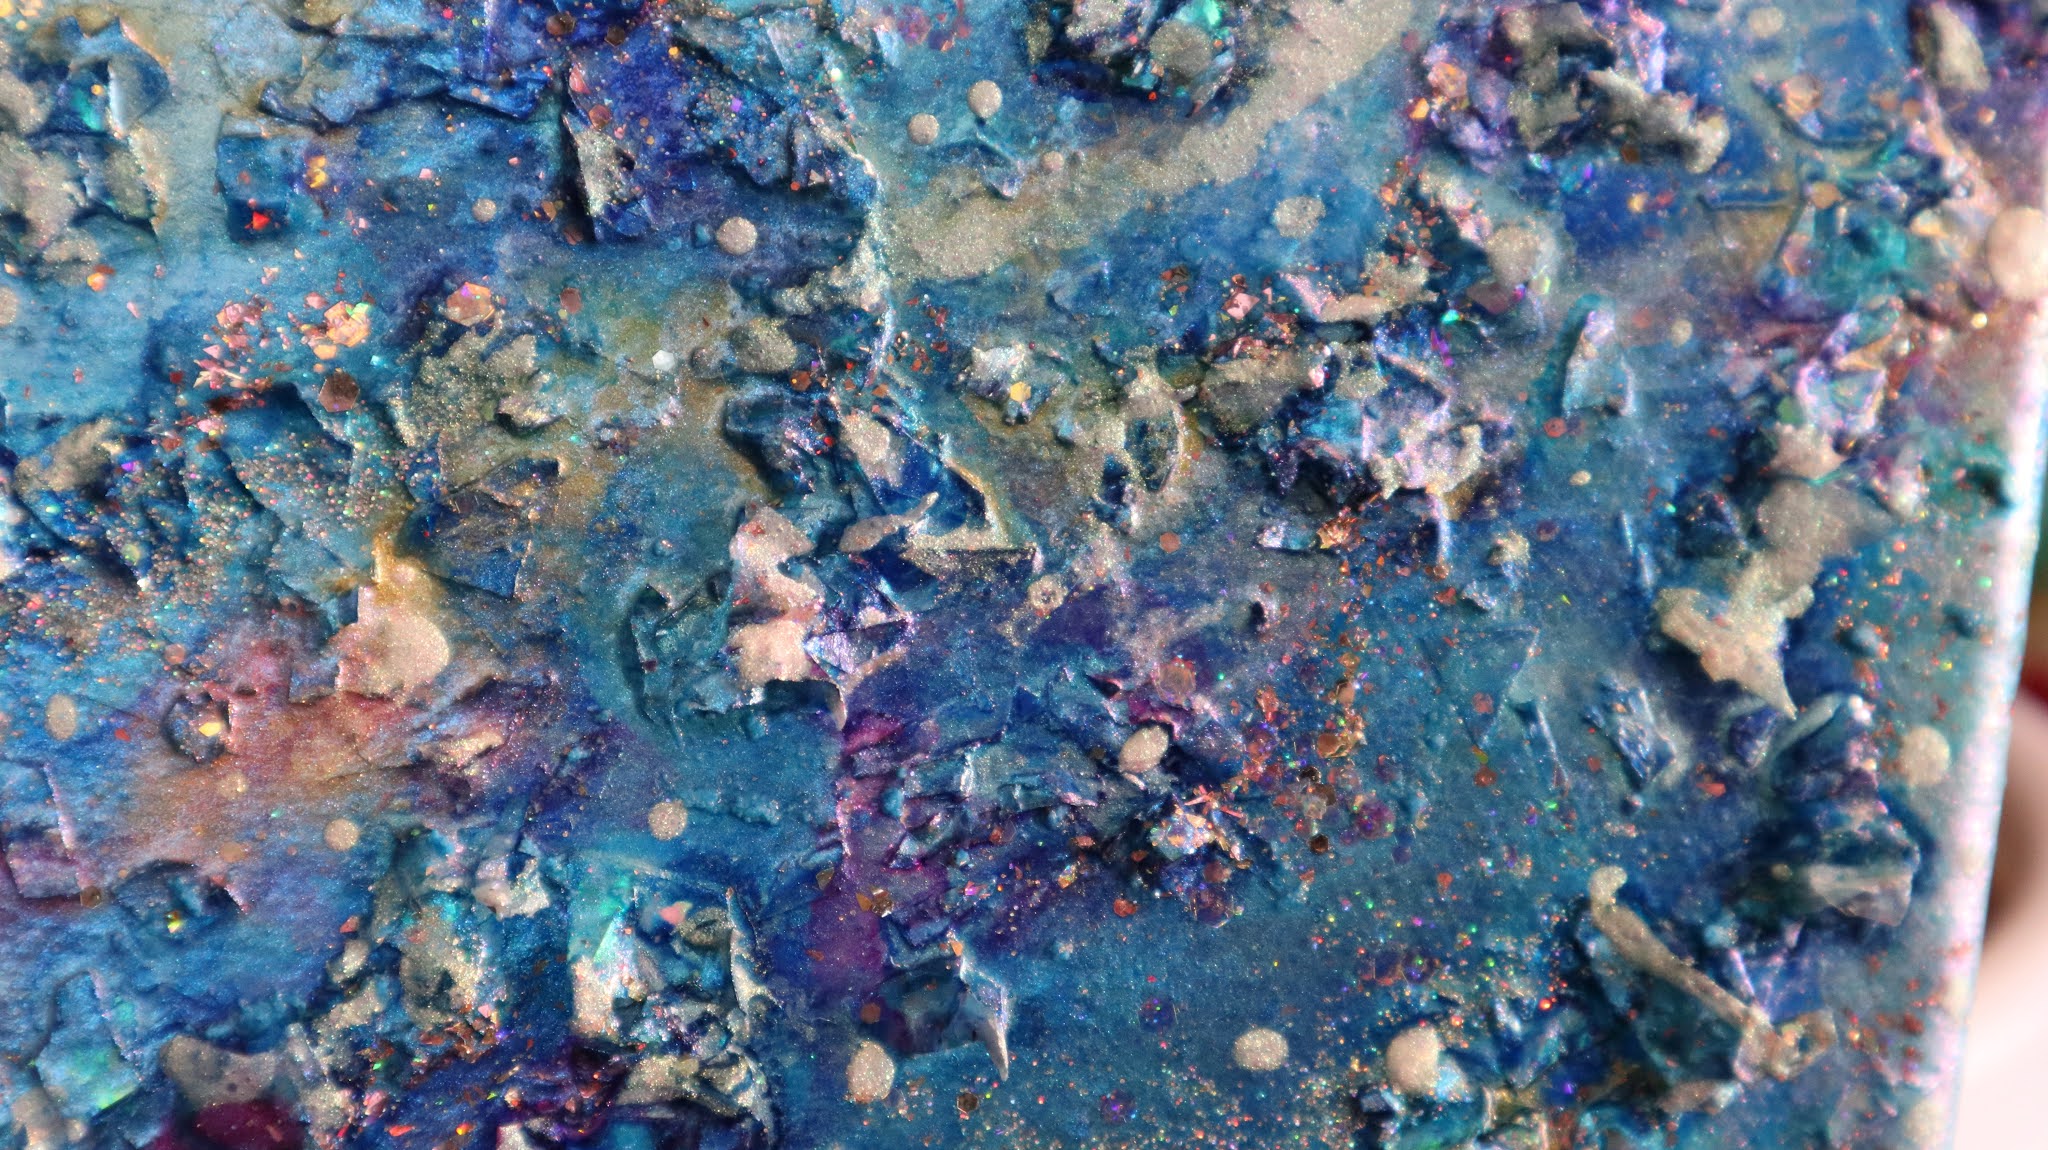
The materials that are used for this piece so far. That's right I am still tweaking it so it can't be considered done. In fact I've got some still shots then I'll be posting soon to see you what I've done since this video was made. It's just so much fun adding layers of textures and resin and color.
Watch my new video here below
Materials I used
Stretched canvas about 5 x 7"
ALCOHOL INKS
POLYURETHANE
UV RESIN
LOTS OF GLITTER
ACRYLIC MEDIUM
MICA POWDER OR PIGMENT POWDER
GLOW-IN-THE-DARK POWDER
MICROBEADS FROM THE WORLD OF NAIL ART
CELLOPHANE CHUNKY GLITTER
ACRYLIC PAINT PENS
GLITTER PAINT PEN
REMEMBER WHEN IT COMES TO ART MAKING THERE AREN'T ANY RULES. WELL DEPENDS IF YOU'RE IN ART SCHOOL AND YOU HAVE AN ASSIGNMENT LIKE I REMEMBER FONDLY, THEN I HAD TO FOLLOW MY PROFESSORS RULES. BUT THAT ASIDE IF YOU'RE NOT UNDER A PROFESSOR, YOU GET TO HAVE FUN.
Our really old home made mail box was looking sad and tired. Along the theme of Brightening Up Our Neighbourhood with colourful art, take a watch at my new video sharing how I transformed our 17 year old mailbox. Originally my husband Craig and my mom had made the box part and I painted it to look like our house (sort of.) Unfortunately it got weathered and the paint split. Craig sanded it down first (just a bit.) So kick back and watch the transformation. Hope you are inspired to make your own mailbox!
Hope everyone is having a great week so far. Been dabbling in a new, yet old art supply. Years ago I was blessed with taking calligraphy class in my hometown with my dear Grandma. Calligraphy is basically a fancy way of writing. This new experience is different for me because Idiscovered from watching a fun YouTube channel "Peter Draws." Where he teaches about and uses these new kind of fountain pens. When I used the Schaeffer kind for calligraphy, you had to replace the ink cartridges, which seemed annoying and not easy to get. As well the pen tips for calligraphy that I used had a bit of a wide flat tip. As well, I tried dip pens and India ink with a variety of speedball exchangeable tips. However, I found dip pens too messy. They always blobbed black ink and you had to keep dipping. Which is what fountain pen/quill pens started out as. In fact, you can still get tat kind. I tried drawing with the fine tip and it was always too scratchy as well.
But now....I was impressed watching Peter draw and explain that you now can buy pens that have a piston type reservoir and something called a converter that allows you too....well, take a watch and see below!
Remember to have fun. Be spontaneous with your design or plan it all out, it's up to you!
Hi guys! Happy, almost Spring time! Recently, I just purchased a few brands of acrylic paint markers from Amazon Canada. For decades I painted using acrylic paint from the tube. Stevenson was my choice brand. If you are new here, I am a visual artist who loves sharing all things creative and encouraging folks of all ages to create. In the past few years I have been focused mostly on creating with polymer clay, in 3-D. Due to my weak hands, the clay has been a challenge. That means I have to branch out or should I say, return to my original art making method, drawing and painting. Years ago I tried the Sharpie brand of oil paint pens. When they worked, they were great. But, they clogged or dried up too easily. That is the extra fine tips. So I gave up. Working on an easel on canvas with a palette and paint from tubes and jars is not a method I can return to. So to at least come close, I thought I would try the acrylic paint pens.
Which Ones To Use?
Well, there are so many brands on Amazon, I can't say. So I thought I would share what I discover here incase anyone else is interested in my discoveries. So far I am loving these great drawing instruments. Watch below to see my first review/discussion about the AROIC brand (click here to see them on Amazon). Watch Anita's Video Review On AROIC Paint Pens
Thanks for stopping by. Happy Creating!
Soon I will be reviewing a different brand.
Hello everyone! Hope everyone is having a great February so far. Recently I have been needing to rest more than I normally need to. So when I am able to be productive creating, I have been trying to turn many of my mini art works into jewelry and finally getting those
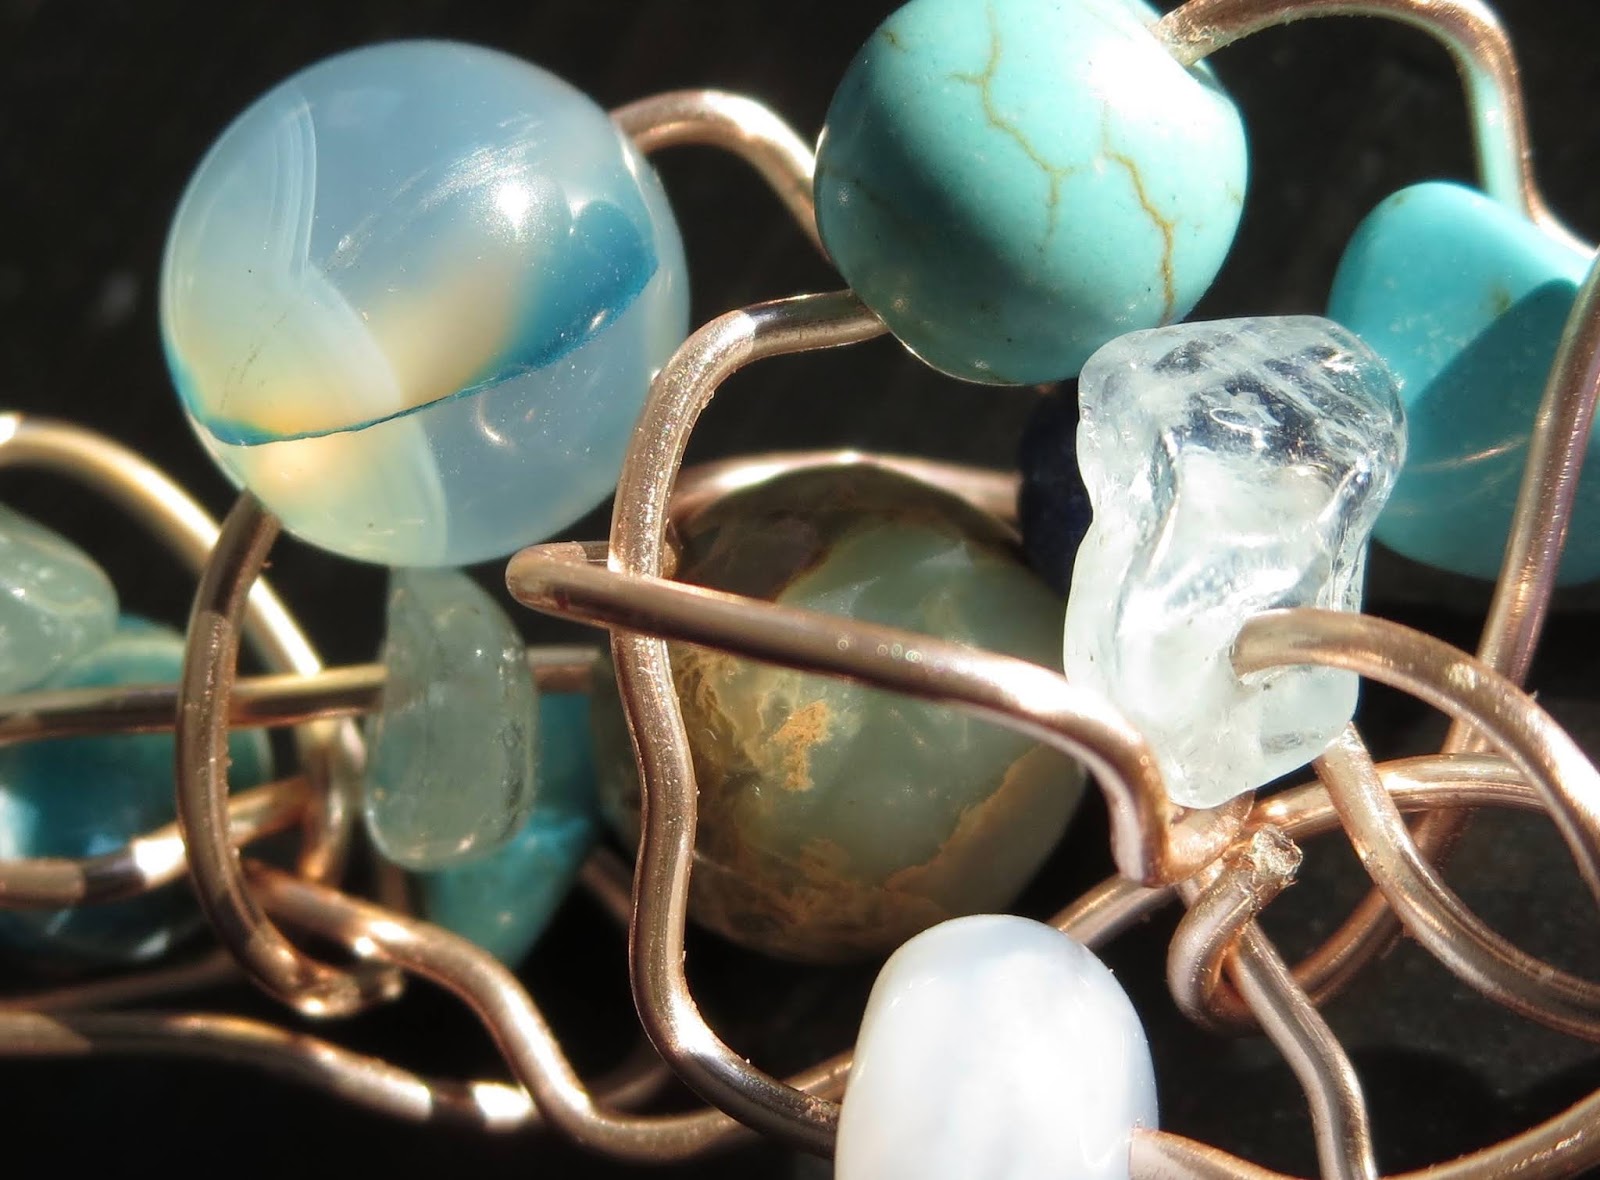
pieces photographed, edited and then listed in my shop at Etsy (A Bergie Creation). But I have found time to also work on some new polymer clay pieces and after watching a channel I enjoy watching Matts Crazy Art, I also got inspired to work with all the wire I bought a while ago. Check out the video that inspired this pendant I made last night. Matt has a really great attitude about enjoying creating. He is funny and very encouraging!
Watch Matt Create Here
What have you been working on lately? Are there any new skills you have learned or are hoping to learn? I have been wanting to try using the merino roving wool I bought a while ago. Needle felting is another fun art making technique. The polymer clay is still a favourite but I must confess it is getting more challenging for my not so strong hands to manipulate. A bummer, but I am not giving up. In fact the next few pieces are some recent clay works I have completed.
Some posies
Colour Shifting With Texture Earrings
Earrings With Some Holo Glitter Surfaces
Look Depending on how you look at these, they change colour!
Well that's just a bit of where I have been at lately. I hope you check out matt's fun videos and that you are expressing yourself artistically in some form or other. I would love to hear from you. Below are other links to connect. Happy creating artists! Connect More
Hard to believe we are five days away from that time of year that so many folks seem to stress out over. Instead of stress and and incurring debt, I would rather focus on sharing all things creative. Recently, I was dabbling in the newest resin trend, the Petri Dish technique. It it so addictive. There are a pile of great tutorials on the subject on YouTube, so this newest video is all about what my pieces ended up looking like and any lessons I learned.
You do need to use epoxy resin, freshly mixed. The longer it sits once mixed, the resin's curing process makes it a lot more difficult to impossible for the inks to do their thing, the thing that is called the petri dish effect.
Lessons Learned Not For UV Resin. Find out what happened when I tried this method in UV resin.
As well, one big lesson learned was to not use my butane mini torch to eliminate bubbles in the resin, when using small silicone molds. The torch is too hot and the silicone actually burns, therefore ruining your molds and the piece you took time to create. Best way to remove those pesky bubbles in small molds is to use a lighter flame or heat gun, or if you can make it work, a straw that you blow through. That last one never seems to work well for me. Drool tends to dominate, running down the straw, about to ruin the resin.
Watch My Video Right Below To See How Beautiful This Technique can be:
Materials Required
Silicone molds
Fresh mixed Epoxy Resin - I use Art Resin right now
Alcohol Inks that are not mixatifs or opaque
White opaque alcohol ink - it seems that Pinata by Jacquard is used most
Pipettes if you need to draw ink from a larger bottle of ink
A matt to keep our surface from staining
A heat gun or flame if you want the bubbles removed (do that before adding alcohol inks - alcohol is flammable!)
A dust cover to keep pieces clean while curing
Okay, this may gross you out. If you want to see a short short video about what happened when I tried oxidizing some wire without liver of sulfur, take a look! PLUG YOUR NOSE!!
This technique really creates a galaxy effect, as if you can actually see stars and lights swirling around the heavens. The way the iridescent film refracts and reflects the light, a cosmic effect with great dimension is created.
I used iridescent nail art film, but you can of course use iridescent cellophane or Angelina Film and/or iridescent mylar. Not sure why it is called mylar by some, because when I think mylar, I think shiny silver foil like balloons. Not a material that is translucent. So be sure that whatever you use is translucent so the LED or UV Light rays can penetrate through, to cure the layers. Watch Part 2 Here:
Tips And Ideas: Tool Needed for This Cool Dimensional Technique:
💓Bezels or Bezel Tray, you can make one from polymer clay too
💓Iridescent Nail Art File, And or any translucent Iridescent Cellophane type fil or sheets that can hold a crease when crumpled and that UV/LED rays can go through.
💓Black nail polish, or black acrylic paint, or black alcohol ink (do not use Indi Ink)
💓A Silicone type craft mat to work on
💓Small craft scissors
💓A Light to cure whatever type of resins (including the gel no wipe top coat)
💓Tweezers -Make sure you have a pair of tweezers to place the pieces into the wet resin. And a toothpick or needle tool to push and manipulate the pieces around.
💓You can incorporate chameleon and chrome powders as well
💓Rubbing alcohol and baby wipes or paper towel to clean resin and such
💓Your Creativity To prepare watch part 1 here
Finishing Touches
After all the layers of resin (no wipe UV/LED top coat) and cellophane are all cured, you may notice you have some sharp pieces protruding out the to that would prevent a smooth dome from forming. The resin coated the iridescent shards and therefore can be snipped down with little sharp scissors as well as sandal. I snipped all around and then used a nail file that is for false nails. I ran it all around the raise rough spots and whatever was hanging over onto the lip of my bezels. Just enough until I could tell the UV resin I was to pour on and dome, would be able to level out and do it's job, to make a shiny smooth, glass like dome.
Come have some fun experimenting with a great galactic cosmic technique using Resin (gel nail polish no wipe top coat) and nail art iridescent film.
What I Used..
Black out media ie: black nail polish, black pinata alcohol ink (DO NOT USE INDIA INK IT DOESN'T WORK!), Acrylic paint
-NAIL ART IRIDESCENT FILM OR IRIDESCENT CELLOPHANE, MYLAR (MUST BE TRANSLUCENT AND IRIDESCENT OR COLOUR SHIFTABLE
-Bezels
-UV Resin
-And/Or No Wipe UV /LED Top coat for finger nails
Q-Q-Tips or I also use makeup applicators that alway come with my Born Prett powders
-Rubbing Alcohol
- Gems, and chrome flakes or powders or duo tone mica powders if you want
-UV and/or LED torch light or boxed light.
The past few weeks, I didn't have the ever popular Yupo "paper" and wanted to create a similar surface so I could use my alcohol inks. Yupo paper is not actually paper but polypropylene sheets that are nonporous. They are used a lot for alcohol ink painting. Now that I have tried the real thing, I can see why artists use it. Colours are bright and bold, no bleeding or absorbing, just pure pigment flow.
However, aside from being able to use alcohol inks on other nonporous substrates or surfaces, I thought hey, I can create a nonporous surface using my acrylic medium and/or gesso and such. Nonporous means a non absorbent ssurface so the inks can move and flow. You can see why when you put a drop on cardstock or paper, a porous surface and see how it wicks up the ink. The fun and beauty of alcohol inks is what the do when the meet each other. Far different than any paint I have ever worked with. Try it and you will see why this medium is so addicting!
Come see what I did and maybe you could use these ideas too.
Watch Tutorial Below
For more details and such, please connect to my creativity blog here https://heartfullycreating.blogspot.com To connect more, check out:
Alcohol ink definitely can not be compared to Acrylic paint. Which is what I am most familiar with. Originally, I tried alcohol inks in and on my polymer clay projects. They help created stained glass effects and sea glass effects. Since two dimensional art is what I am most familiar with, it makes sense that I would be curious about trying this medium out on a two dimensional surface. After watching countless tutorials on YouTube, I couldn't wait to begin experimenting. It is clear that you need to buy every colour possible! Ha ha, just kidding. Nevertheless, it is a good excuse to buy even more art supplies. You can use any kind of alcohol ink. That includes those created using Sharpie markers, Copic or other ink refills.
This is just one of the many changes my piece looked like.
For today's video, I started out using a small canvas board, about 5" x 7" that I added a couple of layers of Gesso. /that is a white coloured concoction used to prepare surfaces for painting. In this case it was to help create a smoother, insoluble surface for the inks.
As you watch the video you will see how much my piece morphed from one look to the other. I will save the surpises for the video.
I hope you enjoy watching the way alcohol inks can be used in so many ways, including creating beautiful art pieces. Not to mention colouring metals, glass, plastics, fabric, polymer clay, and ribbon, freshwater pearls, beads, foil....endless options.
As you watch, please leave your comment if you wish. I am curious to know at which stage did you think I should have stopped? At which point did I over do it? Do you think you will try alcohol inks? If you already use them, what do you create with them?
Now Watch And See How Far I Went
SAVE Money!!
Remember have fun with it. You can use alcohol inks on any nonporous surface. I am working on alternatives to the really expensive Yupo paper. It looks like great stuff, but for anyone wanting more options that are inexpensive and easy to do - I'm all for trying that. Which means I will be experimenting more by applying a coat or two od acrylic gel medium or gesso to pare, cardboard or even acetate.
If you apply white acrylic gesso or paint to acetate or old plastic sheets (I save clear plastic/acetate lids and packaging) you can use the alcohol inks on the shiny acetate side and the white will help show it through.
To protect your final surface spray with a fixative or try applying brush on led or uv resin (I use no wipe top coats)
Thanks for hanging out. Hope you try it out. I WOULD LOVE TO HEAR FROM YOU. iT REALLY HELPS ME, IF YOU SHARE AND SUBSCRIBE!!
I love learning and lately I have been learning more and more about using Alcohol Inks.. The possibilities are many. Depending on the non pourous surface you apply them to, the way they work together is amazingly cool. Using acrylic paint most of my life as well as other paint types, alcohol inks are a completely different medium. Then encasing the alcohol ink piece in resin add even more neat dimension. Alcohol ink can be used in or on my fave, polymer clay. It can colour metals, glass, acetates, ceramic tiles - ny non porous surface. Yupo paper has been mentioned often in tutorials I have watched. Sounds like a plastic light "paper." I want to try it soon, just costly. But above I used aluminium foil, so use what you want. Paper will just soak up the ink and it won't be the same experience.
48 Ferro Rochers were in this container. I love those hazelnut delights. I love great containers too!
Thanks to Debbie Crothers (check out her great tutorials), I used a Ferro Rocher container's liner as a palette to pour some inkk into. She uses ice cube trays. Let it evaporate and then rubbing alcohol reconstitute it whenever you need them. Or I dipped my paint brush into rubbing alcolohol and it picked up the evaporated ink's pigment. Experiment. It isn't drippable like this but you can turn it back to that with enough alcohol.
Watch My UV Resin and Alcohol Ink Video Below
I have talked about this before....the UV resin from the easily recognized UV resin from China. The bottles I keep trying have basically no english on them. In the video above, I have come to more conclusions about this particular brand of resin. I tried a total of about four different bottles and all did the same thing. If I leave it in a mold away from UV light, it still hardens even if I let it sit awa from light. Thinking you have all this pot time or work time....nope, it just won't sit a stay liquid like. So frustrating. But that is all I will say on that for now. Just watch the video for more thoughts on the topic.
Or you can buy a watercolour palette on Ebay and pour it into the compartments and let evaporate. I tried to label the colours.
If you want to help out feel free to check out these links and share em!
Love you all.
Anita
Is it winter where you are? Well here in Thunder Bay Canada, it isn't official but it is cold enough to make me nose cold, causing me to consider carrying on with the Needle Felting Journey I began a year or two ago. Makes sense then to wan to sin my fingers into soft and cuddly Merino wool. Thought I would share the few videos that I made in the beginning. It just might spur me on to begin using the plethora of roving that I purchased back then. It is worth learning about if you like learning new art making skills.
Maybe I will have some new needle felt pieces or learn with me videos soon. Oh right, once I get those new jewellery pieces created for my Etsy Shop and the rest of the beads and mini figurines that I was thinking of creating.
For Now /here are some links to my earlier needle felt video posts. PurrrrFect Kitty Click here