Showing posts with label alcohol ink. Show all posts

Tuesday, November 10, 2020

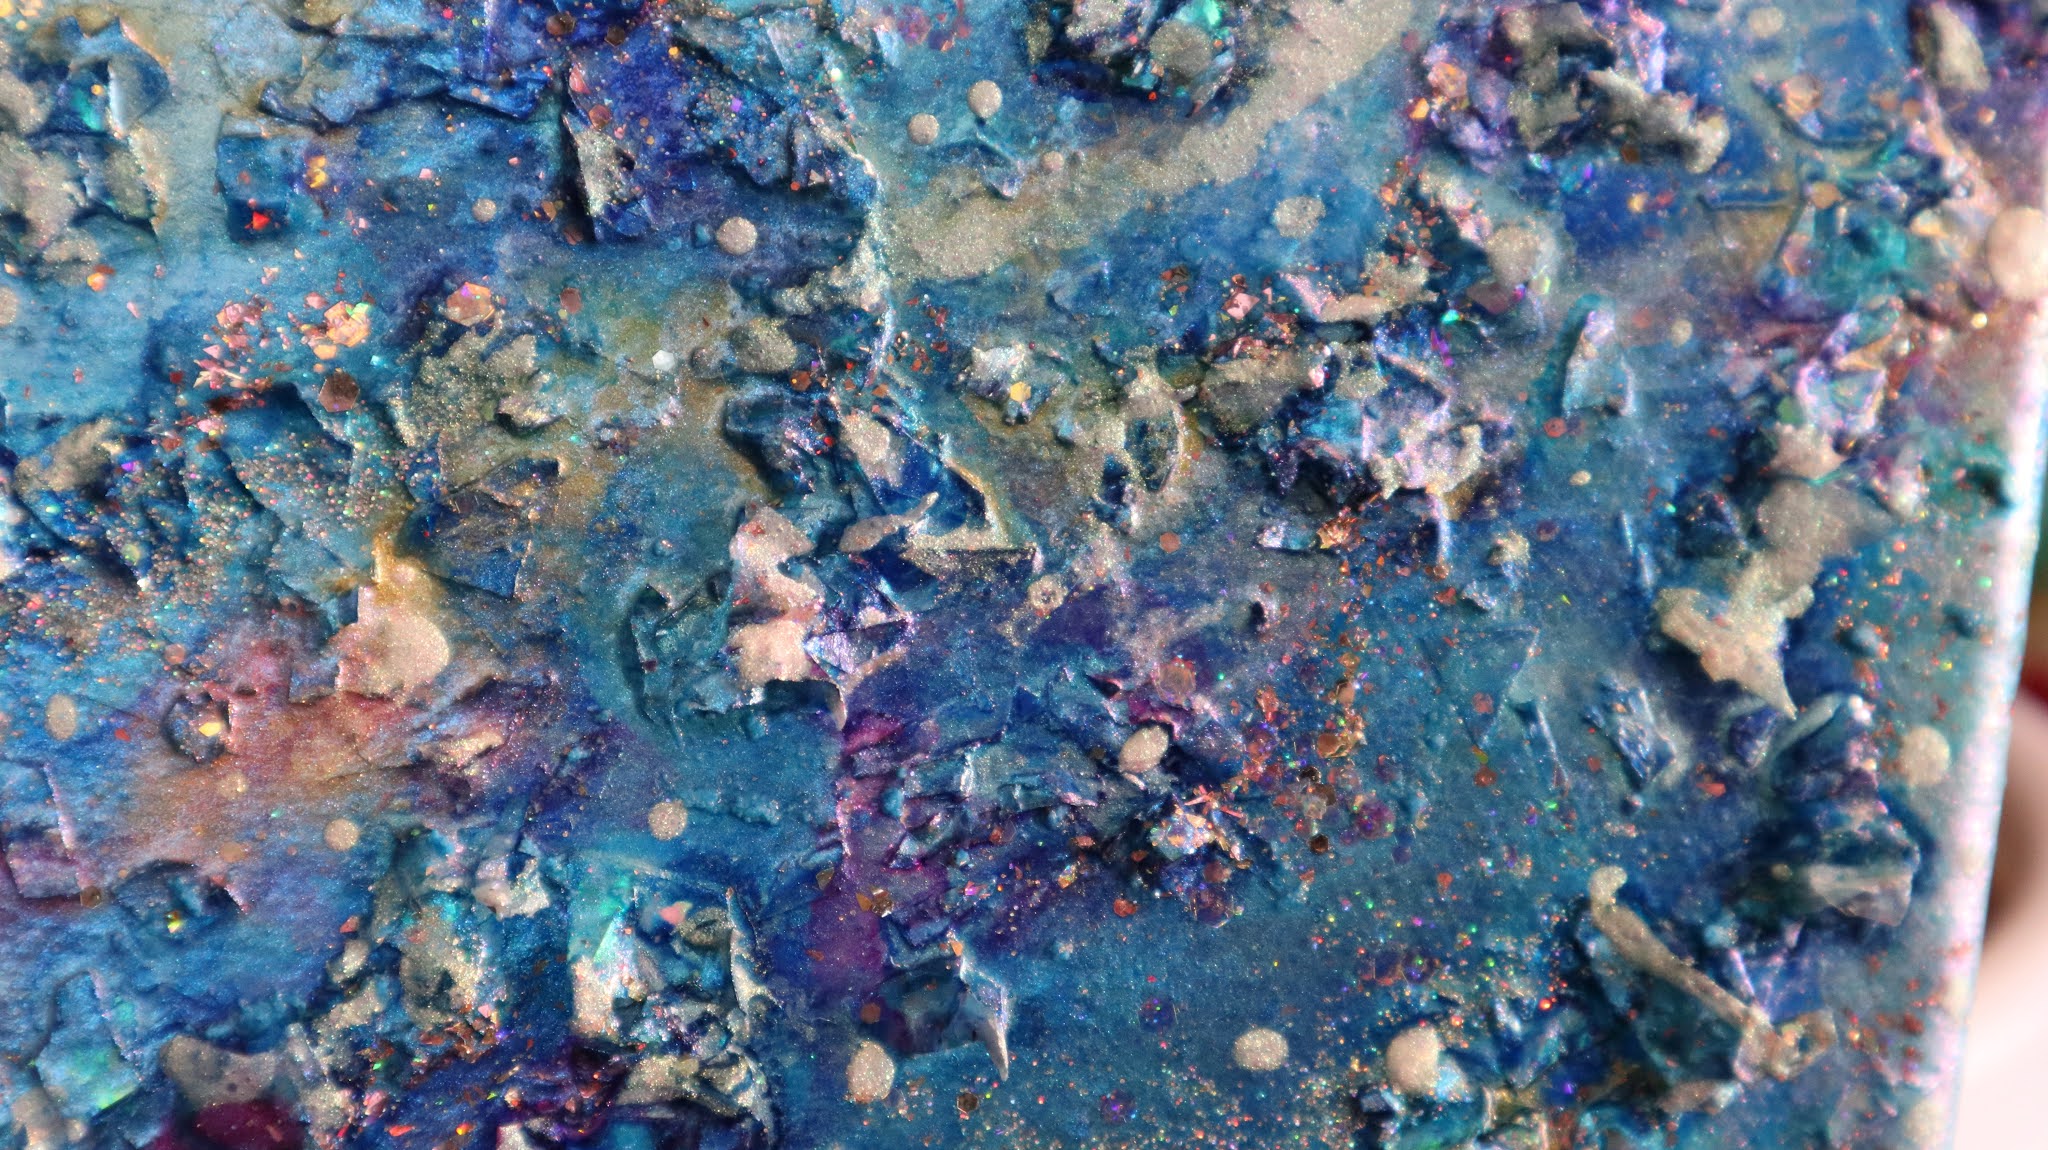
Learn With Me Mixed Media -Alcohol Inks, Glitter, UV Resin And Such.

 Hi guys! I was able to create another video regarding working with mixed media. It's a very long process so I didn't want to bore anyone by filming every step of the way. So this video is a bit more of a learn with me/tutorial as I ramble on about whatever pops into my head. Tried to edit some of that out, didn't think anyone would really want to hear too much about Star Trek versus Star Wars!

The materials that are used for this piece so far. That's right I am still tweaking it so it can't be considered done. In fact I've got some still shots then I'll be posting soon to see you what I've done since this video was made. It's just so much fun adding layers of textures and resin  and color.

Watch my new video here below


Materials I used

Stretched canvas about 5 x 7"

ALCOHOL INKS

POLYURETHANE

UV RESIN

LOTS OF GLITTER

ACRYLIC MEDIUM

MICA POWDER OR PIGMENT POWDER

GLOW-IN-THE-DARK POWDER

MICROBEADS FROM THE WORLD OF NAIL ART

CELLOPHANE CHUNKY GLITTER

ACRYLIC PAINT PENS

GLITTER PAINT PEN


REMEMBER WHEN IT COMES TO ART MAKING THERE AREN'T ANY RULES. WELL DEPENDS IF YOU'RE IN ART SCHOOL AND YOU HAVE AN ASSIGNMENT LIKE I REMEMBER FONDLY, THEN I HAD TO FOLLOW MY PROFESSORS RULES. BUT THAT ASIDE IF YOU'RE NOT UNDER A PROFESSOR, YOU GET TO HAVE FUN.


Connect More

.


Friday, December 20, 2019

Learn With Me: Alcohol Inks And Resin -Trying The Petri Dish Technique. Lessons Learned


Hard to believe we are five days away from that time of year that so many folks seem to stress out over. Instead of stress and and incurring debt, I would rather focus on sharing all things creative. Recently, I was dabbling in the newest resin trend, the Petri Dish technique. It it so addictive. There are a pile of great tutorials on the subject on YouTube, so this newest video is all about what my pieces ended up looking like and any lessons I learned.

You do need to use epoxy resin, freshly mixed. The longer it sits once mixed, the resin's curing process makes it a lot more difficult to impossible for the inks to do their thing, the thing that is called the petri dish effect.

Lessons Learned
Not For UV Resin. Find out what happened when I tried this method in UV resin.
As well, one big lesson learned was to not use my butane mini torch to eliminate bubbles in the resin, when using small silicone molds. The torch is too hot and the silicone actually burns, therefore ruining your molds and the piece you took time to create. Best way to remove those pesky bubbles in small molds is to use a lighter flame or heat gun, or if you can make it work, a straw that you blow through. That last one never seems to work well for me. Drool tends to dominate, running down the straw, about to ruin the resin.

Watch My Video Right Below 
To See How Beautiful This Technique can be:


Materials Required
Silicone molds
Fresh mixed Epoxy Resin - I use Art Resin right now
Alcohol Inks that are not mixatifs or opaque
White opaque alcohol ink - it seems that Pinata by Jacquard is used most
Pipettes if you need to draw ink from a larger bottle of ink
A matt to keep our surface from staining
A heat gun or flame if you want the bubbles removed (do that before adding alcohol inks - alcohol is flammable!)
A dust cover to keep pieces clean while curing

Connect More


Friday, November 22, 2019

The Unending DIY Galaxy Kitchen Table Top Transformation

I have finally concluded that our tabletop transformation will not end. However I want to share the ongoing process in that transformation. As well, Today I want to share a little bit about my discoveries regarding creating Shimmery alcohol inks that you can create on your own. The idea was sparked by the new pretty Ranger pearls. Alcohol inks that  have Mica powder in them to give them a shimmer.  It is 100  percent possible to create a shimmery alcohol ink that you can use on whatever surface alcohol inks adhere to.
Watch Video Below

In my case, I have added links to my supplies used For this table project.
Hope you're inspired to create your own surfaces  and If you want to create something smaller than the tabletop, You can also make mini galaxies and paintings on canvas using the same materials. I also have that project on the go as well.

Materials
Here are links to the various bottles I used to hold my mixed inks in as well as links to some other materials like a decent deal on mica powders if you just want to start out.
Polyurethane - Polycrylic
Long skinny small tip bottles
Darice Squirt Needle Tip bottles that leaked all over
Metal needle tip ink bottles
Deco Art Bottle
Holographic fine glitter
99% rubbing alcohol -walmart
Ranger Pearl inks
Mica sample box

Connect More

Wednesday, October 9, 2019

Inside My Studio: What's Up? Plus DIY Alcohol Ink Ideas

Hi guys! Hope you all had a great summer or winter, depending where you are!
Hard to believe that two months have passed and finally, I am basically done the redecorating of our kitchen table, galaxy look. I will be compiling and editing the process with lots of detail pics. For most it may be boring, but it helps me to document the art  work making process. Because there will never be a recreation of it again. Plus it is cool to see just how much a surface or piece can change, the more you keep working on it. It definitely, does not look at all, like the first round - when I said it was done!
The basically completed
table - one end anyway!

I used over one gallon of polyurethane plus some acrylic varnish! And now I need can number five to work on my final coat! My dear husband keeps picking up the medium sized cans (975ml I think) Remember, my table galaxy has been created by hand. One brush work/finger smudge at a time. No paint pouring here.
Oh. just accidents like spilling my polyurethane on the table - just yesterday!

Never Ending Ideas
What keeps dragging the completion are the ideas that keep popping into my never silent brain.
Alcohol Inks
One technique was the idea to use the alcohol inks that I  mixed with mica powder. Don't you think they would make great stars!
That was after realizing the new Ranger pearl effect alcohol inks seem to just have mica powder to give the pearlized appearance.

DIY Pearlized Inks
Wanting to save money,  I got out my empty needle nose plastic bottles, isopropyl alcohol
Trying to create a sparkly star effect with Chameleon nail flakes and DIY mica inks.
91% or higher and combined powder with the alcohol and some drops os alcohol inks. Just shake a lot as you go, and voila!  Not a bad idea. Of course the Ranger inks are very
More table top pics
pretty. But, making your own pearly recipes is effective too.

Anti Freeze?
One thing I haven't tried is the Extender formula for the alcohol inks. I have used alcohol as my extender. It turns out alcohol disperses the alcohol ink colours but the extender solution doesn't. The extender helps extend the drying time and literally extends or waters down  the ink I will be trying a Ranger extender solution soon.


Wanting again, to be frugal, I saw a DIY recipe to create your own extender solution. Thanks to a friend, I have some anti freeze to create some. You only use a teeny amount of the green glowing anti freeze and some . 91% plus isopropyl alcohol.  Haven't tried that either. But I will let you know how it goes.

What About Polymer Clay?
I have missed working with my favourite three dimensional material. It was a blessing to have sold some new polymer clay handmade jewellery this summer! It always helps to help cover the art making supplies I love having! Needless to say, I plan on working on some sculpture pieces in clay! Stay tuned. Not enough hours in the day!

Happy Creating!

Connect More

Wednesday, May 22, 2019

Inside My Studio: What Have We Been Up To?

Been a while since posting anything. Not that I haven't been creating. That is something I do everyday in some form or other. Wanted to touch base, say hello and share some pictures of what's been happening in my/our studio.  What have you been working on? 

My husband Craig has begun a second painting that we are going to follow his progress with. This time he is painting from his memories. An old job he once had. Here is a sneak peek.


Come back to see more updates!

Here are a few more pics of what I have been doing!
Connect More


Thursday, February 28, 2019

A Work In Process . A First! Using Yupo Sheets With Alcohol Inks!!


Yesterday I shared my tutorial on creating a suitable substrate for alcohol inks because I didn't have the Yupo Sheets yet. And yes, because i is costly stuff. Finally I tried it (so far only one sheet - too scared of wasting it).
this video isn't really a tutorial but more about my first time experience using Yupo. I was surprised at how different it is. To see what I learned watch below.
Watch My Video Below
These are all the same painting in different stages. Guess which one is first!


To connect more, check out:


Wednesday, February 27, 2019

Learn With Me - No Yupo? Creating A Substrate (surface) For Alcohol Inks

The past few weeks, I didn't have the ever popular Yupo "paper" and wanted to create a similar surface so I could use my alcohol inks. Yupo paper is not actually paper but polypropylene sheets that are nonporous. They are used a lot for alcohol ink painting. Now that I have tried the real thing, I can see why artists use it. Colours are bright and bold, no bleeding or absorbing, just pure pigment flow.

However, aside from being able to use alcohol inks on other nonporous substrates or surfaces, I thought hey, I can create a nonporous surface using my acrylic medium and/or gesso and such. Nonporous means a non absorbent ssurface so the inks can move and flow. You can see why when you put a drop on cardstock or paper, a porous surface and see how it wicks up the ink. The fun and beauty of alcohol inks is what the do when the meet each other. Far different than any paint I have ever worked with. Try it and you will see why this medium is so addicting!

Come see what I did and maybe you could use these ideas too.
Watch Tutorial Below


For more details and such, please connect to my creativity blog here https://heartfullycreating.blogspot.com
To connect more, check out:

Thursday, November 8, 2018

Polymer Clay Journey: Alcohol Inks and Translucent Clay Beads


 Happy Thursday guys! If you have been following ABERGIECREATION on Instagram (ABC is my main name for social media and my Etsy shop), then you’ll know I have been working on making beads and dangle drops with alcohol inks and translucent clay. My plan was to create a tutorial as well as talk about using alcohol ink refill ink and not just Adirondack and Piñata inks. Well, haven’t stopped long enough to edit the video and I am still creating more and more beads. Thought I would share some pictures from the last weeks until I get the tutorial made (Should be up by Wednesday or sooner).

It is So fun mixing colours and incorporating glitters, powders and glow in the dark powders too. Hope you try it. Talk to you soon. Thanks for stopping by!


Thanks for stopping by. 

Friday, December 22, 2017

Sneak Peek! Polymer Clay Journey: Even More Stained Glass Window Clingies

Guess what? I have been a tad hooked on creating faux stained glass window decorations. Right now our front door looks all bright and summery even though it's a typical white, winter day! As soon as I am ready, I will be making a new video. But for now, to brighten your day, I wanted to share a few sneak peeks of the newest creations.
Enjoy!
HeArtfully Creating,
Anita


Friday, November 10, 2017

Polymer Clay Journey: A PractiCLAY Project- Lantern Tutorial

Welcome to a A practiCLAY project. (practical, get it? :o)

Can't deal with bright lights in the middle of the night? I can't. But my husband helps me to get comfortable and needs to be able to see. (If you don't know, I use a wheelchair because of a neuromuscular disorder called Spinal Muscular Atrophy). So, I had a Problem to solve? How did I solve it? Well, I love working in polymer clay. I have translucent premo polymer clay, twinkle lights with batteries and a switch and ways to colour and decorate, so let's make a dim light in clay!


Watch the Video Tutorial Right Below:


Materials I Used For This Specific Project
💕Polymer clay
💕LED Light strand with battery pack and switch ( Can be bought at Amazon or eBay)
💕Alcohol inks
💕Glitter And powdered pigment/mica
💕Mod Podge
💕Toilet paper tube (You can use any type of cardboard tube)
💕Wax paper
💕Scotch tape Or masking is fine
💕Scissors
💕Dedicated baking pan for polymer clay
💕Tin foil to cover project when baking
💕And oven
💕polymer clay tools, including a roller or pasta machine
💕Bake and Bond or liquid clay

For the rest, Watch the video above.

Hopefully you are inspired to try making your own practiClay lantern project.

HeArtfully Creating,
Anita


Subscribe! Like and Share!! (if you want of course :o)

LIKE HeArtfully Creating Here on FACEBOOK: https://www.facebook.com/HeArtfullyCr...

HeArtfully Creating Blog:
http://heartfullycreating.blogspot.ca...

A Bergie Creation Shop Blog: http://abergiecreation.blogspot.ca

A BERGIE CREATION - my handmade jewelry shop
www.abergiecreation.etsy.com

Facebook:
https://www.facebook.com/abergiecreation

Twitter:
https://twitter.com/abergiecreation

YOU Tube Channel
https://www.youtube.com/user/anitaand...

Pinterest:
https://www.pinterest.com/abergiecrea...

HeArtfully Creating:
http://heartfullycreating.blogspot.ca

Sure Hope Gazette:
http://surehopegazette.blogspot.ca

Walking Way Overrated
http://walkingwayoverrated.blogspot.ca

TUMBLR
http://anitaberglund.tumblr.com