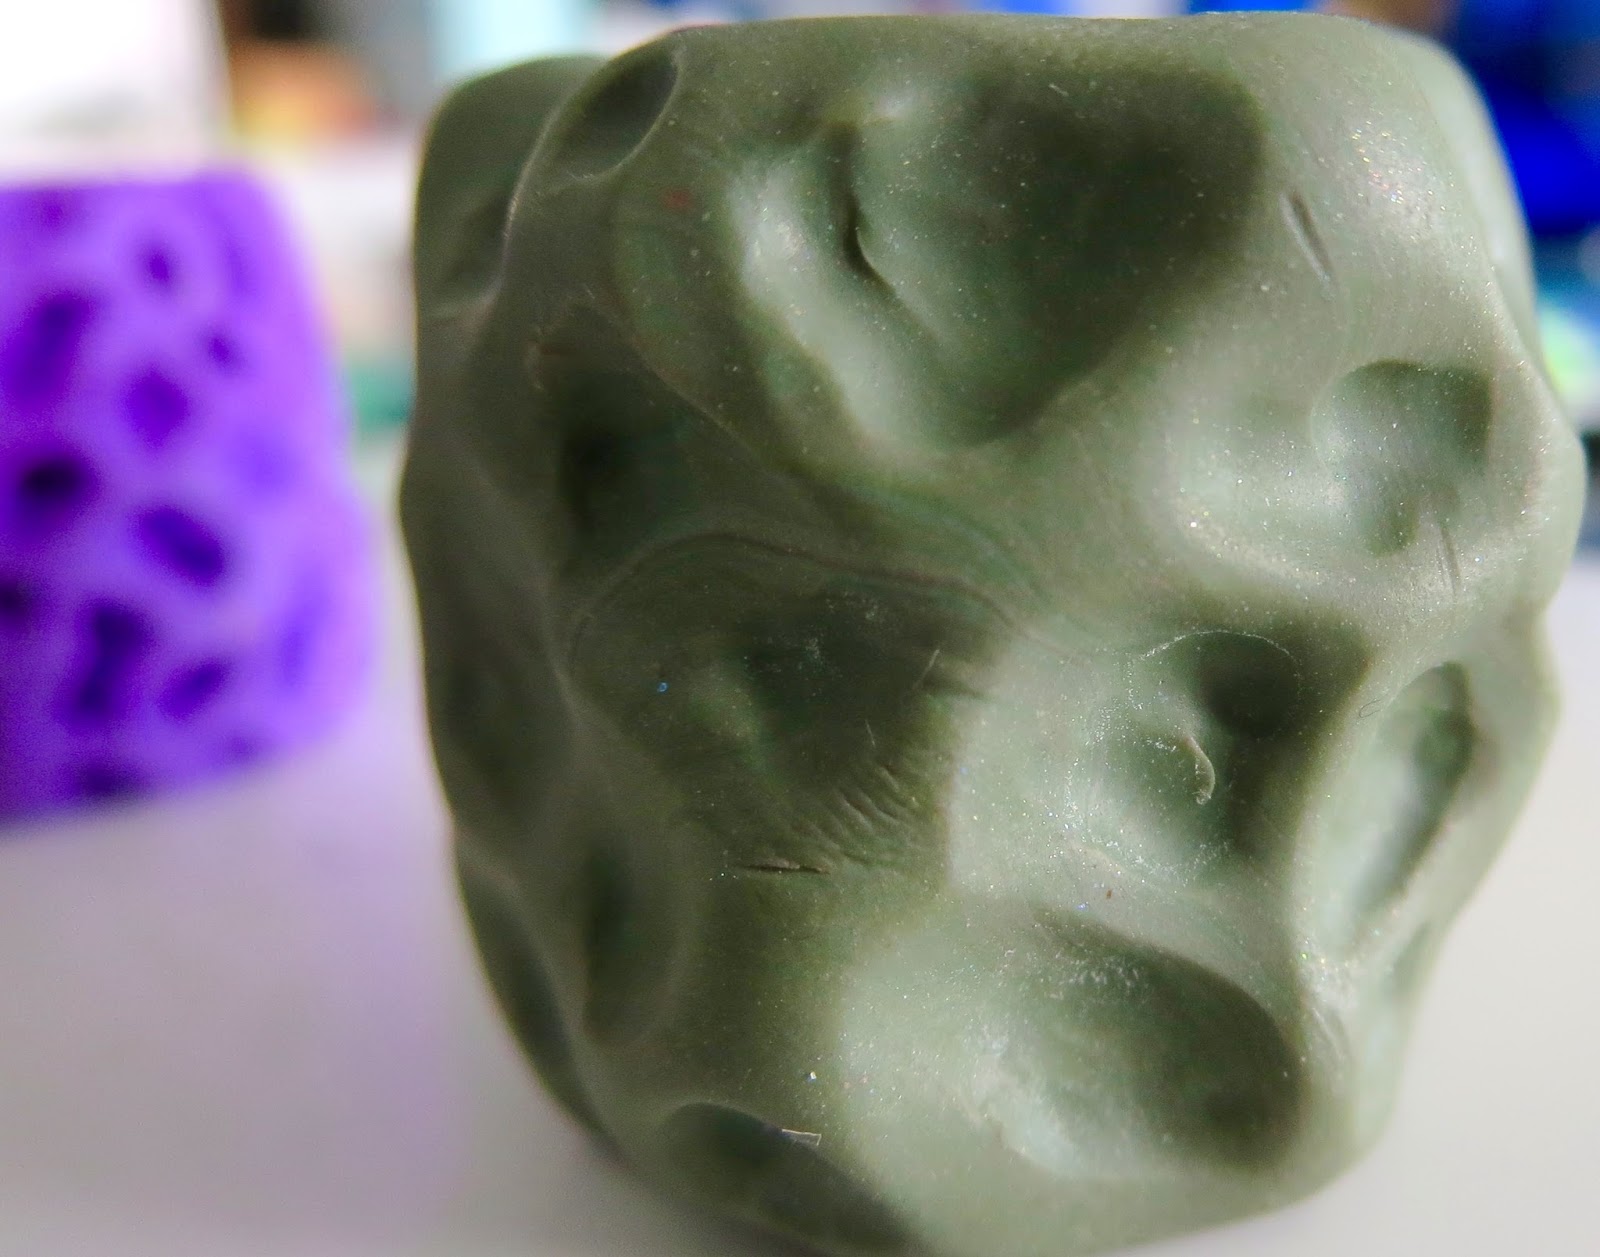
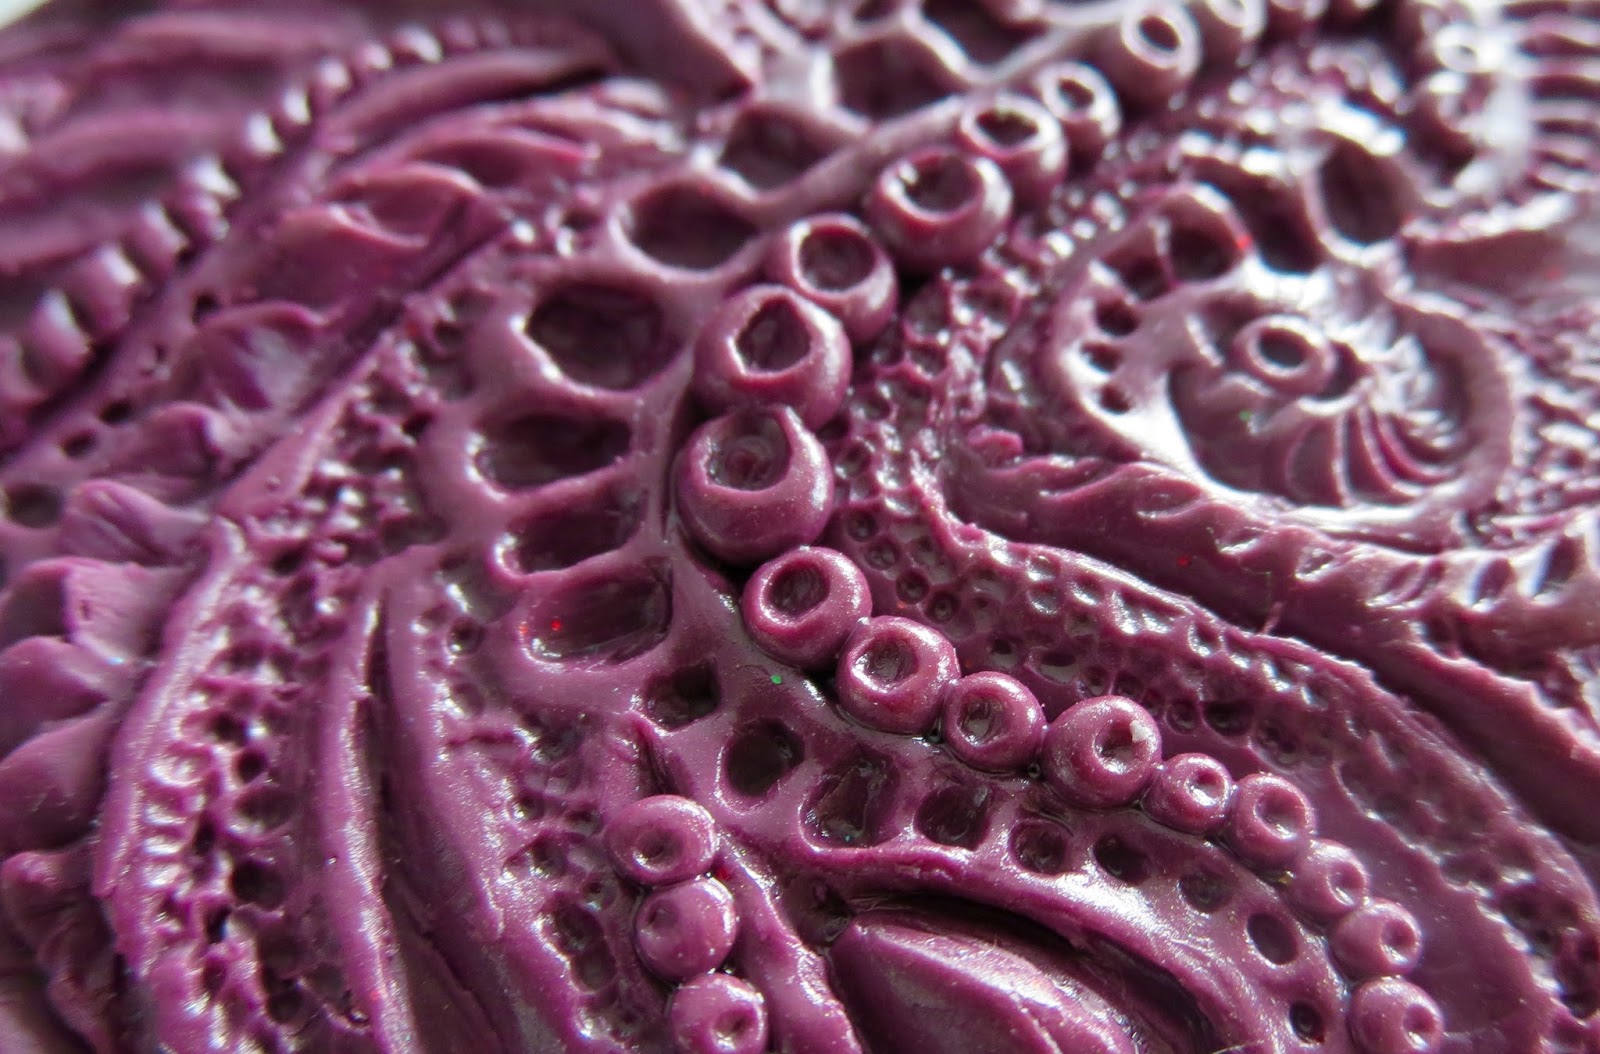
A place to encourage the creativity of artistic minds of all ages. Offering Ideas, Inspiration and Instruction and sharing the work of others who inspire me!
If you are new or have returned for more fun, here at HeArtfully Creating, Welcome! I know it has been a while, But I finally have had a chance to put together a new video To hopefully inspire you to make your own polymer clay texture Making tools. That means they can be in a roller, sheet, or plate form. Because I am I was experimenting learning, You will see that I have tried Some variations. Since I love making my own texture tools, I have decided to make a three or four part series on the subject. Otherwise the video that goes with this article, would be way too long. Personally I find it easier to watch shorter videos in a series as opposed to a really long single video. I would love to hear what you think. It's much easier to focus on one or two pieces than my entire collection all at once.
Before we begin here is the video that goes with this article.
Tools You Need 💕1. Scrap polymer clay. Note: Now is a good time to use cheaper clays like Sculpey 3, or clays you do not like as much, That you happen to have lying
around. Also a good times to use up Colour Blends That you really don't like.
💕2. Sculpting tools. As well as Purchased tools. Use whatever you think will work best to make the shapes and textures that you want. If you're new to polymer clay and do not have An addiction to buying Clay tools, Like I do, Add want to save money, you can actually accomplish pretty much the same end result by using use items you would find around the house. For example: toothpicks, Knitting needles, Crochet hooks, dental tools (I was able to acquire some from a hygienist who is going to throw her tools away), Popsicle sticks, Skewers, Icing Tips for cake decorating, Screwdriver tips, Utensils....Just make sure whenever you use Stays dedicated for clay only.... NOTE: Because some plastics React to Polymer clay, Be careful not to leave whatever household item, you may be using In contact with the clay for extended periods of time. Metal And glass As well as wood, Are all safe. 💕3. An acrylic roller. Again if you're new polymer clay, You can use anything that we'll roll out your clay. You can use Metal cannoli forms, I wouldn't dowel, A smooth pen Or pencil. And for those who have the supplies, You can use the roller or the pasta machine. Again a reminder that anything used with Polymer clay, can't be used for food items after.
Polymer clay is not toxic, But, It is not recommended that you interchange tools That you would use for food preparation Or eating. 💕4. A dedicated baking pan For baking your texture sheets/rollers.
💕5. A ceramic tile Or a piece of glass that can be put in the oven To work and bake on. 💕6. Card stock Or file folder. 💕7. Tinfoil Or an aluminum baking pan that fits As a lid On the pan you will be baking your clay in. 💕8. Baby Wipes 💕9. Water spritzer 10. For A roller or rocker style, use a toilet paper tube, or a metal tube shape covered with wax paper. Most important, Your creativity!
Beginning
I like to work in a freestyle manner. If you have a specific design or texture or image you would like, then be sure to jot down your ideas in your sketchbook.
Foundation:
In this video you see that I am making a roller style texture tool. I wrapped wax paper onto a metal tube used for nail art. Using tape holds it well. Then I roll out polymer clay and in this case I added and shaped pieces as I wanted. Remember any texture left on the piece will appear on the raw clay you want to texture. So be sure to smooth out all that you want to be smooth.
Ready To Bake
Always bake on a dedicated baking pan, using a ceramic tile on top, with an insulating layer of card stock or a file folder. This helps distribute heat and avoid scorching.
Once your roller or rocker is ready. It is important to not bake your piece on a flat surface or you will have flat spots. I use bunches of tissue including toilet paper. Make a nice bed of soft kleenex or t/p. You can use quilting batting as well. At 275 degrees fahrenheit, these products will not burn. Make sure they do not touch the element. Lay your pieces down.
Tent It.
To help contain fumes and to avoid scorching, always use an oven thermometer to insure your oven is to temperature. As well tent some tinfoil over top or lay an aluminium cake pan on top.
I always bake my pieces at east one hour, even if thin. It makes it stronger.
When baked, let cool. And you are ready!
Using Your Texture Sheets and Tools:
For those of us with weakened hands like I do, we can still work with clay but we need to modify techniques at times. For instance, many tutorials talk about how you need to stand up and look straight down when slicing a cane or pressing on a texture stamp. In my case, I use a wheelchair and standing isn't an option. So, it just means that I need to be extra careful to slice straight down from a seated position. And regarding textures or rubber stamps, I have been learning that because we can't stand up, for leverage and to apply pressure, making a roller style texture stamp works better. I did try a rocker style stamp as you will see in the videos, but I still wasn't strong enough to apply pressure by rocking it back and forth. On that note, I find pressing the clay down onto the stamp or flat plate works best. Using your finger tips, pushing it carefully into the nooks and crannies. Just be careful it doesn't stick by using water or corn starch or even better...Baby Oil....
BABY OIL TIP: Baby oil has more than one use. I use it in small quantities to condition rock hard clay. In fact because my hands are weak, if clay is too stiff, I work in a bit of baby oil to soften it up. Maybe I will make a tutorial about that in the future. Regarding texture tools made from polymer clay, to avoid clay sticking to my polymer clay texture tools is, rub a light coating of baby oil onto the stamp or roller's surface. No only does it smell great, it kind of keeps the clay made sheets and such in a non-stick state. It reminds me of how you condition or season a cast iron pan or wok.
Next time, I will share another video in this DIY Texture Series!
Thanks for stopping by.
HeArtfully Creating,
Anita
Subscribe! Like and Share!! (if you want of course :o) LIKE HeArtfully Creating Here on FACEBOOK: https://www.facebook.com/HeArtfullyCr... HeArtfully Creating Blog: http://heartfullycreating.blogspot.ca... A Bergie Creation Shop Blog: http://abergiecreation.blogspot.ca A BERGIE CREATION - my handmade jewelry shop www.abergiecreation.etsy.com Facebook: https://www.facebook.com/abergiecreation Twitter: https://twitter.com/abergiecreation YOU Tube Channel https://www.youtube.com/user/anitaand... Pinterest: https://www.pinterest.com/abergiecrea... HeArtfully Creating: http://heartfullycreating.blogspot.ca Sure Hope Gazette: http://surehopegazette.blogspot.ca Walking Way Overrated http://walkingwayoverrated.blogspot.ca TUMBLR http://anitaberglund.tumblr.com
Hi guys! It has been a whirlwind week. Had great plans to get a few new blogs out by today. But, as many of you know taking photos of your work while you work, editing the photos - especially when you're like me and take at least 200 photos for every couple of items made. Actually, when I was just transferring photos just for this project alone, there was at least 500 photos. You can see why I turn them into videos to document my work. No one would want to look all of those photos in a blog post!
Practical polymer clay project: texturing tools
I am just trying to post this before I hit the hay, so I won't say too much right now. But I did want to show some photos before Friday ends.
With polymer clay and sewing needles, and a 26 gauge wire threaded through the eye of the needles, I grouped them together and then formed polymer clay around them. I have to thank my Mandarin ducky, Anikko, for that idea. Take a look.
Then I made my own craft knife so that I can use up some spare tiny blades that were leftover, when a cheap craft knife broke within one month. Again wrapping wire so the clay had something to grab onto, I made my own detail knife. As well, I made a double knife so I can make Little strips of clay. I thought it was kind of cool. Take a look at these.
The loopy thing/ tool, was created from an idea I saw somewhere on the Internet, sorry I can't remember where... They took a guitar string and made a loop and formed it into a sculpting tool. This is a necklace cable that I used instead. No guitars here!
Everyone have a great weekend! Lord willing, I would posting more detail Photos and articles this weekend. Wait till you see the new textured polymer clay pieces I have been working on all week :o)
A while back, I was having fun creating texture sheets and stamps for my polymer clay designs out of polymer clay. They work really well. It does take trial and error, because some designs can be to uneven to imprint your clay well. As well, you want to try different depths. You can essentially "carve" into a thick sheet or piece of clay to you can "add" to a sheet of clay. Click here to go to the article I did back then about my handmade polymer clay texture rollers and click here for the texture sheets. Here are a few photos of the results from testing out my favourite dandelion seed texture sheets.
All made with these texture sheets below I made last year!!
Making texture sheets, using your own designs, is a lot of fun and a great creative expression that can be re-used as many times as you
want. Unless your sheet breaks of course. After seeing texture rollers in a Polymer Clay Tutor product demo and the sculpted tool you can buy, I thought why not? So I tried making some texture rollers out of polymer clay and here are the results. Just watch the corresponding video below on our YouTube channel.
Materials Needed and Baking Clay Advice ∆If you have hands, that is your number one needed tool. ∆ You don't need fancy tools, just a craft or X-Acto knife ∆ Polymer Clay ∆ You can use anything to help make your impressions into the
I like to cover my tools and tin can holders in clay!
clay, popsicle sticks, toothpicks, utensils, needle tools, ball tools, cake decorating tools. Just do not re-use anything you use for polymer clay on food after. Keep them as special tools. ∆ If you want to purchase inexpensive polymer clay tools, I bought a lot for free shipping on Ebay from Asia. Just search for wax carving tools, clay tools, cake decorating tools, wire tools and nail art tools. From those searches, you will find a lot of cheap, helpful useful instruments.
∆ A Dedicated pan to bake on, I use a ceramic tile on cake pans I no longer use and then cover the items with an aluminium pan to protect the clay from discolouring. ∆ A Smooth craft sheeted surface. I use a large ceramic tile or piece of glass to work on. ∆ Bake your clay as per the package directions and then some. I
Add caption
follow all the advice I have heard which is bake always, at least for one hour to make it stronger. You can't burn your clay at the temperature on the package. Only if your oven isn't working right. Then it helps a lot to use an oven thermometer to make sure you oven is heating to the correct temperature. A Closer Look As well, here are some photos. No, I didn't film any of the actual making parts, but I think it is pretty self explanatory. I suggest looking up the video mentioned in the texture sheet article by Katie Oskin. Just think instead of a flat sheet of clay, you need to lay or imprint your designs or textures on a polymer clay cylinder. It is a great way to use up scrap clay. All clay is useable and has no reason to be wasted!
Love To Hear From You If you have any thoughts, questions, ideas or suggestions, please write them below. I would love to hear from you or if there is something you would like to see or learn about. If I can help, I will do my best. HeArtfully Creating, Anita
Subscribe! Like and Share!! (if you want of course :o)
As with any artistic discipline, I like to learn all I can and develop what I can in an attempt to be as original and as unique as possible. As a visual artist I must say, when it comes to the huge variety of polymer clay tools, such as texture sheets, texture rollers, and image transfer methods, cookie cutters, moulds for all shapes....etc.
As tempted as I was to purchase some to help make beautiful pieces. I just couldn't do it. Why? Because as a visual artist, I really struggle with feeling bad or guilty, not working with my own images and shapes. And even if you aren't a professional artist, you can still make your own designs. All you need is the desire to do so. It is far more rewarding, for me anyway, to know that a piece of jewelry or whatever it may be, was all my own work. Maybe I have guilt issues, using existing tools like texture sheets, but it is where I am at at this moment in time.
Here is my first texture plate and the impression I made on the right in a pendant.
Here is my first texture plate and the impression
I made on the back of the pendant
That being said, at the beginning of my poly clay journey, I didn't know that it was possible to be completely original by making your own textures plates or sheets, as well as moulds. That was until I started searching and discovered folks like Katie from Katers Acres, and some other poly clay artists, who offer tutorials online on how to make a texture plate or sheet out of polymer clay. Yes, there are countless texture making materials out there. But, it is so much more rewarding, if you so choose, to design your own textures and designs and then be able to use those textural designs in your clay creations.
Here is the result of raw then baked clay, after pressing
the texture sheet (on left) into raw clay.
This video is a highlight just to share some of the texture sheets and rollers that I have made from beginning to end. Think of it as doodling on a sheet of clay. In my case, some of the texture plates were carved or pushed into, and some were in the technique of "addition." meaning, you roll out clay lines, dots, shapes and such and add them to a flattened piece of clay. Then bake it and voila, you have your very own texture/design making plate.
After watching a review on Cindy Leitz's Polymer Clay Tutor channel on YouTube, I learned about texture/design rollers you could purchase. Here is that video...
She is another artist I have and keep learning from. I suggest checking her videos out. However, the designs, would not be my own, so I experimented successfully with making my own texture rollers. They work wonderfully! Not saying all these tools
that you can purchase are not good, they are great for anyone who doesn't want to or can't make their own designs.
Suggestions When Using A Polymer Clay Texture Sheet.
Silicone never sticks to anything. That is fine if I was using silicone, but so far, I am not. It means that since my texture impression stamps are made of baked polymer clay, that means there is a fish that the textures can stick to the clay you are trying to imprint on.
What to do? I actually discovered that Baby Oil is one of my favourite tools. I rub baby oil all over the surface of my baked clay texture roller or sheet in a thin layer, especially putting it into the deeper crevices. The professionals may shake there head at me, but I just know that because the clay is so porous, it works well at releasing the raw clay.
Or you can use a spray bottle of water. Just lightly spray the clay with water or the plate/roller and then water releases your texture maker. Water and clay do not mix, so make sure it is dry after. Blot it gently with a lint free cloth or bounty paper towel.
This video doesn't show the making" it process, just the final results. But I will share some links below so you can see how Katie from Kater's Acres first showed me in her video.
Hope this helps a little.
Questions, thoughts or Comments, please feel free to write them down below.
Subscribe! Like and Share!! (if you want of course :o)