A place to encourage the creativity of artistic minds of all ages. Offering Ideas, Inspiration and Instruction and sharing the work of others who inspire me!
Showing posts with label polymer clay tips. Show all posts
Showing posts with label polymer clay tips. Show all posts
Hi guys! This is a short video talking about trying the Born Pretty chameleon nail art powders and flakes. Adding them to black or very dark polymer clay works the best. Theses pigments are amazingly beautiful. It is hard to believe that one powder or flakes can shimmer with two or more colours. It all depends on how the light hits the surface. To get more interesting effects, stamp textures into the clay and you will see even more great two tone effects! See the pictures of a few samples I have tried,
Watch Theses Beautiful Pigments Do Their Thing Right Here
Here is a sick video with a couple of ideas and tips about making tea light candle or trinket holders out of polymer clay. These were made as gifts, so I learned as I went and hope there is something inspiring here to encourage anyone out here who is working with or wants to work with polymer clay.
Using translucent clay tinted with alcohol inks, glitter and micah powder, makes the end result beautiful. See the glow in the photos as the candle light shines through.
Not into candles? These also make great trinket or ring holders! A fun way to make a beautiful decoration for your own home or someone you love!
As we create, we are always learning, right? Right! We learn from watching others create as well as from actually working with whatever your favourite art making material is. Or if you are me, you are wanting to learn and try out a variety of creating methods. For me these past couple of years, it has been all about learning the best ways to work with polymer clay. It was love at first sight. Working with polymer clay means I can use colour in a three dimensional way. For the first half century of my life, my favourite art making materials were two dimensional, acrylic paint, coloured pencils and such.
Acrylic Painting On Stretched canvas by Anita Berglund
Treating The Surface Of Polymer Clay
One of the many lessons I have learned from the many great online polymer clay artists was that the best product to use if you want to glaze your baked clay is, water based polyurethane. So I bought a huge can and spent two days straight glazing my recent pieces.
Because I have also learned that it is far better to create my polymer clay pieces as smooth as possible. Unless you want texture. If the surface is smooth, it can be left or barely sanded, waxed and buffed or glazed and look great. However, it turned out that because my pieces were too smooth, the polyurethane on many pieces peeled. I like to test all pieces after my multiple failed attempts at using other glazes such as triple thick. Some end up sticky and gross. In fact, that has been number one pet peeve. Polyurethane, perfect, no sticky icky surface. It was when I tried to see how durable the shiny surface was with my finger nail, that I discovered the glaze cold peel like good sunburn does. Okay, I use to like peeling sunburnt asking (my own of course!). Needless to say, I was very disappointed.
Here are some pictures to document what happened....
This wasn't all that I glazed, but you get the idea... Wanting to know what I did wrong, I researched some more and discovered that polyurethane can peel because of natural oils the is on our hands, so you can use rubbing alcohol to wipe the surface clean of oils. As well lightly landing with a high grit sandpaper first helps it adhere. For me, it just became too frustrating because I didn't research as much as I should have. To Glaze Or Not To Glaze, That Is The Question!
As you may already know, you do not actually have to put a finish on polymer clay. The clay is far more durable than any finish. A coating of your choice (I a sticking with polyurethane used properly) is helpful if you have glitter or some such thing that you feel may rub off. Mica powder like Pearl Ex actually is fine if rubbed on in one layer onto unbaked clay. If you want to cover it before with a thin layer of liquid clay or after baking with a glaze, that is an option we have.
Surface Before The Polyurethane
Personally, after spending more hours sanding OFF all that peelable glazing, I concluded that sanding, waxing with Renaissance Gallery quality wax and buffing or just leaving it as is, will be my choice for surfaces of clay. UNLESS, the poly clay piece is a figurine or something that won't be worn or used like beads and cabochons.
See The peeling? Bummer!
See The peeling? Bummer!
Working On Sanding and Then Waxing And Buffing or Polishing
Working On Sanding and Then Waxing And Buffing or Polishing
Working On Sanding and Then Waxing And Buffing or Polishing
Working On Sanding and Then Waxing And Buffing or Polishing
Sanding Tips:
Because Polymer clay is so fine and can enter through air passages, it is best to sand using wet/dry sandpaper in a pan of water or because I physically can't do that, I have a tub of water next to my work space. Then I dip my sandpaper and piece in the water, lay them down on a towel and begin sanding. If the surface has roughness then starting with a number 600 should work to get the hard parts off. I have to keep dipping in the water because the polymer powder builds and clogs my paper fast.
If your pieces are as smooth as mine started out, 800 to 1000 works and I even have a 2000 grit paper to finish off with if I want.
Without waxing, I personally wouldn't be able to polish my pieces hard enough. I know of other artists who don't wax. They sand and then use a cotton denim or jean fabric to buff out the clay and it gets super shiny. My hands are not strong enough to do that, so I put a thin layer of Renaissance wax and let it dry for ten minutes and then polish with a soft cloth. I love the finish. So if I can achieve a nice buttery finish with my weak hands, anyone can! Imagine what you can do with healthy muscled hands!!
Hope You Learn Something Inspirational Today!
See You Soon!
HeArtfully Creating,
Anita
My flowers are okay with a thin layer of polyurethane. I love this piece.
Here are some great videos about finishes from some of my favourite polymer clay artists: Cindy Leitz- Polymer Clay Tutor: Renaissance Wax
Minx Polyurethane - Oil Based
Should I Seal Polymer Clay?
Liquid Polymer
Subscribe! Like and Share!! (if you want of course :o)
As with any artistic discipline, I like to learn all I can and develop what I can in an attempt to be as original and as unique as possible. As a visual artist I must say, when it comes to the huge variety of polymer clay tools, such as texture sheets, texture rollers, and image transfer methods, cookie cutters, moulds for all shapes....etc.
As tempted as I was to purchase some to help make beautiful pieces. I just couldn't do it. Why? Because as a visual artist, I really struggle with feeling bad or guilty, not working with my own images and shapes. And even if you aren't a professional artist, you can still make your own designs. All you need is the desire to do so. It is far more rewarding, for me anyway, to know that a piece of jewelry or whatever it may be, was all my own work. Maybe I have guilt issues, using existing tools like texture sheets, but it is where I am at at this moment in time.
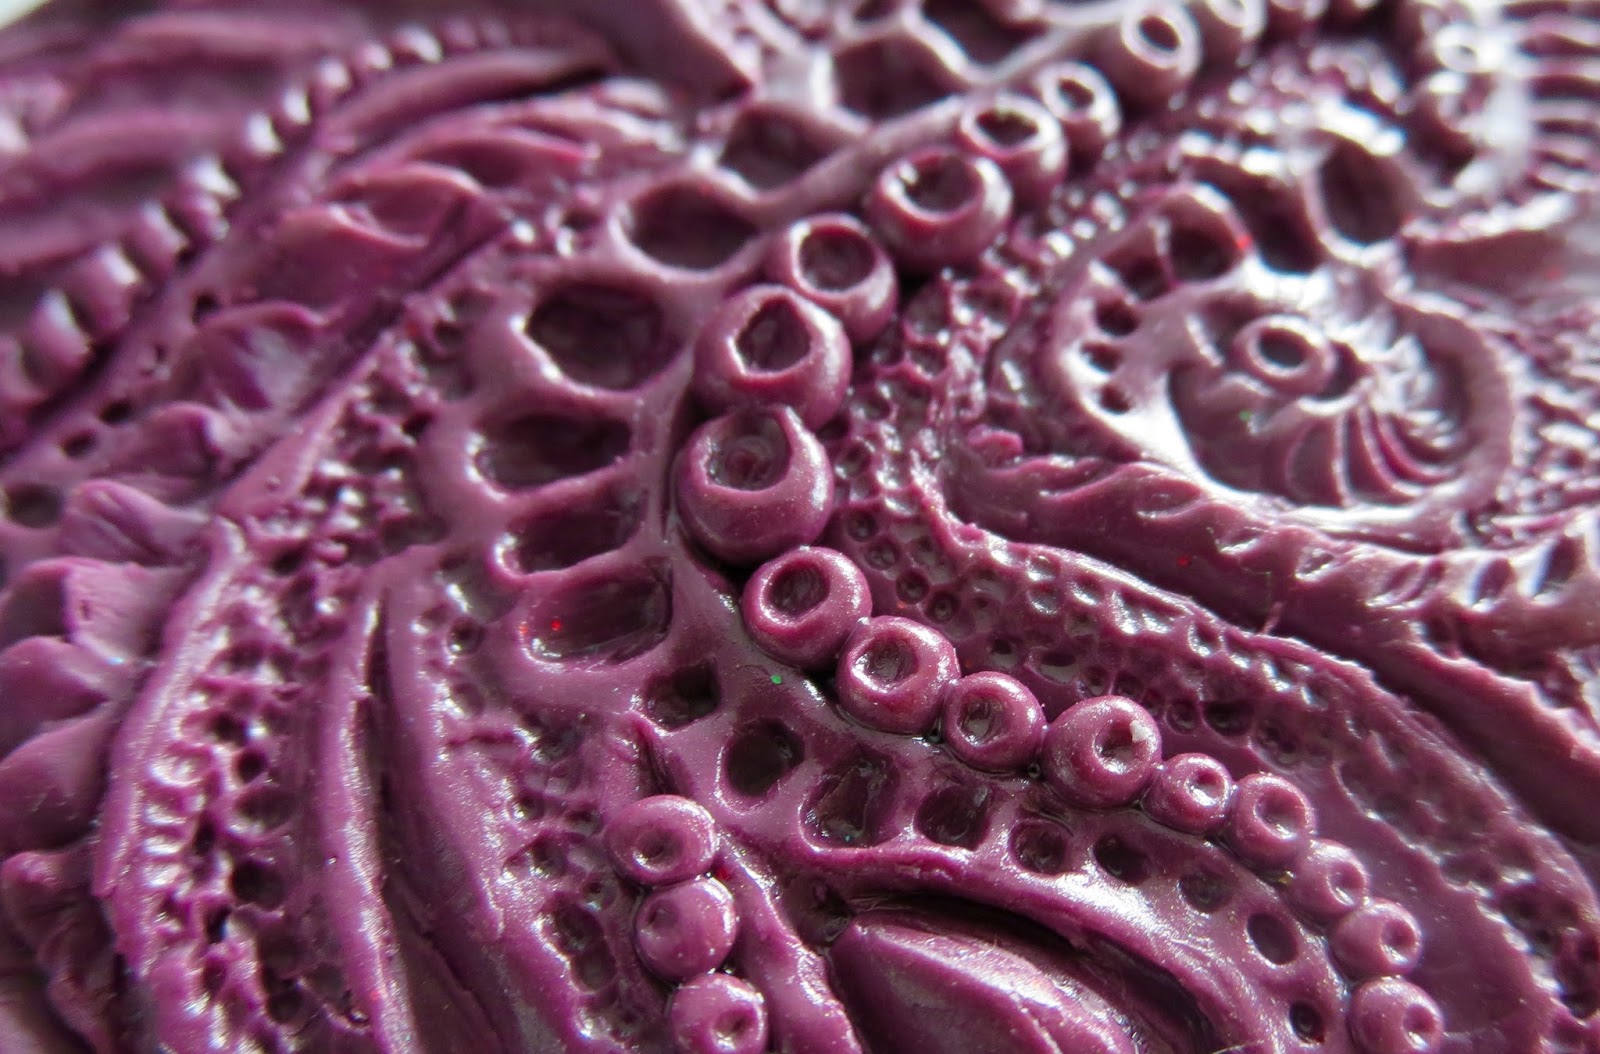
Here is my first texture plate and the impression I made on the right in a pendant.
Here is my first texture plate and the impression
I made on the back of the pendant
That being said, at the beginning of my poly clay journey, I didn't know that it was possible to be completely original by making your own textures plates or sheets, as well as moulds. That was until I started searching and discovered folks like Katie from Katers Acres, and some other poly clay artists, who offer tutorials online on how to make a texture plate or sheet out of polymer clay. Yes, there are countless texture making materials out there. But, it is so much more rewarding, if you so choose, to design your own textures and designs and then be able to use those textural designs in your clay creations.
Here is the result of raw then baked clay, after pressing
the texture sheet (on left) into raw clay.
This video is a highlight just to share some of the texture sheets and rollers that I have made from beginning to end. Think of it as doodling on a sheet of clay. In my case, some of the texture plates were carved or pushed into, and some were in the technique of "addition." meaning, you roll out clay lines, dots, shapes and such and add them to a flattened piece of clay. Then bake it and voila, you have your very own texture/design making plate.
After watching a review on Cindy Leitz's Polymer Clay Tutor channel on YouTube, I learned about texture/design rollers you could purchase. Here is that video...
She is another artist I have and keep learning from. I suggest checking her videos out. However, the designs, would not be my own, so I experimented successfully with making my own texture rollers. They work wonderfully! Not saying all these tools
that you can purchase are not good, they are great for anyone who doesn't want to or can't make their own designs.
Suggestions When Using A Polymer Clay Texture Sheet.
Silicone never sticks to anything. That is fine if I was using silicone, but so far, I am not. It means that since my texture impression stamps are made of baked polymer clay, that means there is a fish that the textures can stick to the clay you are trying to imprint on.
What to do? I actually discovered that Baby Oil is one of my favourite tools. I rub baby oil all over the surface of my baked clay texture roller or sheet in a thin layer, especially putting it into the deeper crevices. The professionals may shake there head at me, but I just know that because the clay is so porous, it works well at releasing the raw clay.
Or you can use a spray bottle of water. Just lightly spray the clay with water or the plate/roller and then water releases your texture maker. Water and clay do not mix, so make sure it is dry after. Blot it gently with a lint free cloth or bounty paper towel.
This video doesn't show the making" it process, just the final results. But I will share some links below so you can see how Katie from Kater's Acres first showed me in her video.
Hope this helps a little.
Questions, thoughts or Comments, please feel free to write them down below.
Subscribe! Like and Share!! (if you want of course :o)
Most Important Baking/Curing Tip
Thank you to Cindy Leitz from the Polymer Clay tutor Yout Tube Channel. Always bake your clay longer than the package directions. Not hotter, that would burn it and spread noxious fumes into your home. But, if the package say, bake for 30 minutes per each 1/4 inch of clay thickness, bake it an hour. Christi Friesen, another great tutor, artist, also recommended using an oven thermometer. After what I learned, make sure you listen to what these folks say. After all, they have done that work, just to teach us!
Use an oven thermometer to make sure your oven actually is reaching say, 275 fahrenheit. At first I assumed it was reaching that temperature, so, I baked a lot of clay pieces. But, I struggled with breakage even after an hour or more. Lo an behold, decided to listen to their advice, and it turned out our little toaster oven was only reaching about 230 degrees, not 275f! BIG LESSON LEARNED!
A polymer clay stamp I made out of polymer clay!
Subscribe! Like and Share!! (if you want of course :o)