A place to encourage the creativity of artistic minds of all ages. Offering Ideas, Inspiration and Instruction and sharing the work of others who inspire me!
Hello everyone! Hope everyone is having a great February so far. Recently I have been needing to rest more than I normally need to. So when I am able to be productive creating, I have been trying to turn many of my mini art works into jewelry and finally getting those
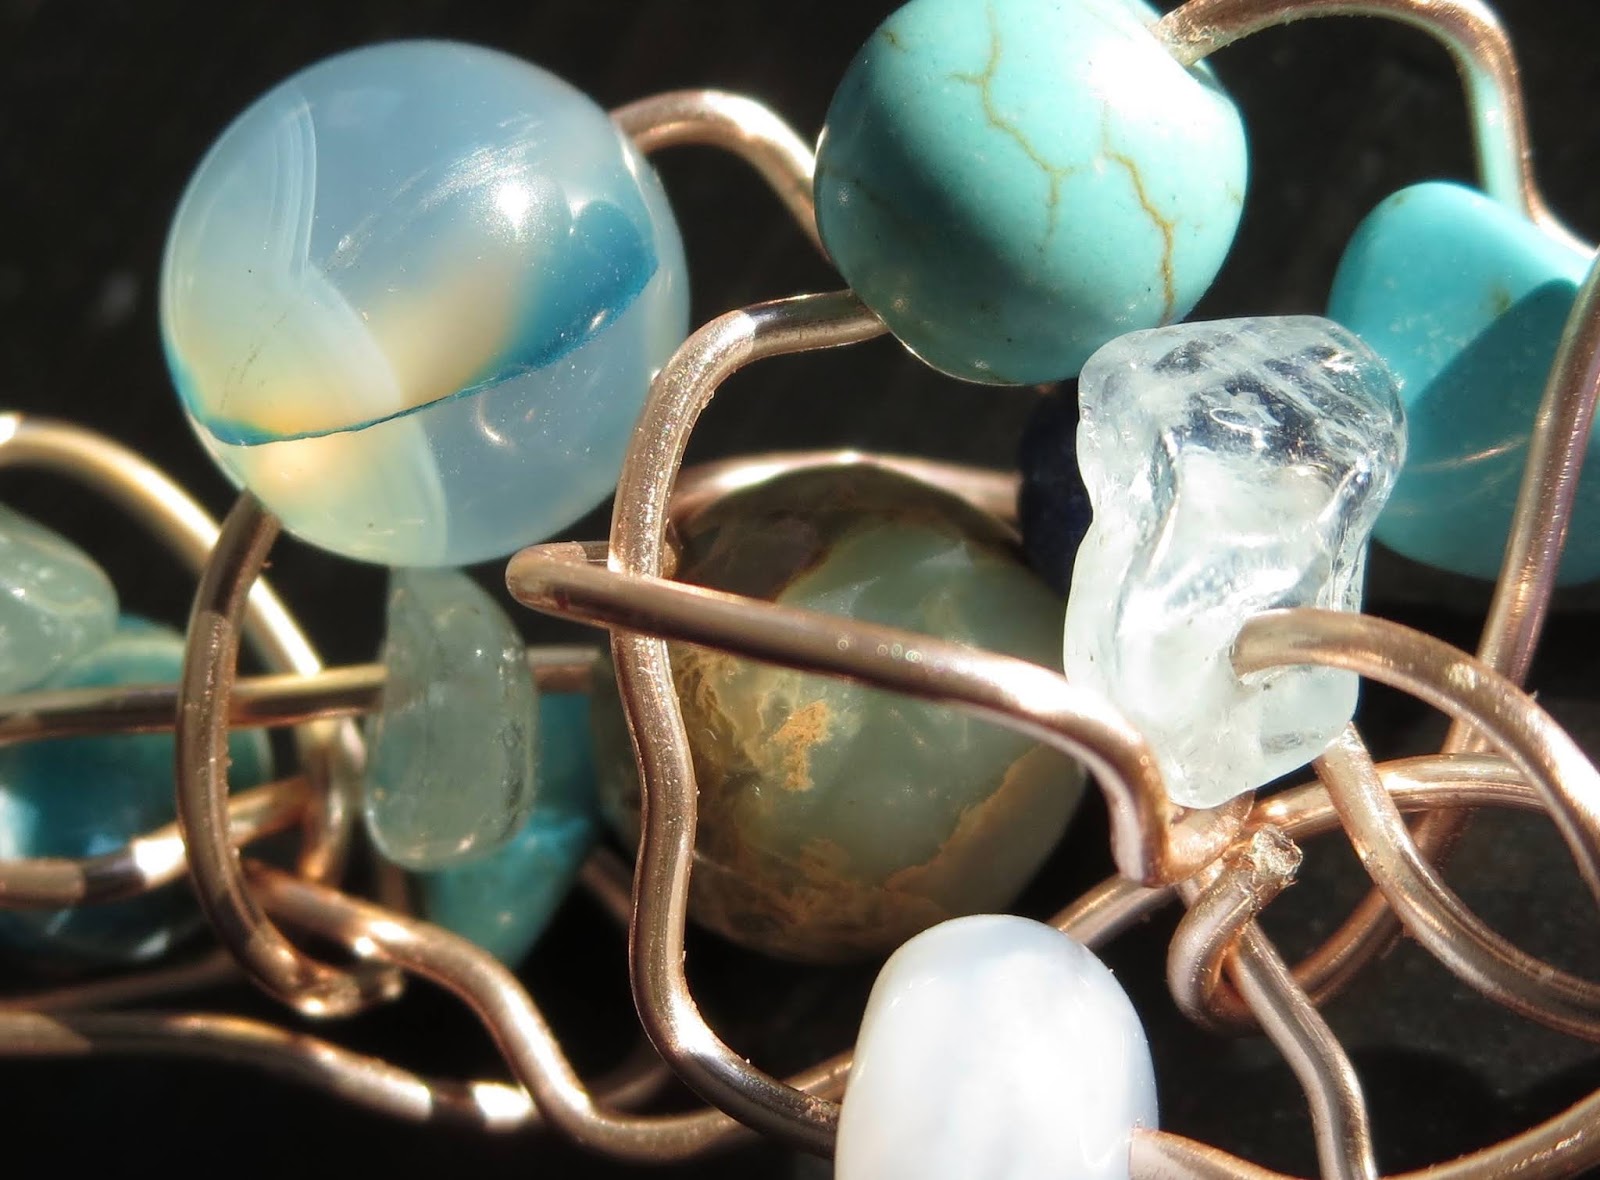
pieces photographed, edited and then listed in my shop at Etsy (A Bergie Creation). But I have found time to also work on some new polymer clay pieces and after watching a channel I enjoy watching Matts Crazy Art, I also got inspired to work with all the wire I bought a while ago. Check out the video that inspired this pendant I made last night. Matt has a really great attitude about enjoying creating. He is funny and very encouraging!
Watch Matt Create Here
What have you been working on lately? Are there any new skills you have learned or are hoping to learn? I have been wanting to try using the merino roving wool I bought a while ago. Needle felting is another fun art making technique. The polymer clay is still a favourite but I must confess it is getting more challenging for my not so strong hands to manipulate. A bummer, but I am not giving up. In fact the next few pieces are some recent clay works I have completed.
Some posies
Colour Shifting With Texture Earrings
Earrings With Some Holo Glitter Surfaces
Look Depending on how you look at these, they change colour!
Well that's just a bit of where I have been at lately. I hope you check out matt's fun videos and that you are expressing yourself artistically in some form or other. I would love to hear from you. Below are other links to connect. Happy creating artists! Connect More
One of my earl digital drawings on Wacomb Bamboo Fun
For about 7 years I have been illustrating using a Wacomb Bamboo Fun Tablet with primarily Sketchbook Pro6. But for over four decades I drew and painted with actual physical art materials...paint, paper, pencils, markers and canvas. For me the reasons to try digital art making is because it helps me to overcome the physical barriers that arise as my muscles deteriorate due to my SMA. All I now need is a tablet, my computer and my creativity. No easels, heavy equipment, messy clean up. Don't get me wrong, all of that is great if you can create what you want and have the ability to manage all that goes with it. I am just trying to say that thanks to technology, those who want to create but have limited arm/hand/finger mobility and strength, not to give up. That digital drawing devices and software make virtual painting and drawing a possibility.
A page I drew by hand, scanned and completed digitally
Based on my experience so far in digital world, I have say what I have learned to help anyone else like me. Make sure you get a drawing tablet that has PRESSURE SENSITIVITY. This has been my biggest frustration. When I started out, it was as if I was a three year old using a pencil for the first time. Turns out there are drawing programs and devices that can help your experience be as real as using an actual pen or brush. If you don't have the right specs, the stylus is beyond hyper sensitive, flailing about with every tremor or even every breath you take...Hmmm....a song just popped into my head!
Well because I have been crazily creating beads and such in polymer clay, I haven't used my Wacomb Bamboo Fiun tablet in a while. I was shocked when my laptop said it wasn't compatible. When in doubt unplug and re-plug devices. That worked part way but, the software drivers were gone. Reinstalling them, I can now get back to drawing!
However, as this was happening, I assumed it had finally broke down and I would need a new tablet. Not wasting a minute, I hit up Amazon and started searching sites for the best affordable tablets. That lead to also researching Digital art application reviews. Wanting to avoid spending mega dollars, I was interested in a fun/great online YouTube Artist named JAZZA! I am not comfortable with all of his content and advise parental supervision if browsing his channel. But I really enjoy his great personality and artistic talent. Since he is a modern young artist, he can help me update my old traditional ways. The video I am posting here is definitely "Suitable for All Ages." I recommend watching this if you are interested in finding a free to under twenty dollars digital art making program. I am going with his first choice. You will have to watch to find out which one! JAZZA
Here is another great video giving great advice on becoming a digital artist, the first video is about purchasing a drawing tablet as well as some suggestions on drawing software/apps as well. Nadiaxl
Nothing digital made this. I used coloured pencils and markers.
Do you like t-shirts with printed images on them? Do you know how those images are placed on the shirt? One technique is called Silk Screening.
This is painting by me, Anita Berglund. I paint with Acrylic paint,
the same paint used for silkscreening on polymer clay and other surfaces.
This technique can be used on polymer clay surfaces as well as others. But today I want to share some DIY video tutorials from others on how to create your own silk screen They can be expensive and besides as a visual artist, I love very opportunity to create my own images/designs.
To Create Your Own SILKSCREEN You will Need: 💓A pair of panty hose, piece of silk or a piece of sheer curtain 💓A jar of Mod Podge or a decoupage medium that is dishwasher safe so the screen can be washed. 💓An image that is drawn on paper 💓A Embroidery hoop or m\a frame then duct tape to secure the screen part tightly to 💓Marker or something to draw image with 💓A Silicone or Teflon craft mat (optional) 💓One tutorial calls for using Freezer paper When it is time to use your silkscreen on Polymer Clay, you will need: 💓acrylic paint. Or as one polymer clay video shows below, you can use the dry method. For that way, use mica, pigment or chalk powders. 💓A Squeegee or old bank card as a scraper device
💓A tub of water to wash silkscreen immediately or the paint will dry and ruin your DIY silkscreen
💓Your polymer clay sheet, ready to be silkscreened
To inspire ideas about what silkscreen printing can do for polymer clay, first, I will share some related videos! POLYMER CLAY AND SILKSCREEN
DIY SILK SCREEN: MAKING THE SCREEN FOR PRINTING
I am going to try making my own design and silk screen. When I do, I will be sharing all about that. Just need to order a few materials first!
Hi guys! Hope you are all HeArtfully Creating! I am looking forward to spring, how about you? If you have been here before, you may know how much I love making tube beads with polymer clay. In fact, I got so hooked on them, I compiled quite a collection that kept me busy creating the beads instead of turning them into actual pieces of jewellery. These days, I have obsessed with making window clingies. Does that happen to you? Do you discover new art making techniques or supplies and then that is all you can focus on until your next artistic discovery? That even happens to me with food choices as well. Eating a certain dish over and over until I can't look at it again! Keeps life interesting (Guess it depends on your perspective.) Well, I want to share a short video of a new necklace that I did make as a result of my tube bead obsession. To watch it is right here below this:
This video was created for my A Bergie Creation Shop blog, so sorry, no Howard :o( Just thought it would be nice to show you how beautiful your creations can be when you add them to handmade jewellery pieces! Then maybe you will be inspired to pick up some of your collected pieces and place
them in a handmade piece of wearable art or something like that. Unless you create your beads or pendants and use them as you make them. There are artists out there who don't want to accumulate pieces. Whereas some are like me, build up my collection so I then can get reating jewellery. Question for you today is? Are you a A) Use as you create them artist? OR B) A Make them and accumulate them artist? HeArtfully Creating, Anita Subscribe! Like and Share!! (if you want of course :o) "LIKE" HeArtfully Creating Here on FACEBOOK A Bergie Creation Shop Blog A BERGIE CREATION - at Etsy, my handmade jewelry shop LIKE ABC On Facebook ABC On Twitter YOU Tube Channel Pinterest
Most recent Complex cane, Abstract style- Anita Berglund
Yes it is Cane season! Okay, I am trying to be funny trying to come up with a word that works with the subject of this tutorial. Meaning, today I wanted talk about making canes with polymer clay. And yet I know Candy canes can be seen everywhere in December. When I was a kid, it seems that everywhere you went someone was giving away candy cane.
With all this talk about Candy canes, you'd think that I love them. Nope, I don't. But it's just the best way to help explain cane making, be it with sugar or clay, and even in glass making.
For starters, here's my new video that shows examples of the various types of polymer Clay cane techniques that I've done so far. As well as, a wee bit of a tutorial- hoping that you will be inspired to try Caning if you haven't already.
Cane making, be it with sugar, glass or clay, is that you can create multiple images of the same design. It is a two dimensional design in a three dimensional form. As well, you can make that same image in various sizes. They're called canes, because once they're all made up, they look like a staff or a cane used for walking.
Which reminds me, our dear brother-in-law, Curly, passed away last month and he used to make handmade walking sticks for people he cared about, out of diamond willow (a type of tree), and they arm pretty much long and straight, hence the name cane.... Watch here "Polymer Clay Journey: It's Cane Season "
I found videos like the one below, about traditional candy making, very beneficial and useful, to help understand how caning comes together. About the Candy making video below Lofty Pursuits, is an interesting YouTube channel that features a candy making shop. The candy maker creates candies using the cane method. I enjoy listening to his commentary as he creates traditional beautiful candy. You can skip closer to the end to see the actual can come together. But I strongly suggest enjoying the entire video, if you have the time.
Now how do I make a Cane?
Well as you may have guessed already, there are many types of canes and therefore, a plethora of Cain making tutorials from trusted artists and companies in existence already. which means it is kind of redundant for me to redo something that has already been done so well in so many ways.
That is why, I decided to share a list of names and companies that you can click on, to go directly to polymer clay cane related tutorials- all in video format on YouTube. That's just the way I like them.
Learning from as many Polymer Clay artist as you can find on YouTube and elsewhere, it Is highly beneficial. Learning the basic skills like a bull's-eye, jelly roll, checkerboard and striped cane, along with learning the Skinner blend technique (for creating a gradation of two or more colours of polymer clay) make a great foundation for cane making, with polymer clay not sugar of course.
Subscribe! Like and Share!! (if you want of course :o) Come and join my HeArtfully Creating Group on Facebook. Here is where you can show us your original artwork, questions and thoughts here. There is a guideline page.
Hi guys! I just wanted to share A pair of faux knitted square stud earrings that I recently made for fun. After watching some photo knitting Techniques and polymer clay, I tried and tried and couldn't seem to get it to look like knitting.
After some more learning, I figured out what I was doing wrong.
So please learn from my mistake, I'm going to post a couple of video Tutorials So you can learn how to create the faux knitting look in clay.
My mistake? Make sure you twist the two strands of clay in one direction, twisting away from you and then the second set of strands, twist towards you, laying them down side by side, in alternating directions.
That way when you lay them side-by-side they will look like the knitted look you're going for. For the longest time I was stumped and didn't get it, I'm a slow learner. The key is to not give up. Once you get that part, it is a very Simple technique that looks real. We all know that knitted items are soft and squishy. So when you touch these, Of course they are not.
To Make The Pink Square Studs that I Did You Need...
💗 A set of earring studs with backs that have a flat disc to attach clay to
💗 2 complimentary colours of Polymer Clay of your own choosing
💗 Krazy Glue or a strong bonding glue OR, you can push the post base into the clay in it's unbaked state and bake it on
💗 Mica Powder for Sparkle
💗 Straight blade cutter
💗 Needle tool
What Next?
💗 Watch the video tutorials below to learn how to "knit" with clay. The smaller you roll out the strips of clay, the smaller your "knitting" stitches will be. In the videos below, are a few various sizes. MoClay's brooch stitches are about the closest to my stud square size.
Once you create a small sheet of "stitches," cut out matching squares. Mine are about 1cm x 1cm or 10mm x 10mm. I did not use a cookie cutter but if you have one, you can.
Then I laid each square onto a contrasting colour that I rolled out to the same thickness almost. Taking a straight blade, slice along all 4 side of your knitted square. Smooth it all out on the edges with your fingers.
💗Texturing: I took a needle tool and poked a texture into the back and sides of the coloured back.
💗Highlighting: Then I took a a hint of mica powder from the lid of my powder and highlighted wherever I thought best.
💗Bake face up, flat, on a piece of cardstock or paper on a ceramc tile, at the manufacturer's temperature for one hour. Yes, it says a shorter time on the package, but I have learned from other artists the clay is stronger when baked at least one hour even if it is thin. Or you can bake them on a crumpled up tissue if you want.
💗Once Cooled. I just squirted a bit of Krazy Glue on the center back and placedd the posts on. Let sit for a while.
Voila, all done!
FAUX KNITTING TUTORIAL VIDEOS
Be inspired and comment below letting me know if you have try this technique. I would love to know how it went for you.
Hi guys! Today has clearly been focused on Flowers! Makes sense, Since Spring is in the air. Well I hope it is in the air, In our neck of the woods It was +16
Celsius On Saturday The next day, -1 Celsius. However, We can see A couple of tulips and crocuses trying to make their way out of the soil! Hope they don't catch a cold!
One of my favourite flowers In a garden, besides the Oriental poppy, are peonies. my dear friend Jan, who has gone onto heaven, transplanted one from her garden into our's. Here's the painting that I did of it. They're just so beautiful.
So once again, Here are some more video tutorials All about making flowers but this time a specific kind, peonies. Not Just Using paper, But there is one that is edible, made using gum paste (If you watch Cake Boss you will know what that is.) As well as Peonies made from fabric.
As always, hope you're inspired!
HeArtfully Creating!
Anita
Subscribe! Like and Share!! (if you want of course :o)