A place to encourage the creativity of artistic minds of all ages. Offering Ideas, Inspiration and Instruction and sharing the work of others who inspire me!
Showing posts with label liquid polymer clay. Show all posts
Showing posts with label liquid polymer clay. Show all posts
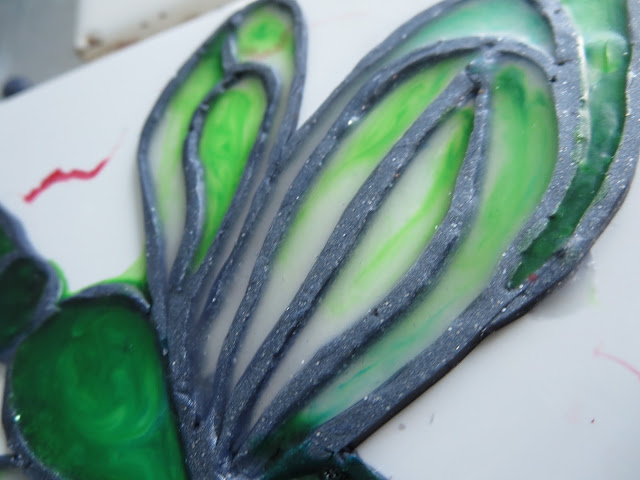
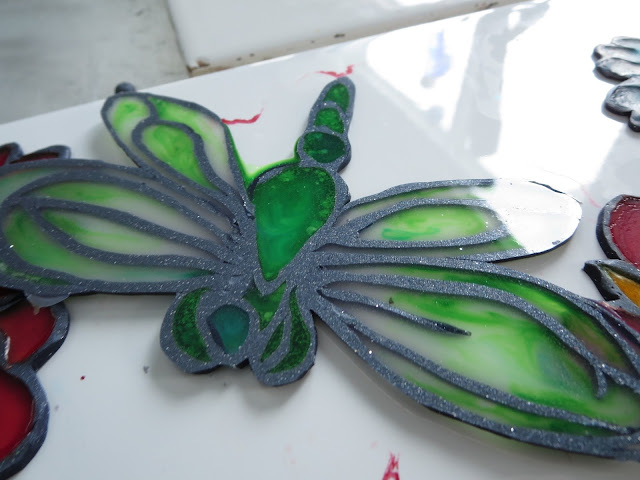
Guess what? I have been a tad hooked on creating faux stained glass window decorations. Right now our front door looks all bright and summery even though it's a typical white, winter day! As soon as I am ready, I will be making a new video. But for now, to brighten your day, I wanted to share a few sneak peeks of the newest creations.
Enjoy!
HeArtfully Creating,
Anita
If you are using polymer clay then you may have already come across clay that was too hard to knead or condition. Eventually, you just give up and want to chuck it. Well, don't give up yet. I discovered through various tutorials and experiments that it is possible to soften clay and even make stiff clay, easier to use. Watch my short tutorial below!
So next time you need softer clay, you know what to do! Now if your clay was
sitting in the sun and is hard, then I don't think it can be re-softened because it was most likely slightly cured or baked already. Keep clay away from heat.
Avoiding hard clay...
Buy clay as fresh as possible and keep open clay in polymer clay safe storage containers, cling film and such. I do use foil and wax paper some times.
Hi guys. Here is the updated faux stained glass video. The last one had annoyingly loud music so you can't hear the tutorial very well. Click here to see the written part of m tutorial.. Watch And Learn
Welcome back! Yesterday I shared a sneak peek at some we little imitation stained-glass drops that can be used for earrings or bracelet dangles, actually, anything you want to use them for. Because I had so much fun Learning how to create faux stain glass over the last several months, I thought I would put together a short video featuring a few items that I made.
Watch It Here:
The first piece below is a two piece window decoration. It is about 14 or 15 inches in total length and about six inches wide. It was created to be a special housewarming gift. Watch the video to Find out more. This piece was made using translucent Premo clay, that was coloured with little bits of solid
Clay, some Mica powder and alcohol inks. The flowers we're made from those mixtures into bull's-eye Canes, that I formed into flower petals and placed around the frames that I made.
When it was all completed, I flooded some epoxy resin over the whole thing. I clearly did something wrong because in some spots the resin is starting to lift off. So I suggest investigating that issue more before recommending a coating of resin over a piece like this.
Once I did have the flower petals all laid out around the frame pieces. I've been rolled out long thin strips of clay to spell out the word welcome. Then I was described in the video, the Open areas and lettering was flooded with coloured liquid polymer clay. The brands for this one was Kato.
Never Be Boring:
Something that works really well when working with coloured liquid polymer clay, is to Drop alcohol or colouring agent into the liquid clay once it is already poured out into your shape. If you look at the pictures closely in the background part of this piece, it is not one solid colour. Actually, neither are the wee little dangle drops that he made. I am a pretty mixed coloured liquid clay with alcohol inks, then take a toothpick and dripped in another colour. Just enough to swirl it with a pointy end of the toothpick. It just makes things more interesting. I am sure he goes back to my art school university days. Remember to mention Moe, one of my our professors, in my last Article? Thanks to her I learned all about giving things a painterly look. In fact look at the paintings of Cezanne, to see what painterly look means. Just look at all those layers of brush work and colour, layer after layer... Never boring. We actually had an assignment where we were to copy one of his famous paintings. Moe said we would only get an A grade if we copied his painting exactly. That was the first and last time, I ever did an assignment like that. After copious amounts of praying, let's just say I got in A.
So playing around with colour, trying not to keep it solid or flat unless absolutely necessary, is a great thing to do to make your pieces interesting.
Accidental Window Clings
The following photo is what I did with those flower cans that I use in the sun catcher above. I coded them with clear liquid clay just to hold them together and it Turns out, if you bake liquid polymer clay on a very smooth tile or glass, the piece is actually cling to the window! That was a delightful surprised to learn. Of course now that I looked it up online, it wasn't a profound discovery - but at least now I know.
Lesson Alert!!
Huge lesson learned when making imitation stain glass out of liquid polymer clay:
We all love sparkle and litter don't we? Well I is trying to make a sun catcher for my mom's birthday (in the end, she ended up with the vase that I assured a couple of weeks ago) and I totally wrecked it. How you ask? Aside from adding a
bit of alcohol ink into the Kato liquid polymer clay, I added some lilac coloured mica powder. Seemed like a good idea at the time. Not! As you can see in the photo the Mica powder is not transparent like alcohol inks are. For some funny reason, I knew that but didn't consider what it would mean. The mica powder sunk to the bottom, as you can see on the piece showing the back of the flower. :o( So as you can see here, the light shines beautifully through the areas that do not have powder. It may be sparkly, but in no way can it catch any sun. Another polymer clay Lesson learned.
Miniature Drops:
As I mentioned yesterday here is my most recent imitation stain glass, liquid polymer clay project.
Still trying to make the perfect gift for my mom (the vase seem to be the best idea).
So just check out the video to see more detailed photos I listen to me babble on about some of the house use and lessons learned.
HeArtfully Creating!
Anita
Subscribe! Like and Share!! (if you want of course :o)
Here is a sick video with a couple of ideas and tips about making tea light candle or trinket holders out of polymer clay. These were made as gifts, so I learned as I went and hope there is something inspiring here to encourage anyone out here who is working with or wants to work with polymer clay.
Using translucent clay tinted with alcohol inks, glitter and micah powder, makes the end result beautiful. See the glow in the photos as the candle light shines through.
Not into candles? These also make great trinket or ring holders! A fun way to make a beautiful decoration for your own home or someone you love!