Hi guys! Hope you all had a great summer or winter, depending where you are!
Hard to believe that two months have passed and finally, I am basically done the redecorating of our kitchen table, galaxy look. I will be compiling and editing the process with lots of detail pics. For most it may be boring, but it helps me to document the art work making process. Because there will never be a recreation of it again. Plus it is cool to see just how much a surface or piece can change, the more you keep working on it. It definitely, does not look at all, like the first round - when I said it was done!
I used over one gallon of polyurethane plus some acrylic varnish! And now I need can number five to work on my final coat! My dear husband keeps picking up the medium sized cans (975ml I think) Remember, my table galaxy has been created by hand. One brush work/finger smudge at a time. No paint pouring here.
Oh. just accidents like spilling my polyurethane on the table - just yesterday!
Never Ending Ideas
What keeps dragging the completion are the ideas that keep popping into my never silent brain.
Alcohol Inks
One technique was the idea to use the alcohol inks that I mixed with mica powder. Don't you think they would make great stars!
That was after realizing the new Ranger pearl effect alcohol inks seem to just have mica powder to give the pearlized appearance.
DIY Pearlized Inks
Wanting to save money, I got out my empty needle nose plastic bottles, isopropyl alcohol
91% or higher and combined powder with the alcohol and some drops os alcohol inks. Just shake a lot as you go, and voila! Not a bad idea. Of course the Ranger inks are very
pretty. But, making your own pearly recipes is effective too.
Anti Freeze?
One thing I haven't tried is the Extender formula for the alcohol inks. I have used alcohol as my extender. It turns out alcohol disperses the alcohol ink colours but the extender solution doesn't. The extender helps extend the drying time and literally extends or waters down the ink I will be trying a Ranger extender solution soon.

Wanting again, to be frugal, I saw a DIY recipe to create your own extender solution. Thanks to a friend, I have some anti freeze to create some. You only use a teeny amount of the green glowing anti freeze and some . 91% plus isopropyl alcohol. Haven't tried that either. But I will let you know how it goes.
What About Polymer Clay?
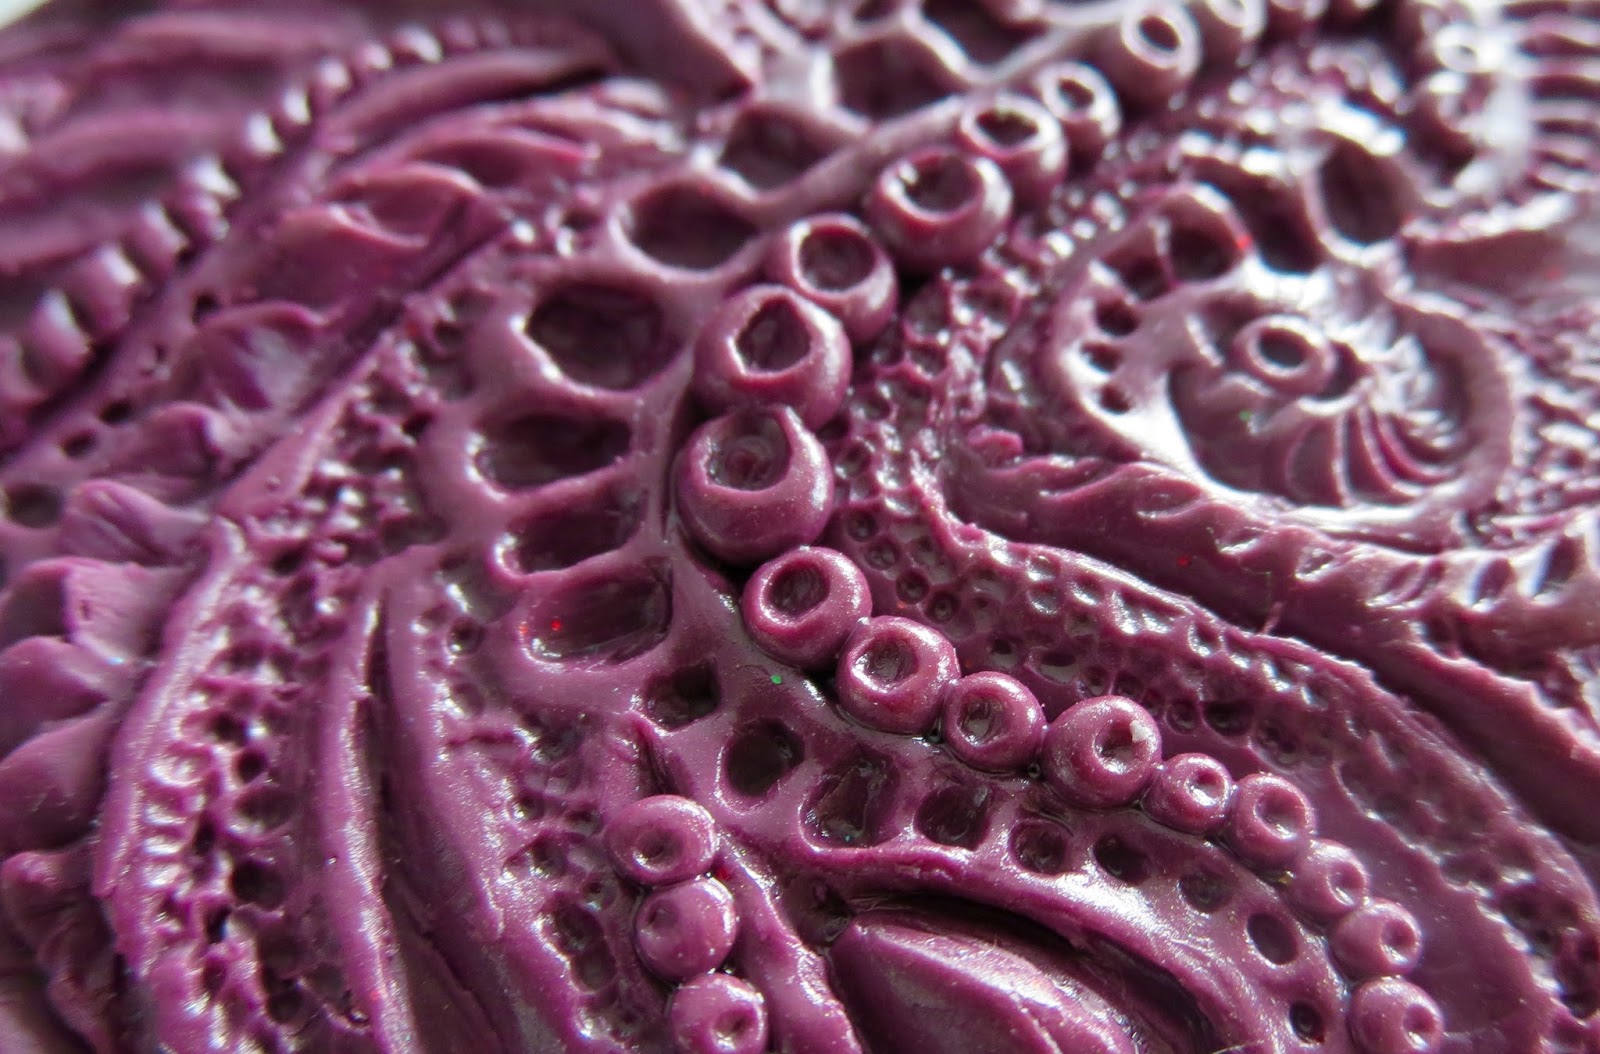
I have missed working with my favourite three dimensional material. It was a blessing to have sold some new polymer clay handmade jewellery this summer! It always helps to help cover the art making supplies I love having! Needless to say, I plan on working on some sculpture pieces in clay! Stay tuned. Not enough hours in the day!
Happy Creating!
Connect More
Hard to believe that two months have passed and finally, I am basically done the redecorating of our kitchen table, galaxy look. I will be compiling and editing the process with lots of detail pics. For most it may be boring, but it helps me to document the art work making process. Because there will never be a recreation of it again. Plus it is cool to see just how much a surface or piece can change, the more you keep working on it. It definitely, does not look at all, like the first round - when I said it was done!
 |
| The basically completed table - one end anyway! |
I used over one gallon of polyurethane plus some acrylic varnish! And now I need can number five to work on my final coat! My dear husband keeps picking up the medium sized cans (975ml I think) Remember, my table galaxy has been created by hand. One brush work/finger smudge at a time. No paint pouring here.
Oh. just accidents like spilling my polyurethane on the table - just yesterday!
Never Ending Ideas
What keeps dragging the completion are the ideas that keep popping into my never silent brain.
Alcohol Inks
One technique was the idea to use the alcohol inks that I mixed with mica powder. Don't you think they would make great stars!
That was after realizing the new Ranger pearl effect alcohol inks seem to just have mica powder to give the pearlized appearance.
DIY Pearlized Inks
Wanting to save money, I got out my empty needle nose plastic bottles, isopropyl alcohol
 |
| Trying to create a sparkly star effect with Chameleon nail flakes and DIY mica inks. |
 |
| More table top pics |
Anti Freeze?
One thing I haven't tried is the Extender formula for the alcohol inks. I have used alcohol as my extender. It turns out alcohol disperses the alcohol ink colours but the extender solution doesn't. The extender helps extend the drying time and literally extends or waters down the ink I will be trying a Ranger extender solution soon.

Wanting again, to be frugal, I saw a DIY recipe to create your own extender solution. Thanks to a friend, I have some anti freeze to create some. You only use a teeny amount of the green glowing anti freeze and some . 91% plus isopropyl alcohol. Haven't tried that either. But I will let you know how it goes.
What About Polymer Clay?
I have missed working with my favourite three dimensional material. It was a blessing to have sold some new polymer clay handmade jewellery this summer! It always helps to help cover the art making supplies I love having! Needless to say, I plan on working on some sculpture pieces in clay! Stay tuned. Not enough hours in the day!
Happy Creating!
Connect More