A place to encourage the creativity of artistic minds of all ages. Offering Ideas, Inspiration and Instruction and sharing the work of others who inspire me!
Hi guys! I was able to create another video regarding working with mixed media. It's a very long process so I didn't want to bore anyone by filming every step of the way. So this video is a bit more of a learn with me/tutorial as I ramble on about whatever pops into my head. Tried to edit some of that out, didn't think anyone would really want to hear too much about Star Trek versus Star Wars!
The materials that are used for this piece so far. That's right I am still tweaking it so it can't be considered done. In fact I've got some still shots then I'll be posting soon to see you what I've done since this video was made. It's just so much fun adding layers of textures and resin and color.
Watch my new video here below
Materials I used
Stretched canvas about 5 x 7"
ALCOHOL INKS
POLYURETHANE
UV RESIN
LOTS OF GLITTER
ACRYLIC MEDIUM
MICA POWDER OR PIGMENT POWDER
GLOW-IN-THE-DARK POWDER
MICROBEADS FROM THE WORLD OF NAIL ART
CELLOPHANE CHUNKY GLITTER
ACRYLIC PAINT PENS
GLITTER PAINT PEN
REMEMBER WHEN IT COMES TO ART MAKING THERE AREN'T ANY RULES. WELL DEPENDS IF YOU'RE IN ART SCHOOL AND YOU HAVE AN ASSIGNMENT LIKE I REMEMBER FONDLY, THEN I HAD TO FOLLOW MY PROFESSORS RULES. BUT THAT ASIDE IF YOU'RE NOT UNDER A PROFESSOR, YOU GET TO HAVE FUN.
This was GRAND FINALE number 1- As of today September 12, 2019 - I am trying to complete the FINAL Grand Finale!
Hi guys! So Sorry, it has been a while since making a new video that is art related. I have been creating all summer and of course this table top has taken up the last half of it!
Hope you have been creating and enjoying the final remains of summer. I would love to hear about what you have been learning or working on.
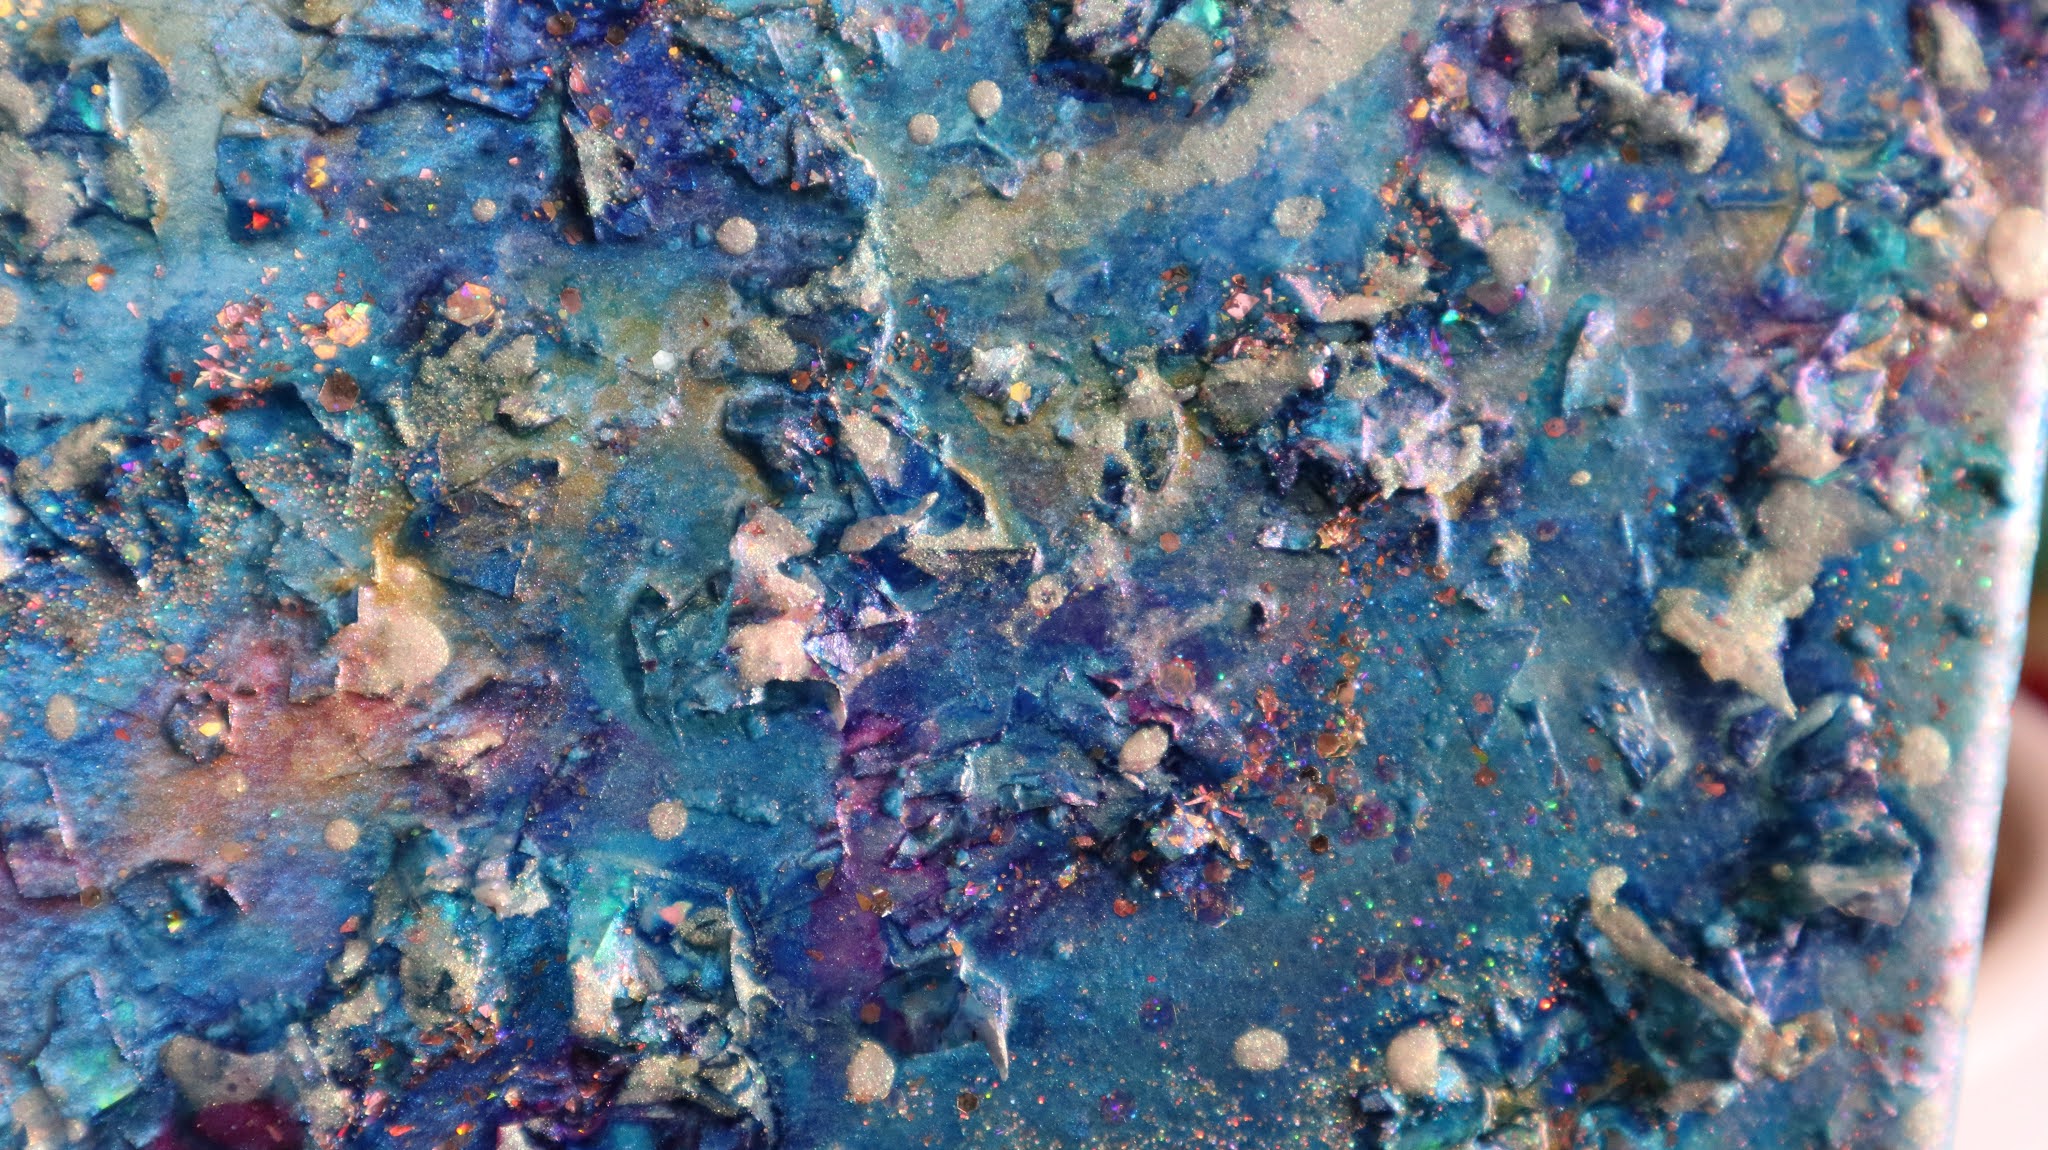
Finally, I was able to edit and publish part one about the transforming of our kitchen table. I started a month ago and as of today, September 12,I am still trying to perfect it! But out of interest to document and to help others go to sleep, I am posting the footage we took documenting the beginning process. There is a grand finale moment but, I took up the paint brush a week or two later and have worked daily ever since! It didn't hurt that I received a pile of new nail art powders and flakes that make great stars and cosmic effects! Watch the first part Below!
I apologize that part one has some very amatuer videography, but we are amateurs any way. The hope
is to demonstrate how you can take a plain piece of furniture or even a counter top or canvas, piece of wood, etc. and turn it into a work of art!!
Details on materials used Here is a list of the materials I have used to transform our table top.
You can use paint but I wanted to create layers and special sparkling effects.
After all that is what galaxies are, lots of sparkling stars and nebulas and such! 💕Primary Elements - click here to see a previous article about them 💕Nail Art Powders - Mostly Born Pretty brand including chameleon, colour changing flakes, mermaid and chameleon 💕Mica Powders - click here to see a previous article on my Pear Ex swatches 💕A few sizes of soft paint brushes none larger than about 3/4 inches wide. 💕A small fan brush 💕Holographic glitters - I used a lot! including microfine ones from Born Pretty 💕Course sand paper - I lightly sanded down high points when glitter felt too sharp.
Primary Elements
💕Polycrylic water based Gloss finish - basically polyurethane- I used a total of about 3 quarts/litres of polyurethane including some Acrylic varnish/medium
💕I did try using metal leaf flakes but ended up covering them.
Lessons Learned So Far
Well, I have learned that the more layers I add, the table top looks all rippled and lumpy. But then we are talking about 3 litres of liquid mixed in with pigments/mica powders and glitters. I recommend having more of a plan. We love the end result but I am disappointed about the lumpy
look. When you touch it, it is fairly smooth. We will both find out the very final end result in a few more videos. I hope to finish today! I say that every day.
If possible buy the flakes in larger sizes, it got costly using teeny pots that empty so fast.
The Primary Elements by Lumiere are amazing. A little goes a long way. The deep colours are mega intense. A few specks of indigo goes a long way too.
Always stir the polyurethane before using!
Pearl Ex Powders
I did try the colour shifting paint from Folk Art but did not like it - very unpigmented,
Hope you are inspired a little.
Part two is coming soon.
I just created the video below for my Etsy shop blog. It is about what I have been creating lately. Since what I create and trying to sell those creations intermingles so tightly with Heartfully Creating, I am sharing this on both blog sites. It's meant to reach as many people as possible! -------------------- A Few Ramblings About Creating...
It has been a busy few months artistically speaking. It seems that once I find a technique or process I like, I want to make some in every colour. It is much different than when I was working only in two dimensions. A canvas in front of me and a palette of brightly pigmented paints, crying out to be smooshed, combined, and swiped into what would become a beautiful work of art. Well, hopefully it would.
My paintings were usually at least 16" x 20" inches or more and could take days and days to weeks and weeks. It all depended on what it was, how I wanted it to look and if it was turning out how I wanted. Some artists like to meticulously plan out their masterpiece, methodically, critically and succinctly. Not me, I try to but it just doesn't happen. A speck of an idea may spontaneously plunk into my mind, fuelling what would become my next artistic creation. But planning and agonizing over how it will be played out just doesn't feel natural. In three dimensional land, sculpting in polymer clay, making jewellery, needle felting, and such can be done in the same manner.
Watch Below about What I Have Been Working On Lately...
If you don't want to read my rambling about my creative process, dive in and watch the newest video compilation below.
Open A Bank Account!
However, I am trying to bank ideas into what Christi Friesen once recommended for me to do, write down my ideas into a notebook, keeping them in an idea "savings" account. Then, wen I want to create, (daily for me) I just go through my idea bank and make a withdrawal. I am totally paraphrasing, but it's the gist of what she said. The banking of ideas is a great idea. Just like Christi, a
The time I won a Christi Friesen polymer clay
original heart. Such a Happy moment!
great lady! You might want to try it. In fact, I even made a handmade note book using index cards, a hole punch and some heavy wire. As for the discipline of banking my ideas, still too impulsive and I forget to look at my bank. That's my fault. Not giving up. It really could work if I followed it through. It doesn't help that I stink at actual banking, spending what I don't have - impulsively!
Any way, thank you for stopping by. Hope you like what you see, are a wee bit inspired to create in whatever method you wish. You may even want to look at my Etsy shop here.
And I hope you know how much I value any and all likes, shares and subscribes to any or all of my online activities because it encourages me on those days when my body feels too tired to create but my always mind longs to do it. It also helps bit by bit to earn a few cents a day trying to earn money to cover my creative projects through google adsense and such. And of course I also am super appreciative for my 1200 plus or so jewellery shop customers. So happy you want to wear what I enjoy creating!
If you want to help out feel free to check out these links and share em!
Love you all.
Anita