A place to encourage the creativity of artistic minds of all ages. Offering Ideas, Inspiration and Instruction and sharing the work of others who inspire me!
Hi guys! I was able to create another video regarding working with mixed media. It's a very long process so I didn't want to bore anyone by filming every step of the way. So this video is a bit more of a learn with me/tutorial as I ramble on about whatever pops into my head. Tried to edit some of that out, didn't think anyone would really want to hear too much about Star Trek versus Star Wars!
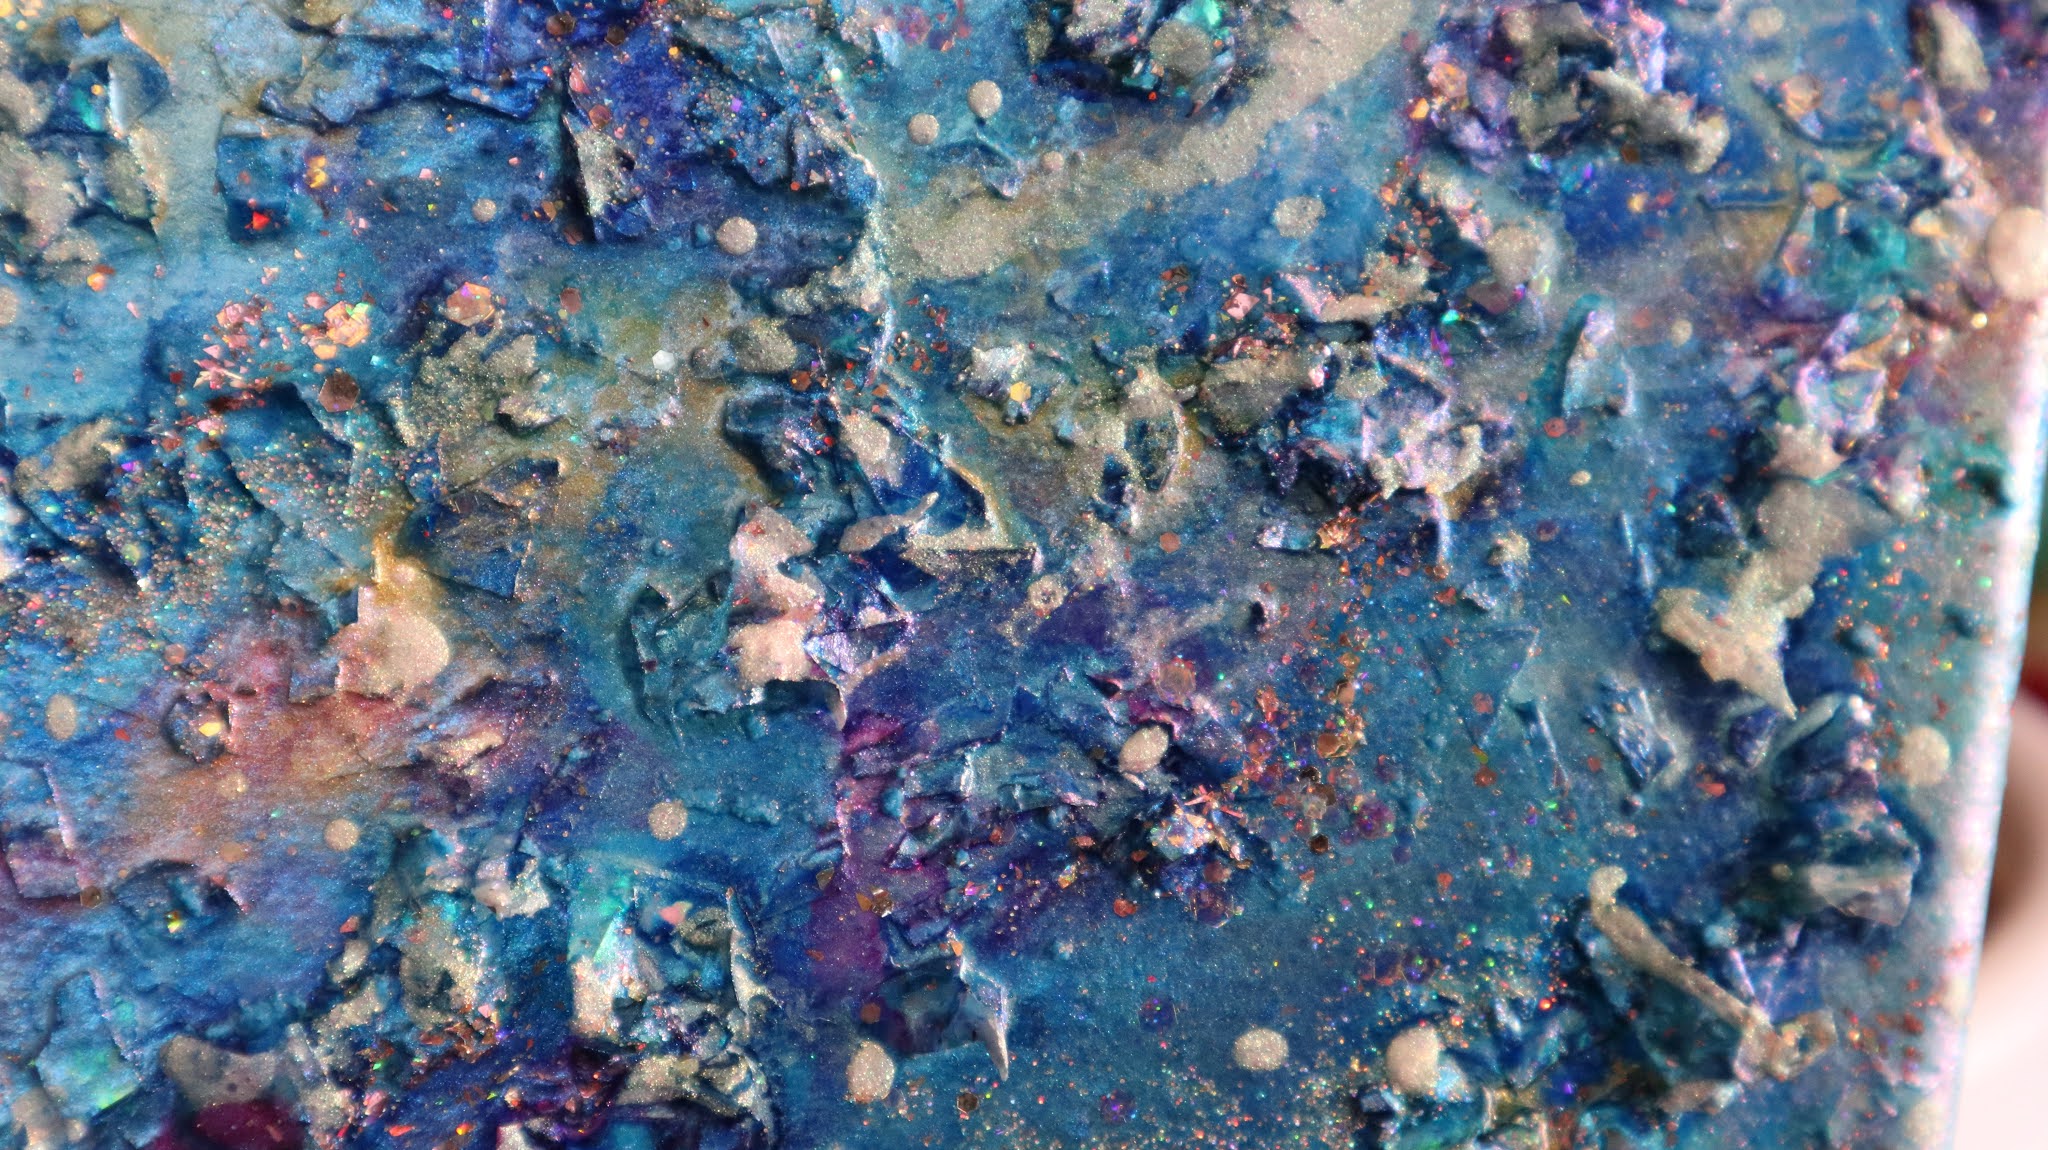
The materials that are used for this piece so far. That's right I am still tweaking it so it can't be considered done. In fact I've got some still shots then I'll be posting soon to see you what I've done since this video was made. It's just so much fun adding layers of textures and resin and color.
Watch my new video here below
Materials I used
Stretched canvas about 5 x 7"
ALCOHOL INKS
POLYURETHANE
UV RESIN
LOTS OF GLITTER
ACRYLIC MEDIUM
MICA POWDER OR PIGMENT POWDER
GLOW-IN-THE-DARK POWDER
MICROBEADS FROM THE WORLD OF NAIL ART
CELLOPHANE CHUNKY GLITTER
ACRYLIC PAINT PENS
GLITTER PAINT PEN
REMEMBER WHEN IT COMES TO ART MAKING THERE AREN'T ANY RULES. WELL DEPENDS IF YOU'RE IN ART SCHOOL AND YOU HAVE AN ASSIGNMENT LIKE I REMEMBER FONDLY, THEN I HAD TO FOLLOW MY PROFESSORS RULES. BUT THAT ASIDE IF YOU'RE NOT UNDER A PROFESSOR, YOU GET TO HAVE FUN.
Hi guys. Hope everyone is staying safe and well. A while ago, I started layering paint (acrylic), Cellophane glitter flakes and polyurethane...along with glitters and layering alcohol inks. Below is a Works In Progress Video Sharing Three Incomplete Pieces. Then Soon I Will be posting more on how to work in mixed mixed media as well as showing you some more stages in my favourite piece so far. The hope that you will be inspired to try experimenting with mixed media. As long as you are having fun.
This was GRAND FINALE number 1- As of today September 12, 2019 - I am trying to complete the FINAL Grand Finale!
Hi guys! So Sorry, it has been a while since making a new video that is art related. I have been creating all summer and of course this table top has taken up the last half of it!
Hope you have been creating and enjoying the final remains of summer. I would love to hear about what you have been learning or working on.
Finally, I was able to edit and publish part one about the transforming of our kitchen table. I started a month ago and as of today, September 12,I am still trying to perfect it! But out of interest to document and to help others go to sleep, I am posting the footage we took documenting the beginning process. There is a grand finale moment but, I took up the paint brush a week or two later and have worked daily ever since! It didn't hurt that I received a pile of new nail art powders and flakes that make great stars and cosmic effects! Watch the first part Below!
I apologize that part one has some very amatuer videography, but we are amateurs any way. The hope
is to demonstrate how you can take a plain piece of furniture or even a counter top or canvas, piece of wood, etc. and turn it into a work of art!!
Details on materials used Here is a list of the materials I have used to transform our table top.
You can use paint but I wanted to create layers and special sparkling effects.
After all that is what galaxies are, lots of sparkling stars and nebulas and such! 💕Primary Elements - click here to see a previous article about them 💕Nail Art Powders - Mostly Born Pretty brand including chameleon, colour changing flakes, mermaid and chameleon 💕Mica Powders - click here to see a previous article on my Pear Ex swatches 💕A few sizes of soft paint brushes none larger than about 3/4 inches wide. 💕A small fan brush 💕Holographic glitters - I used a lot! including microfine ones from Born Pretty 💕Course sand paper - I lightly sanded down high points when glitter felt too sharp.
Primary Elements
💕Polycrylic water based Gloss finish - basically polyurethane- I used a total of about 3 quarts/litres of polyurethane including some Acrylic varnish/medium
💕I did try using metal leaf flakes but ended up covering them.
Lessons Learned So Far
Well, I have learned that the more layers I add, the table top looks all rippled and lumpy. But then we are talking about 3 litres of liquid mixed in with pigments/mica powders and glitters. I recommend having more of a plan. We love the end result but I am disappointed about the lumpy
look. When you touch it, it is fairly smooth. We will both find out the very final end result in a few more videos. I hope to finish today! I say that every day.
If possible buy the flakes in larger sizes, it got costly using teeny pots that empty so fast.
The Primary Elements by Lumiere are amazing. A little goes a long way. The deep colours are mega intense. A few specks of indigo goes a long way too.
Always stir the polyurethane before using!
Pearl Ex Powders
I did try the colour shifting paint from Folk Art but did not like it - very unpigmented,
Hope you are inspired a little.
Part two is coming soon.
Our one of my many glazing disasters! Thanks late today
I have answers And want to share them with all who will listen!
If you follow this blog at all, Then you may remember my struggles regarding Glazing my polymer clay pieces. Even when I would take the advice of the online Lessons from fellow Artists, My pieces would still end up sticky And unusable. Or sometimes I could sand off all the Icky glaze And use Renaissance wax. But generally, Not too many happy glazing moments In the studio. Even trying to get advice didn't seem to render any solutions. Until today when I was watching one of Patricia Roberts -Thompson's Great polymer clay tutorials. Yay! I Am not Alone!
As I was watching her very informative video about making a cuff bracelet, She shared The best tip about using any type of polyurethane/Minwax/ Polymer clay safe Glazes...In the video of her bracelet tutorial, which I suggest watching All the way through, At the 3:40s mark, She explained Importance of mixing Glazes no matter what kind it is! She even explained why People like me have had so many troubles With stickiness and I assume peeling. Turns out I am not alone, Trisha have the same thing happen. However she learned far quicker than I. Listen to her explain the importance Of stirring. Remember gently of course or you will get bubbles. Don't get me started on bubbles and glazes, argh! Just happy to be able to share this. After all, It's why HeArtfully creating his here, Not just to Inspire creativity, Bike to share the valuable lessons from so many great artists Out In Internet Land. Now Watch!
Please check out Her Video and hear what she has to say about a very important topic. Trust me it is very important, I have ruined more beads than I care to Remember. Don't forget to subscribe to Her channel if you want to learn more valuable Polymer Clay information.
Thank you so much Patricia Roberts -Thompson! You have no idea What a relief your information provided. Thank you for all your hard work and sharing your great videos. It is great that you provide so many tips and tricks to help those who are always learning like myself.
Hope this information was helpful.
💗HeArtfully Creating,
Anita
LIKE HeArtfully Creating Here on FACEBOOK: https://www.facebook.com/HeArtfullyCr...
Howdy guys! I've noticed that Wednesdays are often referred to as works in progress days. Well, I've noticed that in the polymer clay world anyway. It is where people share pieces that they are working on but are not done yet. So this is my first works in progress Post, I think so anyway. Maybe more like works I thought were completed, but then started to take photographs for my online Etsy shop, but noticed, thanks to direct sunlight and macro photography.... the Tiny little bubbles and flaws in the polyurethane gloss! This time, I thought I was so careful. And some of the pieces have yellow spots. Again, does anyone out there have any ideas as to what I am doing wrong? Too much at one? Should it be a really thin layer after layer? All that then means, the pieces I thought were complete and ready to prepare for sale, are not. Argh!
Back to my works in progress. Been working on textured, polymer clay "dangles," created using my own texture plates/rollers/sheets (Here is article 1, 2 and 3 on making your own texture/image sheets and rollers) , whatever you want to call them. The first piece has, thanks to the inspiration of Christi Friesen's polymer clay art work, where she talks about incorporating inclusions, which is anything not made from polymer clay. I incorporated items like micro beads and a small faceted Glass bead. The surface was then treated with Mica Powder, acrylic paint, and finished with that frustrating water based polyurethane. I thought it looked great at first, but then as you take the photos under direct sunlight, then you see all those darn bubbles...teeny ones!
Here are a pile of some more photos of some of the pieces that I turned into earrings. I think they look pretty great, as long as I don't zoom in with a macro lens! Maybe I am being too picky. Oh
A Practical Polymer Clay project I completed a while ago.... more on that in the future!
As I reported previously, in this article here about the Polyurethane peeling off of my pieces. (And yes, I used the exact kind recommended by many reputable Polymer Clay Artists). I had to sand off all the Polyurethane and opted for sanding, buffing and waxing. Well, since that article, I have just read from The Blue Bottle Tree's Ginger Davis' Article, that the Renaissance Wax that came highly recommended by one of my favourite Poly Clay Sites - Isn't as protective as I believed it was. The Blue Bottle Tree says it isn't as protective to pieces with Mica powder on the surface, it may even remove it and that there are even more expensive ways to achieve the waxed effects.
Needless to say, initially, I felt confused about who to believe and what I should do. I am not dissing all the valuable lessons from those I have learned and are learning from...not at all. I am saying that it is my fault for not researching on my own, by actually doing my own tests. Always have been lazy that way...finding a teaching and then devouring all they have to say, basically parroting them without questioning anything. Learning lessons the hard way means those lessons stay with you forever. Conflicting Messages?
After countless attempts using recommended finishes, I personally recommend that if you want to seal or offer a glossy surface to your pieces, do your research. I have found conflicting articles by artists who I have learned from. It seems that some of the same methods and products when used by me, don't always works as described. Doesn't mean they were wrong. Maybe I do things differently and made a mistake?! Possible.
Regardless, I foolishly (in the beginning), just embraced, without question advice by purchasing and using specific glazes and such and covered a tonne of beads. (You know how much work that is!)
And then weeks later (sometimes even days later), when I went to use my beads or pendants, I discovered the surface to be sticky and ruined! Can't tell you how frustrating that can be. :o( Not that any of the advice I gleaned was wrong or anything. It just means I have learned that lessons need to be learned through trial and error on my own, not just following others without question.
Yes as many of you may know, there are definitely well meaning tutorials from less experienced clayers (I assume) who give advice that ends up contradicting those Polymer Artists that have great reputations, the ones I trust far more, such as some of my favourites: the Polymer Clay Tutor, Christi Friesen, Katers Acres, and now, Blue Bottle Tree and Unruly Housewife. If I hadn't learned from these guys, then I would be making even bigger mistakes. So I strongly encourage endless hands on experience and research.... Some Final Thoughts....
After too many disappointing glazing moments, I highly suggest to do your own testing on small amounts to avoid wasting your time and money. Bummer is, I bought one litre of Polyurethane and other glazes, now I will not be using them on clay! Be sure to research the terrific articles and videos by the many great poly clay artists online, but don't just assume every word of advice will work for you....test them out yourself or you'll learn the hard way like me
As we create, we are always learning, right? Right! We learn from watching others create as well as from actually working with whatever your favourite art making material is. Or if you are me, you are wanting to learn and try out a variety of creating methods. For me these past couple of years, it has been all about learning the best ways to work with polymer clay. It was love at first sight. Working with polymer clay means I can use colour in a three dimensional way. For the first half century of my life, my favourite art making materials were two dimensional, acrylic paint, coloured pencils and such.
Acrylic Painting On Stretched canvas by Anita Berglund
Treating The Surface Of Polymer Clay
One of the many lessons I have learned from the many great online polymer clay artists was that the best product to use if you want to glaze your baked clay is, water based polyurethane. So I bought a huge can and spent two days straight glazing my recent pieces.
Because I have also learned that it is far better to create my polymer clay pieces as smooth as possible. Unless you want texture. If the surface is smooth, it can be left or barely sanded, waxed and buffed or glazed and look great. However, it turned out that because my pieces were too smooth, the polyurethane on many pieces peeled. I like to test all pieces after my multiple failed attempts at using other glazes such as triple thick. Some end up sticky and gross. In fact, that has been number one pet peeve. Polyurethane, perfect, no sticky icky surface. It was when I tried to see how durable the shiny surface was with my finger nail, that I discovered the glaze cold peel like good sunburn does. Okay, I use to like peeling sunburnt asking (my own of course!). Needless to say, I was very disappointed.
Here are some pictures to document what happened....
This wasn't all that I glazed, but you get the idea... Wanting to know what I did wrong, I researched some more and discovered that polyurethane can peel because of natural oils the is on our hands, so you can use rubbing alcohol to wipe the surface clean of oils. As well lightly landing with a high grit sandpaper first helps it adhere. For me, it just became too frustrating because I didn't research as much as I should have. To Glaze Or Not To Glaze, That Is The Question!
As you may already know, you do not actually have to put a finish on polymer clay. The clay is far more durable than any finish. A coating of your choice (I a sticking with polyurethane used properly) is helpful if you have glitter or some such thing that you feel may rub off. Mica powder like Pearl Ex actually is fine if rubbed on in one layer onto unbaked clay. If you want to cover it before with a thin layer of liquid clay or after baking with a glaze, that is an option we have.
Surface Before The Polyurethane
Personally, after spending more hours sanding OFF all that peelable glazing, I concluded that sanding, waxing with Renaissance Gallery quality wax and buffing or just leaving it as is, will be my choice for surfaces of clay. UNLESS, the poly clay piece is a figurine or something that won't be worn or used like beads and cabochons.
See The peeling? Bummer!
See The peeling? Bummer!
Working On Sanding and Then Waxing And Buffing or Polishing
Working On Sanding and Then Waxing And Buffing or Polishing
Working On Sanding and Then Waxing And Buffing or Polishing
Working On Sanding and Then Waxing And Buffing or Polishing
Sanding Tips:
Because Polymer clay is so fine and can enter through air passages, it is best to sand using wet/dry sandpaper in a pan of water or because I physically can't do that, I have a tub of water next to my work space. Then I dip my sandpaper and piece in the water, lay them down on a towel and begin sanding. If the surface has roughness then starting with a number 600 should work to get the hard parts off. I have to keep dipping in the water because the polymer powder builds and clogs my paper fast.
If your pieces are as smooth as mine started out, 800 to 1000 works and I even have a 2000 grit paper to finish off with if I want.
Without waxing, I personally wouldn't be able to polish my pieces hard enough. I know of other artists who don't wax. They sand and then use a cotton denim or jean fabric to buff out the clay and it gets super shiny. My hands are not strong enough to do that, so I put a thin layer of Renaissance wax and let it dry for ten minutes and then polish with a soft cloth. I love the finish. So if I can achieve a nice buttery finish with my weak hands, anyone can! Imagine what you can do with healthy muscled hands!!
Hope You Learn Something Inspirational Today!
See You Soon!
HeArtfully Creating,
Anita
My flowers are okay with a thin layer of polyurethane. I love this piece.
Here are some great videos about finishes from some of my favourite polymer clay artists: Cindy Leitz- Polymer Clay Tutor: Renaissance Wax
Minx Polyurethane - Oil Based
Should I Seal Polymer Clay?
Liquid Polymer
Subscribe! Like and Share!! (if you want of course :o)
Hope everyone had a great summer! Did you all enjoy creating? Whether it is drawing, painting, sculpting, writing, weaving, cooking, singing, knitting.....well, the list is endless when it comes to creativity. Bottom line, hope the creative wheels were whirring away. It has been a while since posting any articles because our computer died and I had to learn how to work on a lap top. Actually, I tried an IPad first but couldn't get it to do what I usually do on a computer. Because my hands and arms have weakened muscles, using a laptop has been a challenge. For me, the keyboard is too far ahead so it is a challenge reaching the keys. In fact, as I type this I am using one hand and a pencil eraser to reach. See, there is always a way to accomplish tasks.
HeArtfully Creating
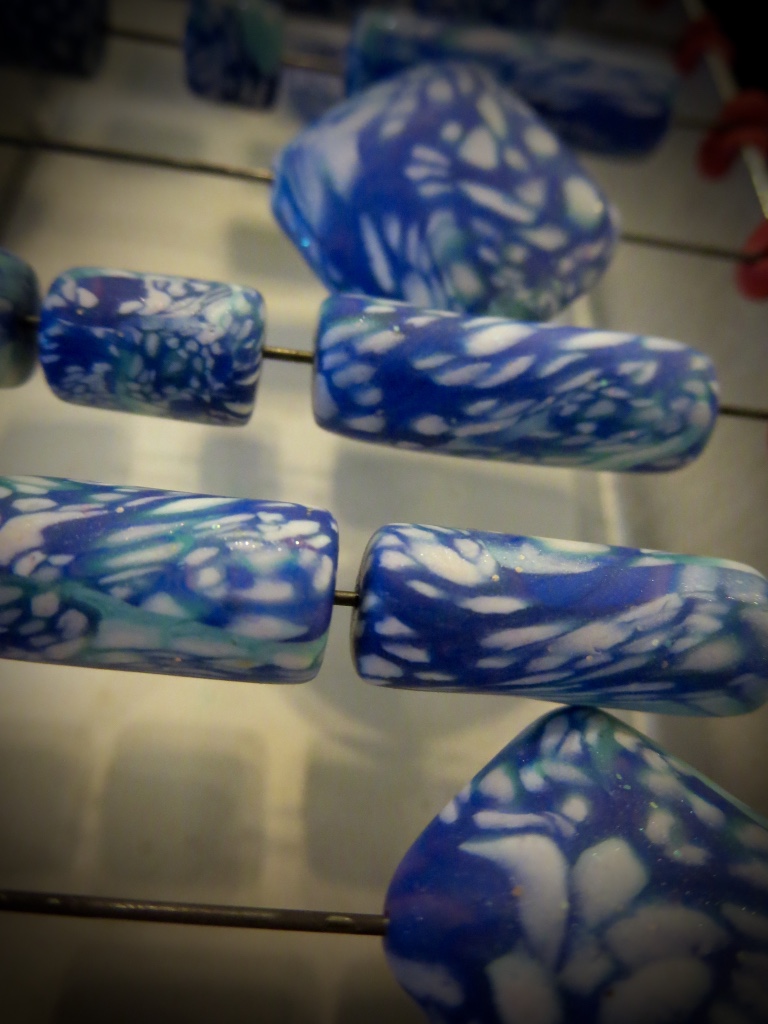
Not only did I spend the summer figuring out our computer situation, but, our street was totally under heavy construction. That meant not being able to come and go freely because our driveway had a deep cavernous, drop off for a bit along with scrambled dirt for a street. My husband and I both use wheelchairs and cavernous holes and scrambled dirt make mobility a challenge. Thankfully, I enjoy creating so much that I rarely leave home anyway! That means I spent my time doing the very thing I love, creating. I wanted to share some random photos of my polymer clay pieces. Some as works in progress as well as finished beads and cabochons.
Slicing The cane to make the flowers you see at the top of the page.
Ready For The Oven
Cabochons and Beads All Baked And Ready To Be Transformed
Recently, I also made a spool for spool knitting out of polymer clay and 18 gauge wire for the prongs! My Dad taught me about spool knitting when I was jus a wee one :o)
Thanks for Stopping By! HeArtfully Creating, Anita :o)
Come back next time or Subscribe to be the first to read about My Biggest Polymer Clay Lesson Learned This Summer
Subscribe! Like and Share!! (if you want of course :o)