A place to encourage the creativity of artistic minds of all ages. Offering Ideas, Inspiration and Instruction and sharing the work of others who inspire me!
First of all I am really excited to say welcome to a new subscriber from Japan. They took the time out to make a comment and we just wanna welcome them and say how thrilled we are to know that someone from a completely different country across the world is interested in our channel content. We would love to know more about Japan and even visit there. Unfortunately due to our physical challenges Craig and I can visit through things like Google earth but not on an actual plane. That's why there are so many great YouTube videos and blogs where people share their lives from other countries. For folks like us who can't literally travel I can virtually travel.
And thank you to all of the other subscribers it's hard to believe, that we're up to 783 people. And it definitely helps if you're feeling like it, to like comment share and subscribe to our YouTube channel and any other social media sources.
Today's video is primarily about the progress of Craig's latest acrylic painting. When he has been working on for months and months. At the same time it's a bit bit of a collide as we talk about some other things like we were in a log for walking way overrated. So I will definitely be posting the video on both blog pages.
Watercolour traditions out the window, but only if you want to.
Happy art making folks. Hope you are all having a great beginning to what is about to be the month of June already! As mentioned in previous blogs, vlogs and videos, I have been investing in some water colour painting supplies. After excepting that painting large scale acrylic paintings, I was only going to focus on learning digital paintings and drawings on my iPad using procreate and the Apple Ipencil. But as mentioned in a previous video I was inspired by a perky young artist name Kristy Rice. It really helped to hear her encouragement and she also teaches in a way I had not experienced before. Ever since I took that Coollege Night class with my dear Dad over 30 years ago,
I had learned a lot at that night school college class. It was in the very traditional watercolour painting methods. Such as never, ever, ever use white water colour paint. You are to allow the white of the page to show through. That is what your white is with traditional watercolour painting rules. I did used to paint using gouache, because I had felt that it's opacity made it acceptable. This was before I took acrylic painting more seriously. Taking that watercolour class with my dad was a wonderful thing to do with him. And I made a couple cool paintings but, I actually found it intimidating and not impressed by the lack of colour that I need in my artwork. So I would defeat the purpose of the whole watercolour method. Being a heavy-handed artist for me means that I do not use a lot of water in watercolour paintings and I use a lot more paint so the images are brighter more colorful. So pretty quickly I worked mostly in coloured pencils when I couldn't use an easel and then acrylic painting once I had an easel that my dear Dad made for me.
(I believe God inspired this idea during one of my university art classes: I was asked by an art professor how I could draw or paint on a flat surface. Some thing I had grown up doing my whole life. I never ever thought of drawing or painting on an easel. She pointed out that when it image or a picture plane is up in front of your face you can see the perspective and proportion more accurately. Because of my neuromuscular disorder spinal muscular atrophy type three, I just did not have the strength to lift my arm up holding a paintbrush to a canvas. Then one day that eureka moment came! And I do believe it was from God. I got the idea to rest my elbow upper arm area on my desk edge. And then to lean my canvas against the back of the chair that goes with the desk. I'll come with my own chair anyway, ha ha because I use a wheelchair. And then it worked perfectly, I was able to paint using an easel for the very first time in my life. And this was later in life. I had been making art ever since I could basically hold a pencil. I will explain more in a future blog video about why I couldn't go to university to take art right out of high school. Let's just say I was able to enrol in my late 20s! )
I was working on building up a new pallet of higher quality watercolour paints and thought you might like to see what that look like so far.
Watch The short Video Below
The most exciting thing about being able to mix watercolour pigments is you can create your own colours and still let them harden or dry out in a little half pan or full pen, components. I must say I am slowly learning the benefits of watercolor. That I will be able to go outside and paint without worrying about the paint drying too fast. Acrylic paint requires having a spray
bottle of water with you at all times. Working outside is basically impossible because if it gets the wind happens, it will dry faster. And watercolour just like its counterpart gouache, can be reconstituted or rewetted every time you want to use it. It lasts for a very long time. And since I wasn't able to do tiny work when I used acrylic. If you've seen some of my personal art history videos, you'll notice that the paintings aren't exactly small. However, using watercolour I have discovered that as long as the brushes are tiny enough, I am feeling more comfortable about working on a smaller scale. Before this the thought of working or painting in small-scale would intimidate the heck out of me.
Colour mixing 101
I believe I did learn this most beneficial information when I did take that watercolour class. If it wasn't then, I know it was a long time ago. That you do not have to buy every mixed paint colour there is. If you were starting out as an artist or dabbling in it because you're curious about becoming an artist. Or you're just someone wanting to have fun with art making materials like paint and don't have a lot of money, this will help you like it help me. There are three colours in the world that cannot be manufactured, meaning by mixing certain other pigments or colours together. The best example that modern folks might find easier is looking at your printer ink cartridges. Did you ever wonder why just three colours yellow magenta and cyan blue along with a black, can print anything in any colour you want? It is because those three colours yellow red or in the case of magenta it's a cool red, and the yellow is a cool yellow, and the cyan is a cool blue. When layered or mixed as they are in paint. That's resulting in the creation of secondary colors. If the first three are called primary colors, meaning single or one, then taking one primary and another primary and mixing them means to or secondary colors. Making your own colour wheel may really help lay this out in your mind. No again I learned this a long time ago, and this next part I learned then too. At first I was excited and thought yeah, I can just make whatever colour I want and I will get the results in an inexpensive way. However, the main blue I had was called ultramarine blue, and yellow was lemon yellow and a cadmium yellow (a warm yellow) and an alizarin crimson and most likely a cadmium red middle or cad red deep. When I started mixing the pairs that would make the secondary colors. I was very disappointed that ultramarine blue and a warm yellow made a very dull green. And alizarin crimson and a warm yellow again didn't quite make the orange I was thinking of, ultramarine blue and alizarin crimson made it dark purple. But none of that secondary colours were that impressive. Thankfully I experimented with the other kinds of blues yellows and reds that I had. Turns out the kind of secondaries you get depend on the type of primaries you use. Just like your printer ink, are those three colours always plus black (which technically in the art world is not a colour it is absence of light and white is all light at once- hopefully I've explained that correctly) Black and white are used to tone down or lighten a hue.
So I discovered to get nice bright colours I had to use more cool colors. If you're asking what are cool and warm colors? I'm gonna let you think about that as you look around the world and that artwork. Think about it even as you use your art supplies if you have any. What colours feel cool and wet colours feel warm.'
In the future I hope to elaborate more regarding colour theory and about colours that are manufactured through using synthetic pigments. In the history of painting, we know as early back as cave paintings, that the images found in there are often made out of things called yellow or red ochre or iron oxide. Those are pigments ground up into a fine powder and a binder possibly egg yolks and water, and then creating early paints.
And to get brilliant colours like lapis lazuli which is a gemstone, it would be ground and ground into a very very fine powdered pigment. These kind of pigments still exist. There's lots of videos on YouTube you can find about people making their own natural pigments. But I want to talk more about creating the colours that make you happy. For me personally that means creating mega bright colours.
Thanks for stopping by and we will see yo
u soon. Please don't forget to like, share, and subscribe if you like to on the YouTube channel and the blog. Those actions definitely help improve the odds of people being able to find my channel.
I name these particular vlogs Worlds Collide because we have more than one vlog/blog. So when the subject matter covers our life and creativity or our faith in Jesus, worlds essentially collide! Makes sense to me anyway. Walking Way Overrated is our life vlog/blog And Heartfully Creating is my creativity and Sure Hope Gazette is our Christianity Blog/Vlog
If you are new to HeArtfully Creating let me introduce myself. My name is Anita Berglund and I live in Canada. Ever since I can remember, I only ever wanted to be an artist.
Thanks to technology, I get to share various aspects of my life, our life (I have a wonderful husband of 20 years, named Craig) with whoever wants to listen. Since I was born with a neuromuscular disorder called Spinal Muscular Atrophy type 3, my muscles don't receive the messages to move like healthy muscles do. The motor neurone slowly deteriorate bit by bit. That means I once walked with a wobble and had full use of my upper body. At fourteen/fifteen, I started using a wheelchair, full time. Then as my muscles
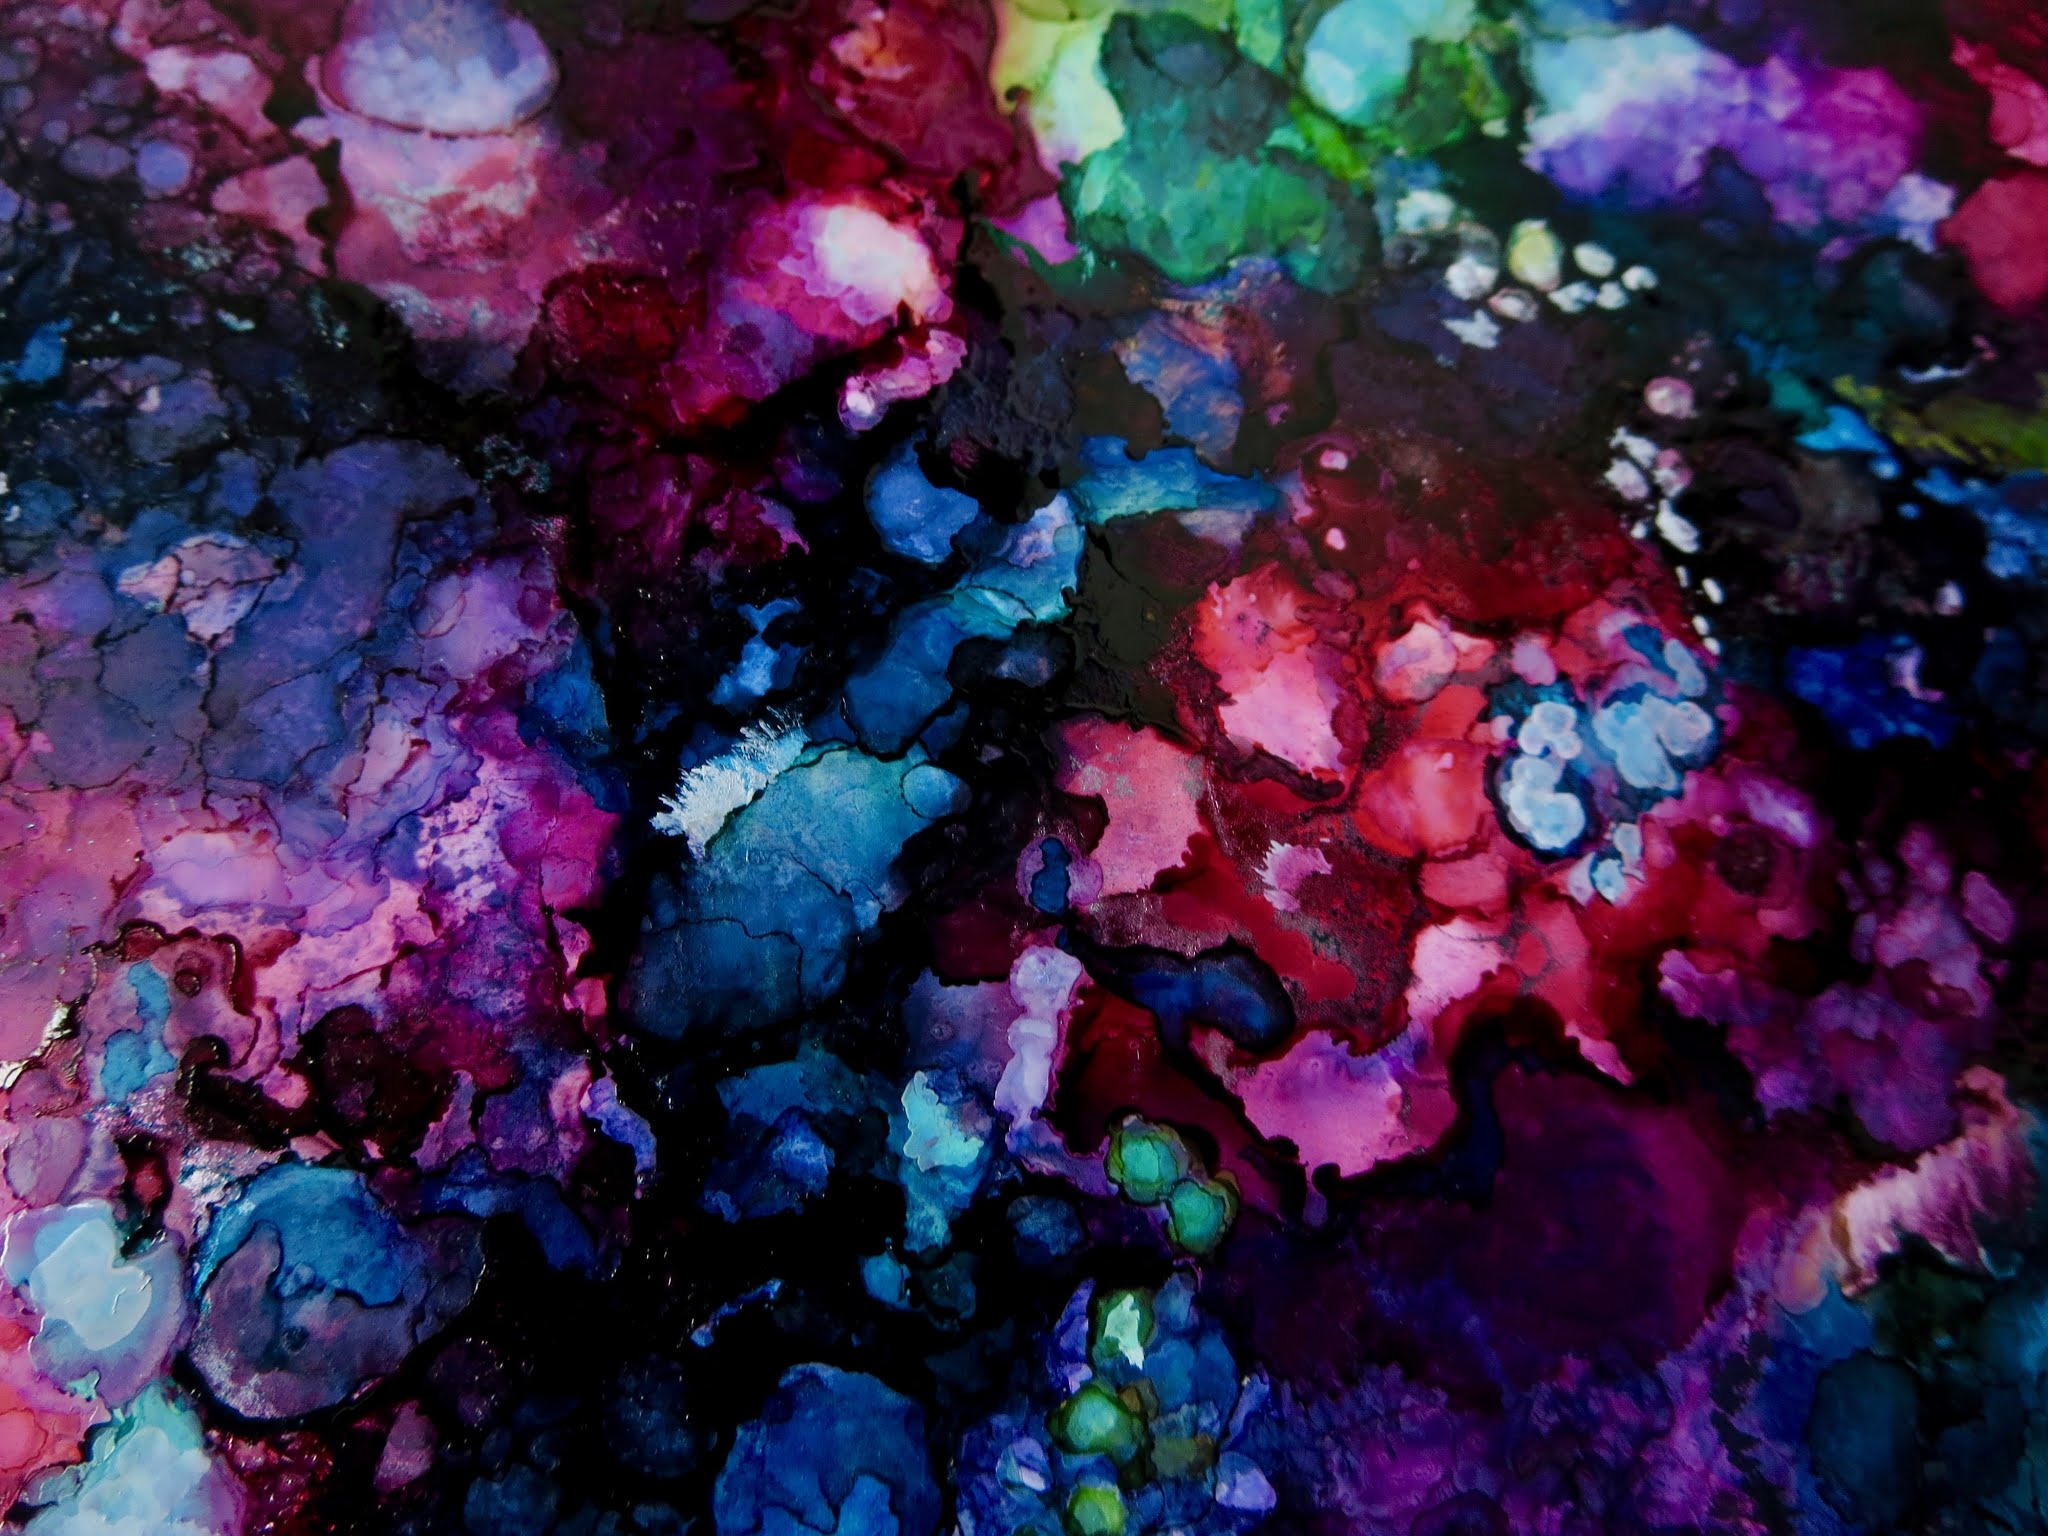
Resin - Alcohol ink -Petri dish technique
have continued their decline, I have been able to adapt all aspects of my life quite easily. Easily because I still had use of my hands. Even as my arms were no longer able to be raised or lifted (no more hugging), I could still figure out how to create. Even in University (as a mature Art student), I had
pomegranate - Acrylic on canvas
switched to using Prismacolor Pencils instead of Acrylic paint, assuming painting was no longer possible. I believe God gave me the idea to prop my right arm up on my desk and a paint canvas on a chair seat, leaning against the back. Voila, I would be able to do my best paintings ever.
Wanting to teach and share everything creative, I started this blog. And of course hoping to find ways to earn money to help pay for my art supplies by blogging and YouTube. It was to coincide with my YouTube channel abergiecreation. As you look back, you will see that I have branched out dabbling in a variety of new media, such as alcohol ink, resin, jewellery making, wire work, beading, needle
A polymer clay pendant
felting, digital art, print making, and my favourite, Polymer Clay. That was like painting in three dimensions. Loved the polymer clay community, so many wonderful artists and teachers! It's been as if the whole world was opened up thanks to the Internet, we are able to learn anything we want. Until then it was paper pencils and paint. That made art making very easy to focus on. I must confess, as awesome as it is to be able to find tutorials on any subject matter imaginable, I definitely have found it hard to focus and concentrate on one skill. Which means you end up doing a little bit of everything but not getting very good at one thing. Needless to say, the last 10 years I've been all over the place, in a good way and financially in a bad way. Art supplies aren't cheap.
Unfortunately, as time has passed, my hand strength continues to diminish. As much as I tried working with my dominant right hand, it has just been too difficult. Energy, like gasoline in a vehicle, is also some thing that is Sparse these days. Perhaps it's due to the other big life change, the one every middle-age woman looks forward to ha ha, menopause. Even though spinal muscular atrophy does cause fatigue, this life change compounds that fatigue exponentially at times. Bottom line is as of late, I am unable to bring my two arms/hands together to work. You know how hands need to work together in order to get things done?
That it's some thing I didn't ever anticipate. I I always consider myself blessed because I was able to prepare for the weakening of my muscles. Just never really thought about losing the use of two
Needle felted hearts that I made
cooperating hands. Which has therefore, caused me to lack severely in productivity. At the same time dealing with other health issues, including that middle-aged lady one, has meant a lot of resting and battling the temptation to sink into depression. Trusting God with my life, by His grace I remain joyful in spite of the many unanticipated life factors (see our life blog www.walkingwayoverrated.blogspot.com for more on that).
I did this figurine in polymer clay
I don't know about you, but if I don't have projects to work on, motivation is dangerously low. Then wanting to do certain projects and not being able to do them, compound that lack of motivation. Diagnosed with ADHD about fifteen years ago, I realized it makes sense why when I enjoy what I am working on, it is all I can focus on. (no need for medication to do so). I get that way when watching a tv series. ER was my last viewing obsession, all 15 seasons. No other show, just ER. It's most likely how I am wired that causes me to focus on just one thing until I am satisfied it's completed or I get bored with it. Getting bored or something is then when I see the effects of that diagnosis. Focus then becomes impossible, bouncing from one subject to another or in TV World one channel to another. You could only imagine how hard it is to focus on YouTube, all those choices.
Because I knew I would slowly lose muscle use, not walking was no big deal to me. But I always assumed my hands would be usable, able to create no matter what. Facing the past couple of years has been far more challenging than I ever imagined. Not really focusing on what I can do, I focused more on what I couldn't do. There are a lot of wonderful people living with limited mobility, who lead creative, productive lives. Using their brilliant minds, they have no limits. I think of heroes of mine like Joni Eareckson Tada and Nick Vujcic, and Shane Burcaw. So, I had no excuse to wallow in self pity and do
A Doodle I did on wood with acrylic paint pens
nothing. It only takes my right hand to the this blog. It only takes that same hand to draw, to press buttons and with the arms and legs of others and assistive devices, I can get a hand to accomplish whatever I need to. Well obviously, I do approach things with reason and except that my dream of being a fire fighter or a brain surgeon just won't happen no matter who tries to help me out. My voice is still there and the grey matter God blessed me with is as active as ever!
So I recently have started bit by bit, passing on my art supplies to those who I hope will make the most of them. (I must say that is a big challenge because it's tempting to think, what if I can find a way to use them?) It's quite normal that artists can be addicted to collecting art supplies. That can mean having supplies you never even touch, but just enjoy looking at. Weird, I know, but it's true. It brings great joy, encouraging children of all ages (and even adults) to create in whatever way shape, or form they can.
Struggling more and more with feeling kind of like a lazy slug, unmotivated and not producing much of anything. The biggest decision so far in this life transition was finally made days ago. Thanks to the encouragement from my husband, that's what this video is about. About the first step in adapting and learning a new easier way to create art with one hand. So watch the video to see step One, step two is supposed to be delivered by 8 PM tonight. Apprehensive but also excited.
Watch Below- Apple Pencil Unboxed. Digital Artventure Begins
A Bite Out Of Life
Of course, when one has a physical disability, it's pretty common to adapt by doing things in whatever way you can. Our mouth is extremely helpful to many of us, to carry out a wide variety of tasks. Everything from opening pens to carrying keys, clothing, blankets and towels, basically whatever our mouth can hold. My husband carries recycle bags to the door between his teeth on garbage night!!
One of my Digital Paintings with a small Wacomb drawing tablet
If I remember correctly, one of my heroes, Nick born without arms or legs mentioned earlier, proposed to his now wife, by placing the engagement ring in his mouth and slipping it onto her finger. Genius!
My acrylic paint pens
This is not as romantic as that but, and never will be, but even though I can draw with one hand, when using drawing implements with lids it requires a second hand to pull those off. Pretty much my entire life, even when my hands were stronger, it just was always easier to use my teeth. There's no avoiding cold hard reality, especially after you hear a loud crack in your left molar while trying to yank off a large Sharpie lid. Thankfully it doesn't hurt.
Thought investing in paint pens would be a good way to adapt, to be able to paint and draw since working with paint supplies, has become too challenging to even think about. I didn't consider the damage happening to my teeth by removing all those lids. As well, it turns out paint pens can be very frustrating when it seems like one out of ever four or five doesn't work.
Which leads to my new Adventure in art making digitally.
Before the pens, Years ago I did try digital drawing on a Wacomb tablet. It was remarkable how you can create art using tools that simulate real media like pastels, paint and pencils. Even making it look like you are drawing on textured art paper. However, it didn't go very far because of the quality of the lower end device. I had little control with the stylus. It felt like kindergarten all over again. So I didn't bother learning or investing in anything of a higher quality.
Until now...Excited to use this new device that actually works!
More Digital Adaptions
For a few years now, I also have no longer been able to use real books due to their weight (like my newest 2 pound beautiful Bible created for decorative journalling) and as much as I like an actual book, I have been transitioning to audio books like Audible and digital books like Kindle. As well our Amazon Echo devices will even read our Kindle book texts.
Alcohol Ink - abstract by me
Ready, Set, Go!
So this is it. Even though I have spent a lifetime enjoying the handling of art supplies, all senses aware of creating. The sounds, scissors clacking, tearing of the paper, the crinkling of cellophane, the soft scratching of chalk pastels on a textured surface, the squishy, gloppy sound of mixing paints. The feel of using my finger tips to smudge graphite, spread pigments, squeeze clay, or remove pigment. How about the scents of art making? Remember Crayola crayons? Take a whiff and you will be reminded of your childhood.
All of that to say this, I have accepted that I can still make art and create😁. It's not time to give up completely. What have I decided to do instead of all the ways I created before? (Wow, that's about 50 years, I am 55). It involves Amazon and Apple and the first part of my order arrived yesterday, hence the video. Watch the video to see more. And now, been waiting all of today for the main part of the order. Unfortunately, it's almost 8pm and still no deliveries except one. Our hearts raced as we saw the courier truck pull up and as fast as our heart rates increased, they sank just as quick, as we saw a yellow bubble envelope. A screen protector! That's another clue. Too bad. Yet nervous to stop vigilantly watching out the window worrying about "Porch Pirates." Oh well, Craig and I have to close the curtains sooner or later. Amazon's order status says it's being delivered today. Not!
The anticipation increases.
While we wait, just watch the video and you will learn how I can keep on creating with one hand and without endangering my teeth anymore or using all my energy. It's all brand new to me, but not to most modern artists.
Happy 2021 everyone! I've started out this new year by trying out a gorgeous paint set from Artistro. In no way is this sponsored. Of course I loved the outside colour and the fact that so far all my Artistro cry paint pens have worked beautifully. So I thought for $29.99 Canadian on Amazon.ca, why not try it. So here is a longer video talking about the paint set and the surprise contents! Then the rest is just me swatching out the colours and talking about watercolour painting and art related topics. A bit of a vlog if you will.
Happy 2021 everyone. Hope and pray everyone is well and enjoying amazing weather if you live near us. Warm winters are something I love. However rare they may be.
Craig finally completed his railway painting and gave it to a dear friend. You can see the completed work on the video below!
So he has begun a new landscape scene in acrylic. I was experimenting with his iPhone to see how long it could record a steady stream and it worked well. Told him to regale viewers with his stories/life experiences while he worked.
Happy Monday! Hard to believe July is half over already and still many of us are under self quarantine life. Yes, we know many have been trying to find their new normal among this unknown nemesis, but many of us are vulnerable and must be over protective, trying to avoid all respiratory illnesses. Thankfully, God is in charge and that means I get to make art and try out new art supplies instead of worrying about illnesses possibilities. Okay, no more Covid talk. It's just part of our new reality. So let's learn what we can do to enjoy time within our 4 walls. Well, hopefully you get outside to inhale some fresh air too. Now, I sound like my dear mom. 'Get some fresher Anita!!"
I have been promising some paint pen reviews and finally after swatching out and photographing and filming, then editing and waiting an hour to upload the short video below, voila! My first review is of the most expensive paint pens I have seen, POSCA. Click here to see the exact link I used to buy these. Which I do not recommend. Watch to see why not. The rest of the reviews to come, will be of affordable paint pens. You won't be disappointed. For now, drumroll please...
Watch POSCA Acrylic Paint Pen Review
Remember to have fun. Be spontaneous with your design or plan it all out, it's up to you!
Hi guys! I recently shared with you, one polymer clay artist and vlogger who makes me smile. She lives in the UK and always reads her fans comments and even responds. It means a lot to us who admire and follow folks that inspire and teach us :o) Click here to see the first Share of Val, TheUnrulyHousewife on Y/T.
Today, I just wanted to share her newest tutorial and some other faves.
Be inspired.
Now Watch Valerie.....
How To Use A Lino Cutter On Polymer Clay
Five Things I Wish I'd Known When I Started Polymer Claying
Polymer Clay Bracelets Tutorial
Things I Decorate With Polymer Clay, Or Use As Molds
Time For You To Share: If you have a polymer clay artist that inspires ans teaches you, please share their work and link on HeArtfully Creating's Facebook page (click here). As well, we would love to see your work, even if it isn't in polymer clay. H.C. is a place about encouraging creativity of all kinds! Come, LIKE, Share and Subscribe!!
Today I am in the mood to share some of my favourite YouTube Polymer Clay tutorial/VLOG channels. This lady makes me smile every time I see that she has posted a new video. She also shares other videos that help us to get to feel like we are meeting her for real. I
Here, I am watching Valerie on our tv as I work on one of my clay pieces!
kind of feel like I know her. She has a great sense of humour and I
love her accent. She lives in the UK. So I highly suggest checking out and subscribing to the Unruly Housewife's Channel, if you want to hang out with a sincere, meaningful polymer clay artist and more! You just have to meet her yourself, my words do her no justice. I only discovered her months ago and happy that I did!
Here, I am watching Valerie on our tv as I work on one of my clay pieces!
Thank you Valerie for making me smile and making learning fun! And, thanks for sharing yourself with us as well, it means a lot. :o) Below are some of my favourite polymer clay related videos since this is a blog about creativity. BE INSPIRED! HeArtfully Creating! Anita
I discovered a great way to be inspired to create. As an artist, I may always have ideas of what to do next in my head, but that can be a problem. Too many ideas that seem to collide all at once, leaving me overwhelmed. Katie Oskin is a great Polymer Clay Artist that I have discovered in my learning about polymer clay adventure. She offers challenges to help artists have weekly and monthly goals. An excellent idea. It helps me to have an idea. This article is inspired by another poly clay artist, Lisa Pavelka. Each project is based on her book about the basic fundamentals of polymer clay. This month I transformed a basic glass jar into something unique using polymer clay. I wanted to share before and after photos of the jar I did. The design was created using hand mixed translucent red polymer clay. I prefer Premo aand Fimo. Hey, they rhyme. My goal was to make a piece that would be a sort of faux stained glass effect. You can see once it was baked, that a lit tea light, causes the poppies to glow. Here is the accompanying You Tube video so you can see the details...
Alright, I did it. I did make the DIY lip balm and since the base is the same, as a bonus, I also made some solid perfumes. It all started after weeks of whining to my husband about how much the new EOS balms I bought, just weren't working well enough. Since I did make my own balm last year, I thought I would make a new batch and use the EOS containers. The containers are one of the reasons why I wanted to buy the EOS containers in the first place. Cool design. Here are the many way you can reuse the EOS container videos that I compiled here. I realize that my chapped lips mean nothing in light of what really matters in life. So hey, consider this a diversion. All I know is for the first time since I was a kid who over licked my lips to the chapped state, my lips have been actually stinging and burning for no reason! Must be a lot drier this season than ever before!! EOS just wasn't cutting it. Mind you I must say, the only brand that does work for me, no waxy feeling, is Blistex. But, I wanted to make my own again. It helped that I already had the supplies. Watch The Details In My Balmy YT Video Below
Recipe Or NO Recipe? Before, I made my own last year, I did do a lot of research checking out the countless websites and YouTube tutorials regarding this topic. What appealed best to me, were recipes that contained coconut oil, shea and cocoa butter, vitamin e oil, and beeswax. No, I didn't reuse old balm containers, I bought some on Ebay. Just the normal long tube types. Never been a recipe follower, I don't even like following patterns when sewing, knitting or crocheting. Yes, all baked goods that involve rising, like birthday cakes, do force me to actually follow the measurements given. Unless I have a craving for a hockey puck cake.
I know this is not an article about making art, but it is still about creating. Believe it or not, for me, making my own beauty/body products is a creative opportunity. Maybe it is because once I know the basic ingredients and learn how it all works together, that is when I create whatever it is, using my own ideas. It is why nothing I ever cook or make, ever has the same result twice. What I learned from making Balm Before? Flavour? Yes or no? This time I added a few drops of coconut extract. But I have to warn everyone, don't do what I did the first time. I added flavour last time by using some cinnamon. Big mistake. So, I proudly gave away a bunch of handmade lip balms. Nope, I hadn't even really tried it yet. After about ten people had A Bergie Creation lip balm, I happily swiped it onto my lips and then suddenly it hit me! Really, it did. Sure I tasted cinnamon, but cinnamon actually BURNS! Oh yah! Apparently cinnamon is what you can use to naturally plump up your lips. Frankly ladies, embrace the lips God gave you. It is never good to mess with His creation. And using hot cinnamon to make your lips swell, not a great idea. Trust me! Boy did I feel bad that I gave a bunch of people I care about, a lip balm that caused a burning sensation! Needless to say, this batch of balm, NO Cinnamon! This Time Round Reusing containers is a lot more difficult than I imagined. It is important to get them as clean and as dry as possible. I even tried boiling them in a pot of water assuming the oils would come right off. Nope, not so much. Since it already had taken me over two hours to make my little creations, I just decided I would wipe the containers out and just make sure they were bone dry. If not, I believe bacteria can grow. If you thought cinnamon hurts, bacterial infections - much worse! The EOS containers had to be pried open with a utility knife. Not something I recommend for anyone who is unsteady or too young.
Utility knives are sharp! I struggled and struggled, even my husband couldn't pry off the supporting "wheel" par,t in the container. Eventually, I got it. No fingers were lost, but it wasn't worth the struggle. I learned about this from watching the tutorials on YouTube. I did see someone using cling film instead of prying the supporting "wheel" from the container. In the end, I messed it up anyway. Ingredients: Shea and Cocoa Butter Beeswax Coconut Oil A pan of simmering water A heat proof glass measuring cup Disposable Pipette or Eye Dropper For Solid Perfume: Scented oils of your choosing cleaned and dried lip balm or other containers.
Get Melting The details on what I did and how are in the video above. Is It Worth It? For me, it is worth it because I like the results. I am particular about how a lip balm feels and softens. Do not like any waxy,
coated feeling. If you want to make handmade lip balm to save
money. Make sure you add up how much it will cost to purchase all of the butters, oils and containers. You do get a lot out of that but, any oil product, including butters like cocoa, can go rancid over time. Storing it in the freezer may preserve the freshness. So unless
you are lip balming the whole neighbourhood, it can take a while to use up those not so cheap ingredients before they are ruined from age. I did conclude that since my EOS reusing experiment, did not succeed, no, it didn't turn out right. It was
my fault for not bringing the top and bottom half together before the melted butters and wax mixture started to set. That I won't do again! Watch the video and you will see. At least I can still use the balm with my finger!
Hope this was at least entertaining and even better if you are inspired to create something!!