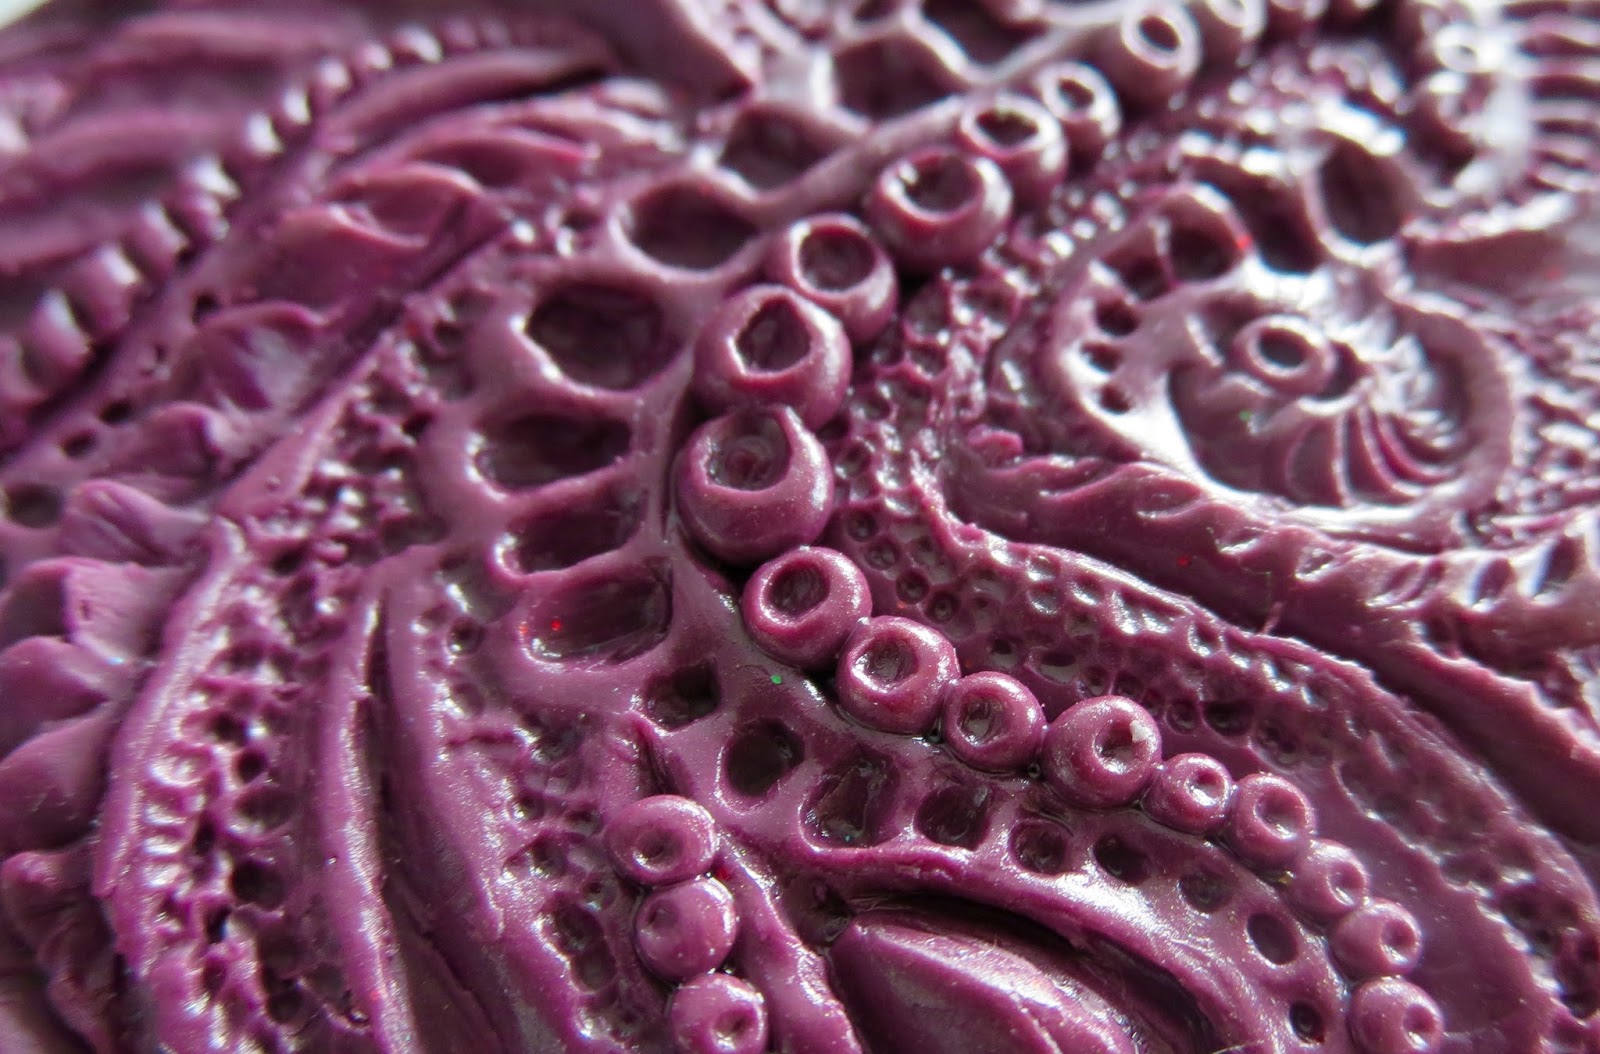
Showing posts with label unique. Show all posts

Wednesday, March 1, 2017

POLYMER CLAY JOURNEY: Earring dangle Drops Using A Faux Stained Glass Effect

Stained glass is so amazingly beautiful. The light shines through the coloured, translucent glass. We have a side light stained glass window that is so beautiful, handmade by a friend. When I remember, I will take a photo!
Due to a variety of reasons, I can not work with stained glass as an artist. It requires physical ability that I do not have. But, I discovered (thanks to all the online tutorials), that we can use liquid polymer clay or translucent polymer clay, coloured with alcohol ink or if it is already coloured then you can use as is.
I do plan on putting the many great photos I took of a variety of faux stained glass pieces. But for now, I wanted to share a mini tutorial for earring dangles.

Materials Needed To Create Faux Stained glass Mini Dangles
💗Polymer clay blended to colour of your choice for the "leading line."
💗Kato Liquid Polymer Clay OR FIMO Liquid Clay (a.k.a Deco Gel)
💗A shiny and smooth Ceramic Tile to work on and then bake.
💗Alcohol inks of your choice 
💗A craft knife, small ball tools and needle tool
💗A baking pan used just for your Clay work 
💗An aluminum sheet or baking pan to cover your peace while it bakes
💗Toothpick
Step number one: Create the Leading for the Line
Real stained glass as you may know already, has something called leading that forms the patterns and shapes that run around the coloured glass pieces. since we are making faux stained-glass and using liquid clay, we need to create something that represents leading. I used a bit of metallic silver and black Premo Clay. It is up to you what colour of lime you would like. I just thought it would be cool to try to replicate actual stained glass.

Step number two: Planning and Making the Shapes
To prepare the clay to use it to draw your shapes, just Roll out pieces of clay super thin and long enough to make the outlines and details for your little mini dangles.

Plan your shape, it just works better that way. You can be whimsical and just start making shapes out of your polymer clay colour mix. Or you can pre-draw out the shapes first. I drew the shapes in my sketchbook first because it was important that I remembered to make Twins of the same shape but in reverse. By reversed I mean when E-Ring dangles are created, I think it looks best if the shapes our mirrored images of each other. Now if you happen to make say, a cat and you forget to make a mirror image, both earrings will look identical. So you would have on your left ear say, the tale Close to your face and on the right here the tale away from your face. Okay I just realized how confusing that maybe, by think you know what I'm trying to say. Of course if your images are squares circles, something that is already symmetrical then it doesn't matter you can just draw one shape and make a copy of both for your dangles.

Step number Two B: Laying Down the Line
Now you can take your thin rolled Clay and lay it down on your drawings to match up the shapes and then transfer that onto a shiny ceramic tile, or, because the shape is so delicate, I suggest trying to make it directly on the shiny ceramic tile. It is important that the raw Strip of clay adheres to the ceramic tile. This is why it is important that the tile is shiny so that there are no air pockets there would be in a textured tile. If you don't have a tile a smooth piece of glass works well too. 

Step Number Three: Preparing the liquid Clay
 I wanted to see which liquid clay come out the clearest and most stained glass like, so I used both Kato liquid polymer clay and the FIMO liquid polymer clay, also known as Deco Gel. The conclusion was that both clays work well.  I learned from watching online polymer clay tutorials that the Kato liquid polymer clay can be made much more glossy and translucent buy putting a heat gun on to it after it has come out of the oven. I have not tried this, but I have seen it transform in videos. I was still happy with how it came out just the way it was.

Zapping it very carefully, with the heat gun to get the best effect, is wise. The warning is, don't put it too close, don't go too long with the heat, be super careful or Will ruin your piece.

Back to preparing the liquid clay.... On a separate non-porous surface, either glass or ceramic tile or actually even a piece of card stock, I placed Little quarter sized blobs of liquid clay, been added drop by drop, the alcohol ink. Just mix it with a clean needle tool or toothpick until combined.

Step number Four: Adding the Coloured liquid clay
Sorry I don't have a photo or video of this, but to Music colour to to liquid polymer clay to my shapes, it works well to pick up the clay with the toothpick. Make sure it is close by so it doesn't drip off. Point the toothpick downward, so the Clay can drip into your form. Push the liquid clay right up against the edges of the shape and pop any bubbles. That's it.

Step number five: Baking your Pieces
Set your oven to the correct temperature for the solid clay. You may notice that liquid polymer clay bakes at a different temperature. So I set the temperature that is correct for the Premo polymer clay, which is 275°F.
Place your tile into the baking tray. Lay tin foil over top to protect from scorching. Then bake for about 20 to 30 minutes. Normally, I follow the polymer clay tutors advice and bake solid clay for at least one hour, even if the pieces are small. In this case, use your own judgment because it is liquid clay and like I said, the temperatures are different.
When it's done, let cool on its own and do what you want with them!
Check out the extra pictures down below!
Save Money! Colour Mixing 101 Tip:
The alcohol inks are a great tool to have in your art studio, but they can be very costly to buy every
single colour that exists. I learned long ago in university, that you only really need Basic colours in order to create every other colour. The best thing to know about colour is that there are three primary colours. You may already know them if you are a practicing artist. What are they? Red, yellow, and blue. These three colours cannot be mixed or made. Hence the term, primary - meaning one or first. By mixing certain combinations together, such as red and yellow in equal parts, you create orange. That is a secondary colour. Our art professor taught us how to save money by learning how to mix our our own paint colours. It matters what types of red yellows and blues you use with each other, to get specific secondary and tertiary colours (meaning three of course), so spending money on variations of the primaries can help you achieve the colour mixes that you would like.

Acrylic Painting by me, Anita Berglund.

So what about alcohol inks? The same rule would apply. I have purchased some of the basic primary colours in their variations and I am  therefore, able to mix a majority of my own colours of ink. It doesn't take a lot ofink to tint liquid clay anyway. Personally, colour mixing is one of the bestest parts of being an artist. 
Not Black!
It may be easier to squeeze Black out of the tube, but as Moe, drilled into our heads in our painting class, never ever ever, use black out of the tube. It makes things muddy and just doesn't look right. Much better to make your own black. Not a big fan of black, but obviously, we need something to create drama and paint two dimensional images, to appear three-dimensional. 
The higher the contrast from light to dark, the easier it is to achieve that look.  
If you ever watch any of my videos, you may see you in the background that their are some paintings hanging on the wall. All of the flour and fruit and vegetable paintings you see, contain absolutely zero black acrylic paint from a tube. Pthalo Green and Alizarin Crimson, mix the perfect black.
Yeah
Okay one more idea about shading with black. I also like using indigo or just mixing opposite colours to create a neutral like brown, can be a great alternative to using black for depth.

HeArtfully Creating!
Anita


Subscribe! Like and Share!! (if you want of course :o)

LIKE HeArtfully Creating Here on FACEBOOK: https://www.facebook.com/HeArtfullyCreating/

HeArtfully Creating Blog: 

A Bergie Creation Shop Blog: http://abergiecreation.blogspot.ca

A BERGIE CREATION - my handmade jewelry shop

Facebook:

Twitter:

YOU Tube Channel

Pinterest:

HeArtfully Creating: 

Thursday, November 5, 2015

Newest Pebeo Fantasy Paint and Resin Domed Pendant Necklaces!!

Side Note: I just realized that I accidentally posted this blog on my creativity blog, HeArtfully Creating instead of A Bergie Creation. My brain must be full :o)

Hi guys. I have been working furiously trying to photograph, edit and publish my newest handmade pendant necklaces. As you will discover, I have been having a blast discovering Pebeo brand Fantasy Moon and Prism Paints, as well as doming pendants in epoxy resin. Not to mention, new polymer clay pieces are coming as soon as I get the finishing touches complete!
More will be added throughout the next few days...click here to see details in my shop, A Bergie Creation.


 LIKE A Bergie Creation FaceBook page - click here.

As always, I create my pieces, and then depending on the medium, they often need sanding, polishing and buffing or resin added, whatever the case may be. Then, just as I am with words, photo time happens. On Etsy you only have room for five photos to showcase your pieces. Well, I ALWAYS take triple or more that number, sometimes fifty shots for one piece. It is so important to me, to capture every nuance, angle, hue, and part of my jewelry pieces so customers can know what they are looking at. 

Buying online requires trust that the shop is providing you with as many details as possible. On that note, please always read the description details and policies and procedures before making a purchase on any online shop. It helps to avoid disappointment. Countless times, I don't read, and think say a bead will be a lot bigger because of the photo alone, once I get them, oops, turns out they were only 3mm across. All the information was there, but I foolishly disregarded it. It is easy to be caught up in the appearance and lose sight of the details. 

More will be coming soon... in a "Newest Designs for Fall/Winter 2015" video...SUBSCRIBE to keep updated. And if you want to, it is always great to thumbs up and share these links so others can see A Bergie Creation too!

Friday, October 9, 2015

Polymer Clay Journey: Making your own Texture Sheets/Plates

As with any artistic discipline, I like to learn all I can and develop what I can in an attempt to be as original and as unique as possible. As a visual artist I must say, when it comes to the huge variety of polymer clay tools, such as texture sheets, texture rollers, and image transfer methods, cookie cutters, moulds for all shapes....etc.

As tempted as I was to purchase some to help make beautiful pieces. I just couldn't do it. Why? Because as a visual artist, I really struggle with feeling bad or guilty, not working with my own images and shapes. And even if you aren't a professional artist, you can still make your own designs. All you need is the desire to do so. It is far more rewarding, for me anyway, to know that a piece of jewelry or whatever it may be, was all my own work. Maybe I have guilt issues, using existing tools like texture sheets, but it is where I am at at this moment in time.
Here is my first texture plate and the impression I made on the right in a pendant.

Here is my first texture plate and the impression
I made on the back of the pendant 
That being said, at the beginning of my poly clay journey, I didn't know that it was possible to be completely original by making your own textures plates or sheets, as well as moulds. That was until I started searching and discovered folks like Katie from Katers Acres, and some other poly clay artists, who offer tutorials online on how to make a texture plate or sheet out of polymer clay. Yes, there are countless texture making materials out there. But, it is so much more rewarding, if you so choose, to design your own textures and designs and then be able to use those textural designs in your clay creations.


Here is the result of raw then baked clay, after pressing
the texture sheet (on left) into raw clay.


This video is a highlight just to share some of the texture sheets and rollers that I have made from beginning to end. Think of it as doodling on a sheet of clay. In my case, some of the texture plates were carved or pushed into, and some were in the technique of "addition." meaning, you roll out clay lines, dots, shapes and such and add them to a flattened piece of clay. Then bake it and voila, you have your very own texture/design making plate.
After watching a review on Cindy Leitz's Polymer Clay Tutor channel on YouTube, I learned about texture/design rollers you could purchase. Here is that video...

She is another artist I have and keep learning from. I suggest checking her videos out. However, the designs, would not be my own, so I experimented successfully with making my own texture rollers. They work wonderfully! Not saying all these tools
 that you can purchase are not good, they are great for anyone who doesn't want to or can't make their own designs.

Suggestions When Using A Polymer Clay Texture Sheet.
Silicone never sticks to anything. That is fine if I was using silicone, but so far, I am not. It means that since my texture impression stamps are made of baked polymer clay, that means there is a fish that the textures can stick to the clay you are trying to imprint on.
What to do? I actually discovered that Baby Oil is one of my favourite tools. I rub baby oil all over the surface of my baked clay texture roller or sheet in a thin layer, especially putting it into the deeper crevices. The professionals may shake there head at me, but I just know that because the clay is so porous, it works well at releasing the raw clay.
Or you can use a spray bottle of water. Just lightly spray the clay with water or the plate/roller and then water releases your texture maker. Water and clay do not mix, so make sure it is dry after. Blot it gently with a lint free cloth or bounty paper towel.

This video doesn't show the making" it process, just the final results. But I will share some links below so you can see how Katie from Kater's Acres first showed me in her video.

Hope this helps a little.

Questions, thoughts or Comments, please feel free to write them down below.
Subscribe! Like and Share!! (if you want of course :o)

LIKE HeArtfully Creating Here on FACEBOOK: https://www.facebook.com/HeArtfullyCreating/

HeArtfully Creating Blog: 

A Bergie Creation Shop Blog: http://abergiecreation.blogspot.ca

A BERGIE CREATION - my handmade jewelry shop

Facebook:

Twitter:

YOU Tube Channel

Pinterest:

HeArtfully Creating: