Showing posts with label baking polymer clay. Show all posts

Tuesday, December 13, 2016

Polymer Clay Journey: Time Matters


You may already have figured this out. If you have great, if not, keep reading. Early on I was blessed by learning about polymer clay from some many great teachers online, one I discovered was, Cindy at The Polymer Clay Tutor .  Cindy's research proves that accurate temperature and the length of time firing in your oven matters greatly to achieve optimal strength, steering away from the manufacturer's bake times.
Needless to say, I have heeded Cindy's advice, and can confirm that she is correct, short times as directed on the packaging, doesn't leave you with the strongest clay pieces possible.
Mixed Messages
The fact that the manufacturer's package doesn't provide the bake times that are best for strength, puzzles me. Premo by Polyform, says bake at 375 Fahrenheit for fifteen  minutes per 1/4 inch of thickness...  Why wouldn't they tell us one hour? They must know, don't they? And then the further I head on into my polymer clay journey, the more mixed messages regarding firing time appear! Frustrated, I know! Mostly because the package should have the best bake times for strength possible. Makes sense right!?

Unfortunately, we have to get used to the mixed messages regarding bake times because they are conflicting every where I look. In fact, I recently have been enjoying watching hours of the UK's Jewellery Maker Channel while I work. A large variety of Jewellery Maker shows feature Designer Inspiration and Master Class segments, to promote the products they sell, learning how to use them and to offer inspiration to create.  And one favourite artist I really like watching there is from the UK, Debbie Bulford. Jewellery Maker sells Premo/Sculpey polymer Clay and Debbie offers great techniques and ideas working with the clay. But, she also says to bake it at the minimal amount of time as the manufacturer's directions state. It is clear that she is a credible, legitimate artist who knows polymer clay well and that Jewellery Maker is trying to sell the product she is representing. I am wondering if making it appear as easy as possible to use (offering quick bake times) is part of why watchers aren't told about the need to increase baking time. Maybe it is why the manufacturer of the clay itself,  Polyform/Sculpey doesn't change the times on packaging either?
On that Note,  I am disappointed every time, when I hear a tutorial tell us to just follow the package of clay directions.

Polymer Clay Lesson Learned....
1. Always bake your work for at least ONE HOUR no matter how thin your clay piece may be. Based on my own experience, I totally affirm what Cindy Leitz taught me from day one! It sure can get confusing when even the manufacturer or sellers of the clay are not giving the best advice available.
 After learning from her and some others online, it was clear that firing it for at least one hour, even if it is 1/4 of and thick, makes it stable and stronger. if you don not have the correct oven temperature, then yes, you can burn your work...keep reading....
Too Hot! Too Cold!....Just Right.... 
Side note: And yes, actual temperature matters as well. We discovered that our toaster oven was off by about 30 degrees! (make sure you use an oven thermometer to insure correct firing). At first, my thinner pieces were snapping and had zero stability if not more than a half inch thick. Once we followed Cindy's adamant directions, we bought an oven thermometer, increased the temp accordingly and all improved. If your oven is set to the exact package temperature, no matter how long or how many times you bake, you can not burn the clay.  
Condition Applies
Another key step, sometimes not emphasized by lesson providers or on clay packaging...again to help achieve the best strength, condition all polymer clay very well! Including the super soft stuff! It means smooshing/mixing or repeatedly passing through clay machine, combining all of the ingredients together leaving you with stronger clay. Takes 5-10 minutes.

 It is why I am here sharing what I am learning, wanting to help and let people know the importance of baking  time to strengthen their work.

WATCH: Polymer Clay Tutor Cindy Lietz Videos about Baking Polymer Clay


Tuesday, October 20, 2015

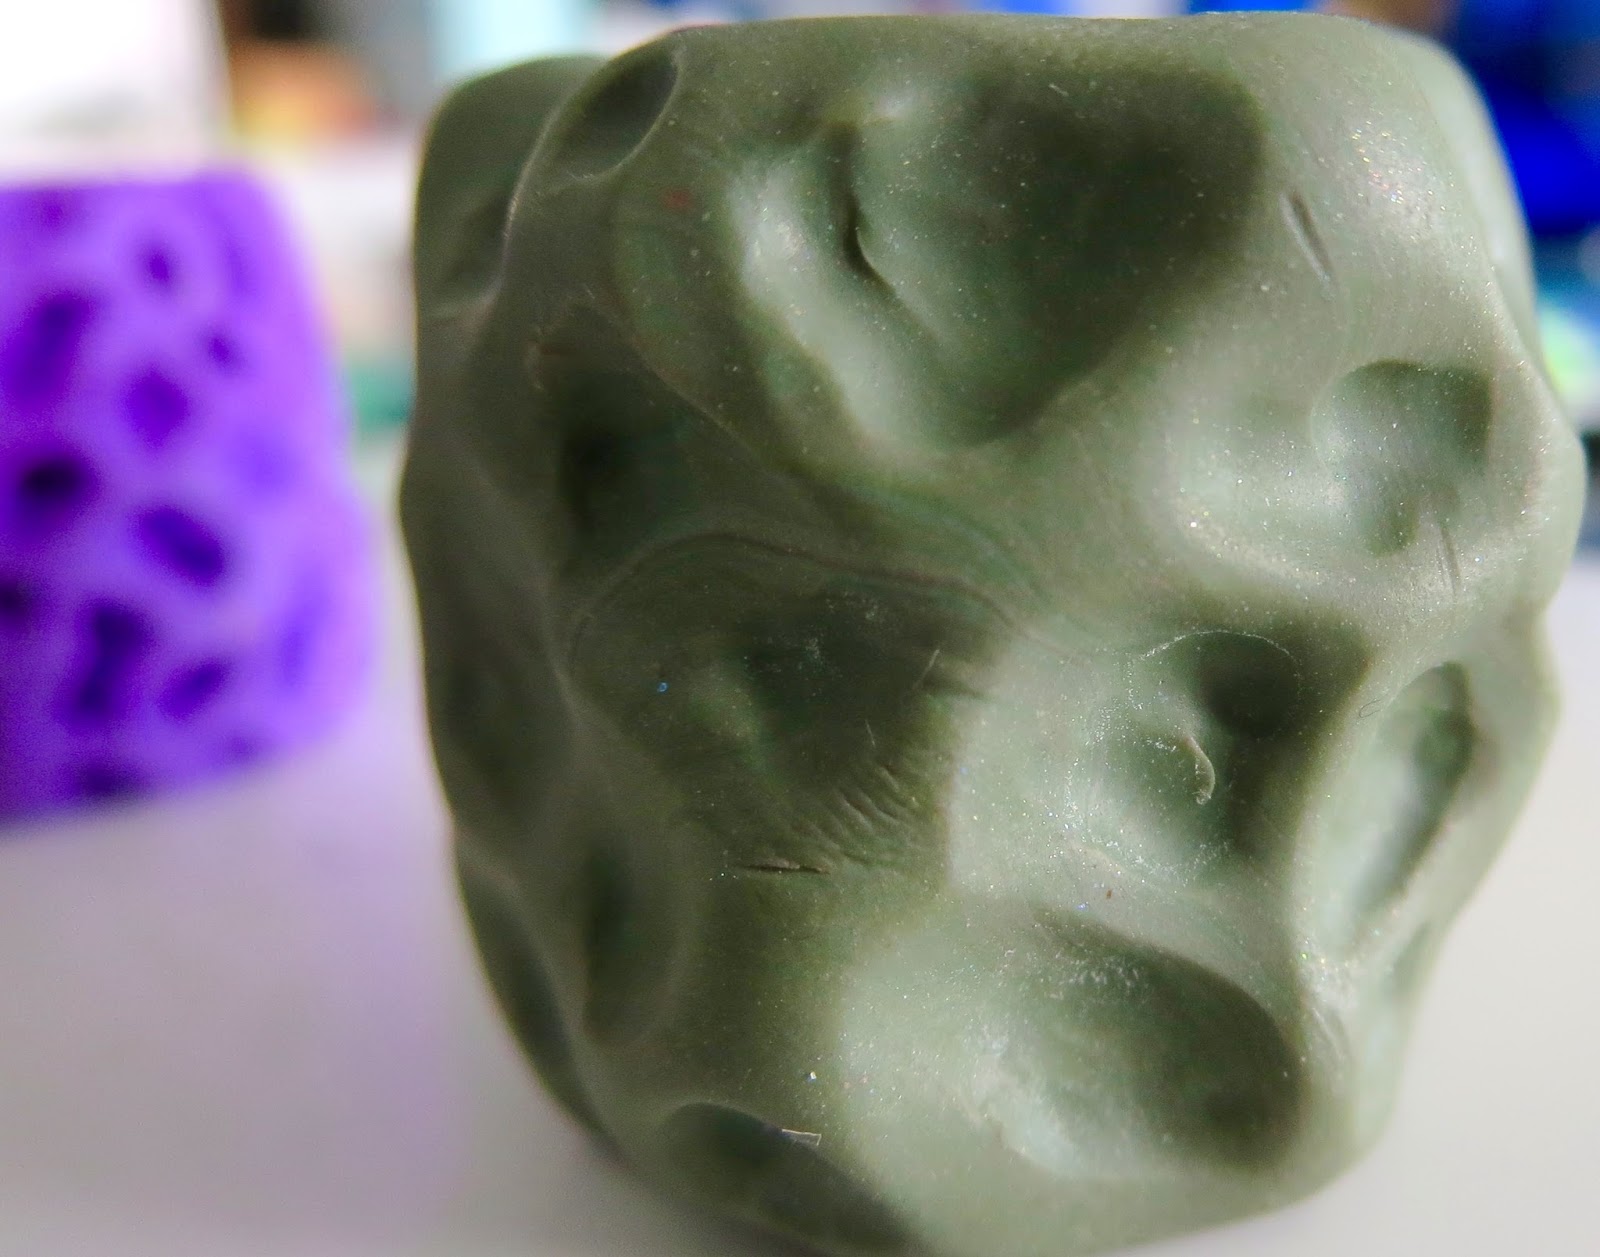
Polymer Clay Journey: Making Texture Rollers...

Making texture sheets, using your own designs, is a lot of fun and a great creative expression that can be re-used as many times as you

want. Unless your sheet breaks of course. After seeing texture rollers  in a Polymer Clay Tutor product demo and the sculpted tool you can buy, I thought why not? So I tried making some texture rollers out of polymer clay and here are the results. 
Just watch the corresponding video below on our YouTube channel. 

Materials Needed and Baking Clay Advice
 If you have hands, that is your number one needed tool.

∆ You don't need fancy tools, just a craft or X-Acto knife

∆ Polymer Clay

∆ You can use anything to help make your impressions into the
I like to cover my tools and tin can holders in clay!
clay, popsicle sticks, toothpicks, utensils, needle tools, ball tools, cake decorating tools. Just do not re-use anything you use for polymer clay on food after. Keep them as special tools.


∆ If you want to purchase inexpensive polymer clay tools, I bought a lot for free shipping on Ebay from Asia. Just search for wax carving tools, clay tools, cake decorating tools, wire tools and nail art tools. From those searches, you will find a lot of cheap, helpful useful instruments.


∆ A Dedicated pan to bake on, I use a ceramic tile on cake pans I no longer use and then cover the items with an aluminium pan to protect the clay from discolouring.

∆ A Smooth craft sheeted surface. I use a large ceramic tile or piece of glass to work on.

∆ Bake your clay as per the package directions and then some. I
Add caption
follow all the advice I have heard which is bake always, at least for one hour to make it stronger. You can't burn your clay at the temperature on the package. Only if your oven isn't working right. Then it helps a lot to use an oven thermometer to make sure you oven is heating to the correct temperature.


A Closer Look
As well, here are some photos. No, I didn't film any of the actual making parts, but I think it is pretty self explanatory. I suggest looking up the video mentioned in the texture sheet article by Katie Oskin. Just think instead of a flat sheet of clay, you need to lay or imprint your designs or textures on a polymer clay cylinder. It is a great way to use up scrap clay. All clay is useable and has no reason to be wasted!


Love To Hear From You
If you have any thoughts, questions, ideas or suggestions, please write them below. I would love to hear from you or if there is something you would like to see or learn about. If I can help, I will do my best.

HeArtfully Creating,
Anita


Subscribe! Like and Share!! (if you want of course :o)

LIKE HeArtfully Creating Here on FACEBOOK: https://www.facebook.com/HeArtfullyCreating/

HeArtfully Creating Blog: 

A Bergie Creation Shop Blog: http://abergiecreation.blogspot.ca

A BERGIE CREATION - my handmade jewelry shop

Facebook:

Twitter:

YOU Tube Channel

Pinterest:

HeArtfully Creating: 

Sunday, October 4, 2015

POLYMER CLAY JOURNEY - Biggest Lesson Learned

Most Important Baking/Curing Tip
Thank you to Cindy Leitz from the Polymer Clay tutor Yout Tube Channel. Always bake your clay longer than the package directions. Not hotter, that would burn it and spread noxious fumes into your home. But, if the package say, bake for 30 minutes per each 1/4 inch of clay thickness, bake it an hour. Christi Friesen, another great tutor, artist, also recommended using an oven thermometer. After what I learned, make sure you listen to what these folks say. After all, they have done that work, just to teach us!

Use an oven thermometer to make sure your oven actually is reaching say, 275 fahrenheit. At first I assumed it was reaching that temperature, so, I baked a lot of clay pieces. But, I struggled with breakage even after an hour or more. Lo an behold, decided to listen to their advice, and it turned out  our little toaster oven was only reaching about 230 degrees, not 275f!  BIG LESSON LEARNED!


A polymer clay stamp I made out of polymer clay!
Subscribe! Like and Share!! (if you want of course :o)

LIKE HeArtfully Creating Here on FACEBOOK: https://www.facebook.com/HeArtfullyCreating/

HeArtfully Creating Blog: 

A Bergie Creation Shop Blog: http://abergiecreation.blogspot.ca

A BERGIE CREATION - my handmade jewelry shop

Facebook:

Twitter:

YOU Tube Channel

Pinterest:

HeArtfully Creating: