A place to encourage the creativity of artistic minds of all ages. Offering Ideas, Inspiration and Instruction and sharing the work of others who inspire me!
Hello everyone! Hope everyone is having a great February so far. Recently I have been needing to rest more than I normally need to. So when I am able to be productive creating, I have been trying to turn many of my mini art works into jewelry and finally getting those
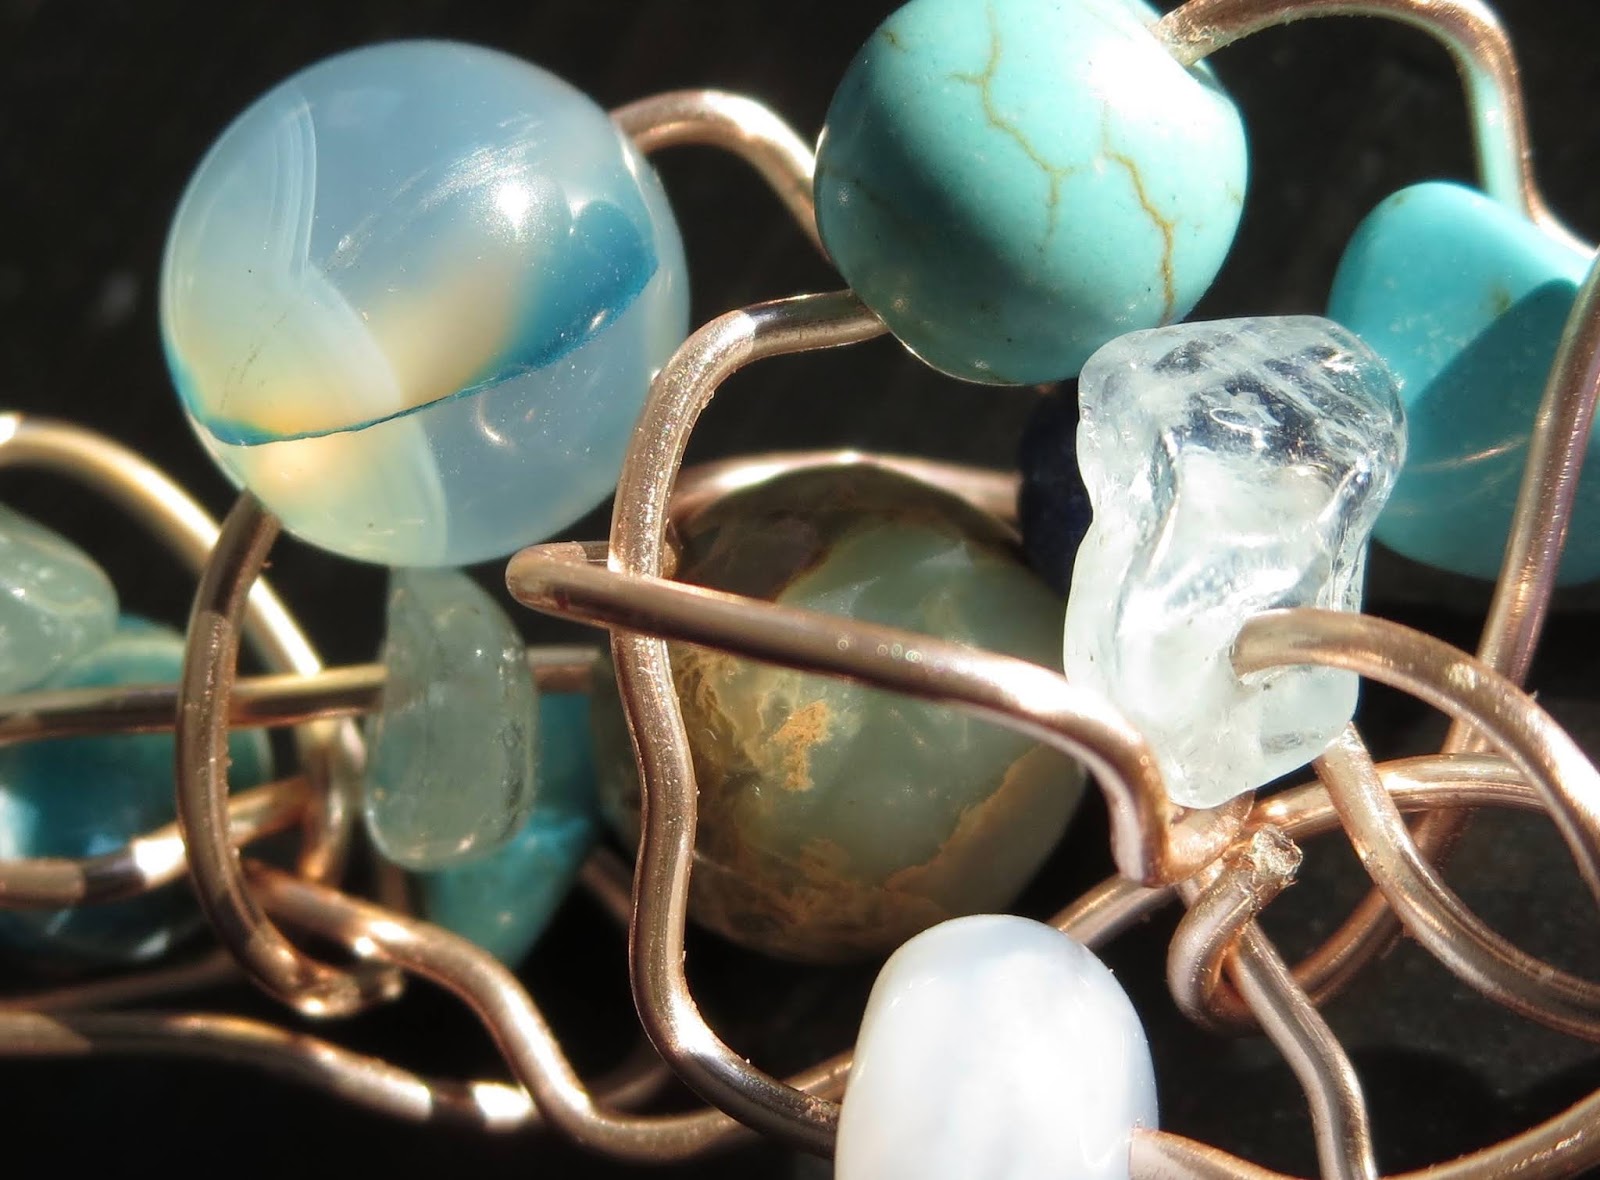
pieces photographed, edited and then listed in my shop at Etsy (A Bergie Creation). But I have found time to also work on some new polymer clay pieces and after watching a channel I enjoy watching Matts Crazy Art, I also got inspired to work with all the wire I bought a while ago. Check out the video that inspired this pendant I made last night. Matt has a really great attitude about enjoying creating. He is funny and very encouraging!
Watch Matt Create Here
What have you been working on lately? Are there any new skills you have learned or are hoping to learn? I have been wanting to try using the merino roving wool I bought a while ago. Needle felting is another fun art making technique. The polymer clay is still a favourite but I must confess it is getting more challenging for my not so strong hands to manipulate. A bummer, but I am not giving up. In fact the next few pieces are some recent clay works I have completed.
Some posies
Colour Shifting With Texture Earrings
Earrings With Some Holo Glitter Surfaces
Look Depending on how you look at these, they change colour!
Well that's just a bit of where I have been at lately. I hope you check out matt's fun videos and that you are expressing yourself artistically in some form or other. I would love to hear from you. Below are other links to connect. Happy creating artists! Connect More
Been having great fun creating fantasy style pendants using polymer clay, gemstones and nail art powders that have colour shifting abilities. They are called chameleon and the Pear Ex mica powders that can shift from one colour to the other are called DUO.
Since I have completed about four pendants, it seemed best to share each pendant in separate videos to avoid one long boring one! Because creating is my main focus I don't get to turn each piece into a tutorial, but I do try to take process photos so I can share my work as it happens and afterward. Then I can offer some hopefully useful information, that might inspire you to create an artistic piece of jewellery.
A Side Note:A watcher recently commented on one of my non-tutorial videos about how it would be more interesting to watch, if I showed the making "it" process. So I am writing the following to address their comment. Of course I also have tutorials as they happen too and Kudos to those great artists who faithfully create tutorials, I know how much time, planning and work it takes to put them together. As much as I love teaching the art making process, and wish it was easier to film/edit and upload tutorials. Because I have physical restrictions, my husband has to be home to help me set up and move around my camera. So I definitely do the tutorials when I can. Since taking photos is fairly easy for me, I can compile them to make videos like the one below. It may not be a detailed "how to make it," tutorial, but I do hope it stimulates those creative juices! WATCH here right below:
Materials:
I used...
💓It is easier to work on a ceramic tile that you can slip into the oven once you are done.
💓 Keep your tools and surfaces clean with rubbing alcohol and baby wipes
💓 A dark mix of Premo polymer clay
💓 chameleon nail art powders
💓 A largish gemstone cabochon (a Labradorite stone -about 30mm x 20mm).
💓 flatback crystals
💓 Liquid Polymer Clay or Bake and Bond
💓 Shaping and sculpting tools
💓 Dedicated baking pan, ceramic tile, aluminium foil to cover clay while baking.
The Process
My clay pieces are one of a kind so I can't tell you exactly how to copy anything. Instead, I am here to encourage you to create your own original work. Looking at the pictures for ideas, create your piece. Many artists pre-plan their work, sketching and drawing it out. If you follow my youtube channel and/or this blog, you know that is not how I create. When it comes to art making, there is no right or wrong way. Planning happens if I need to, but usually I just go with the urges to create. Whimsicalness is key.
What makes this a "fantasy" design? It is up to you, but I think using lots of decorative swirls and flowing forms help achieve that feel. As well, using shimmery sparkly bits and pieces makes me think fantasy. Fantasy is something imaginative, not real - think Lothlorien, the Elvish home from the Hobbit/Lord of The Rings. No, I am not an expert in labelling design styles, this is my opinion only 😃
The work of others inspire me. Materials inspire me. God's creation, always inspiring. I just gather what I need and begin building my piece. What is important is making it visually interesting using, line, shape, texture, colour and other elements of design.
The main step is set your cabochon in with a clay bezel and the rest is up to you. Keep reading to learn about bezels and cabochons, these are two key words used in my pendant design.
Cabochon/Bezel Talk
You need to set your stone with a clay bezel....
Until today, I though cabochons were beads without a hole. Turns out I had it wrong, cabochons are polished, shaped stones that aren't faceted. Working with polymer clay and gemstone cabs means that we can make jewellery pieces without being a metal smith, because you can form your own bezel to hold the stone.
What is a bezel? If you are reading this or watching it on a screen then you see a large bezel every day. The bezel is the part that goes around the stone (or computer/tv screen) edges to hold it in tightly. If you have a ring, you can probably see prongs holding on to the stone. We can set the stone with a clay prong type bezel, you just need to make sure it is well secured. I prefer pushing the stone into the clay and either letting the clay gently slip around the edges of the cabochon and letting it "hug" the stone enough to be secure. As long as it grabs just the edge well it will be secure.
You just need to barely capture the cabochon's edge with clay and it will be secure. Depending on the look you want, you can just lay it flat on the clay surface and then place a thin or wide strip of clay around the cabochon. Whichever way you choose, be sure to smooth and shape your bezel accordingly.
Decorate It!
Once the stone is secured, I decorate/design it, building around the stone's bezel, creating a one of a kind pendant! Of course you can use the same method to set a gemstone for other pieces, like a journal cover or a brooch pin.
The fun escalates as the clay is shaped and placed down as I think it looks best. If you don't like what you did, remove it and re-do it. The beauty of polymer clay
Choose A Cabochon to Use...I used Labradorite
See the blue flash in the labradorite!
The stone I used for this pendant is one of my faves, Labradorite. God's amazing creations come in so many forms, these rocks included. What makes these one of my favourites is that they are fairly affordable (I buy mine on Ebay, from India mostly - under free shipping), that helps. But they also have an incredible feature that enables them to reflect amazing colours. The iridescence or what is often called "flash," or "labradoressence," is gorgeous. They have a variety of colour possibilities, with really beautiful lines and depth. I suggest you read more about them by clicking here.
Make Your Own Faux Stone
If you want to make your own version, there are great polymer clay faux stone tutorials online. Here is a favourite, Ludmila Bakulina's tutorial here.
Once my piece was done, I made sure I had a place to suspend my pendant (do that in the beginning.) Then I used liqiud clay to secure crystals and brushed the coloured powders. I always bake my pieces for an hour or more. (if your oven if the correct temperature, you can never burn the clay.) Bake the piece on a ceramic tile, with foil or baking pan covering it. I completed the back after with liquid clay and textured raw clay- baking it again. Final step, I used UV Resin. HeArtfully Creating,
Side Note:I just realized that I accidentally posted this blog on my creativity blog, HeArtfully Creating instead of A Bergie Creation. My brain must be full :o)
Hi guys. I have been working furiously trying to photograph, edit and publish my newest handmade pendant necklaces. As you will discover, I have been having a blast discovering Pebeo brand Fantasy Moon and Prism Paints, as well as doming pendants in epoxy resin. Not to mention, new polymer clay pieces are coming as soon as I get the finishing touches complete! More will be added throughout the next few days...click here to see details in my shop, A Bergie Creation.
As always, I create my pieces, and then depending on the medium, they often need sanding, polishing and buffing or resin added, whatever the case may be. Then, just as I am with words, photo time happens. On Etsy you only have room for five photos to showcase your pieces. Well, I ALWAYS take triple or more that number, sometimes fifty shots for one piece. It is so important to me, to capture every nuance, angle, hue, and part of my jewelry pieces so customers can know what they are looking at.
Buying online requires trust that the shop is providing you with as many details as possible. On that note, please always read the description details and policies and procedures before making a purchase on any online shop. It helps to avoid disappointment. Countless times, I don't read, and think say a bead will be a lot bigger because of the photo alone, once I get them, oops, turns out they were only 3mm across. All the information was there, but I foolishly disregarded it. It is easy to be caught up in the appearance and lose sight of the details.
More will be coming soon... in a "Newest Designs for Fall/Winter 2015" video...SUBSCRIBE to keep updated. And if you want to, it is always great to thumbs up and share these links so others can see A Bergie Creation too!