A place to encourage the creativity of artistic minds of all ages. Offering Ideas, Inspiration and Instruction and sharing the work of others who inspire me!
Always learning. All part of life as an artist. It means a lot to me to share the lessons I learn with anyone who wants to listen. Perhaps you won't have to waste supplies like I have. As well. I would love to hear about your experiences and lessons too. We can all learn from each other. This is a short video...Watch Below
Hard to believe we are five days away from that time of year that so many folks seem to stress out over. Instead of stress and and incurring debt, I would rather focus on sharing all things creative. Recently, I was dabbling in the newest resin trend, the Petri Dish technique. It it so addictive. There are a pile of great tutorials on the subject on YouTube, so this newest video is all about what my pieces ended up looking like and any lessons I learned.
You do need to use epoxy resin, freshly mixed. The longer it sits once mixed, the resin's curing process makes it a lot more difficult to impossible for the inks to do their thing, the thing that is called the petri dish effect.
Lessons Learned Not For UV Resin. Find out what happened when I tried this method in UV resin.
As well, one big lesson learned was to not use my butane mini torch to eliminate bubbles in the resin, when using small silicone molds. The torch is too hot and the silicone actually burns, therefore ruining your molds and the piece you took time to create. Best way to remove those pesky bubbles in small molds is to use a lighter flame or heat gun, or if you can make it work, a straw that you blow through. That last one never seems to work well for me. Drool tends to dominate, running down the straw, about to ruin the resin.
Watch My Video Right Below To See How Beautiful This Technique can be:
Materials Required
Silicone molds
Fresh mixed Epoxy Resin - I use Art Resin right now
Alcohol Inks that are not mixatifs or opaque
White opaque alcohol ink - it seems that Pinata by Jacquard is used most
Pipettes if you need to draw ink from a larger bottle of ink
A matt to keep our surface from staining
A heat gun or flame if you want the bubbles removed (do that before adding alcohol inks - alcohol is flammable!)
A dust cover to keep pieces clean while curing
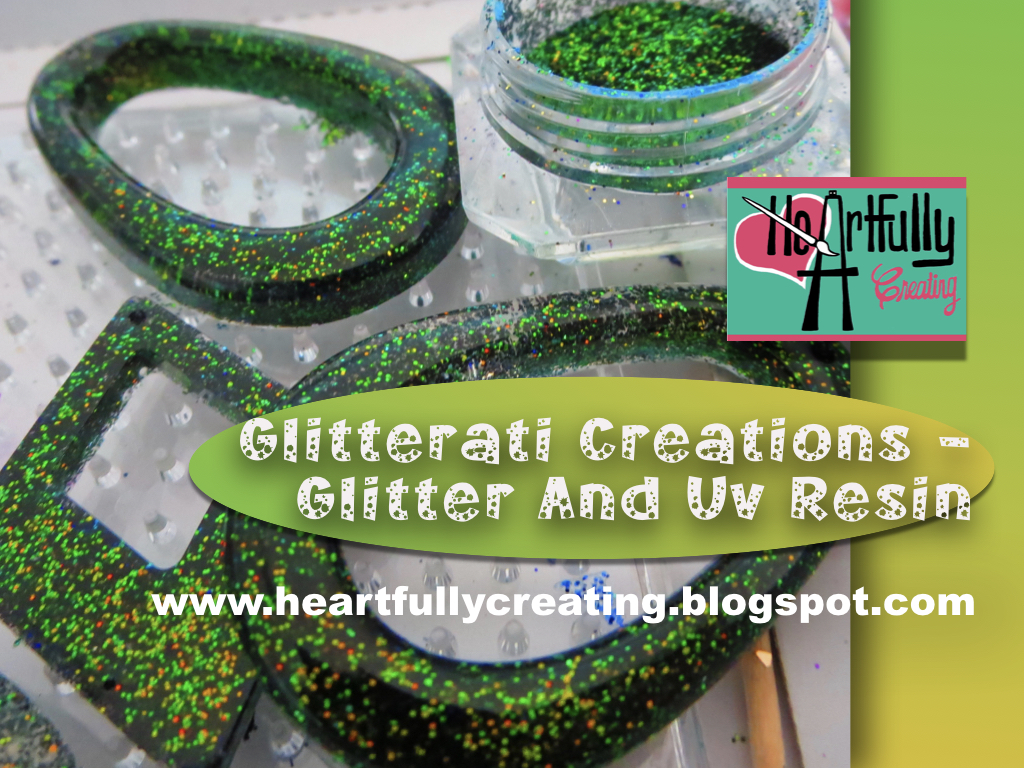
Hi guys. if you hang around here or my YouTube channel, you will know, I have an addiction to sparkly powders, glitters and anything iridescent or holographic.
Below I created a very short video sharing a lesson or two about working with UV resin and glitter. As well as showing a few of the sparkly creations using inexpensive molds from Bay.
Watch Below
Biggest Lesson Learned About UV Resin
First of all, don't use opaque silicone molds with Uv resin and glitter. The mold needs to be able to allow ultraviolet light through. Trust me, unless you are only using a wee bit of
colourant, you will be disappointed when you unfold Over and over, I have had to reveal gooey, icky uv resin. This is even with mica powder. Only use a teeny bit and try it.
I do prefer epoxy resin because there are no disappointments when unfolding Of course unless, you didn't mix it well enough. What Are Some Of The Materials I Used from EBay(click item to go to the links)
Finally, here is the video about how to create your own shimmery alcohol inks. A substitute or compliment to the new Ranger Pearl Inks with mica powder. I am sure many of you have already thought about doing this. Just incase you haven't, here is what I did. As well, a bit of a review about the types of pointy tip bottles I like best. Watch Below!
A bonus is the latest look at our ever changing kitchen table top using the shimmery inks.
Materials
I have finally concluded that our tabletop transformation will not end. However I want to share the ongoing process in that transformation. As well, Today I want to share a little bit about my discoveries regarding creating Shimmery alcohol inks that you can create on your own. The idea was sparked by the new pretty Ranger pearls. Alcohol inks that have Mica powder in them to give them a shimmer. It is 100 percent possible to create a shimmery alcohol ink that you can use on whatever surface alcohol inks adhere to. Watch Video Below
In my case, I have added links to my supplies used For this table project.
Hope you're inspired to create your own surfaces and If you want to create something smaller than the tabletop, You can also make mini galaxies and paintings on canvas using the same materials. I also have that project on the go as well.
Been a while. Craig has been painting all this time. I have just been really slow Getting the videos I Record uploaded. So here is a Video I took about a month ago, Where'd Craig update us on his Painting progress. And I call this 'Worlds collide,' Because it really is a history about Craig's time on the railroad. To some it may seem boring, If you're not interested in how Train tracks use to be Installed. So come and enjoy Learning Some Canadian history, Along with Feasting your eyes On Craig's Newest masterpiece. Watch the video Below
It's been a while since the kitchen table top transformation began. I want you to guess how many litres of polyurethane have I used so far? It's more than I ever imagined. Keep in mind I have been using nail art powders, flakes and holographic glitters mixed with polyurethane to make my paint for our table. Otherwise no one would use this much polyurethane. But I won't tell until the next video. Yes, of course I want you to come back.
Just when I thought I was done... Watch the Video Below:
First of all, if you are interested in creating your own faux turquoise beads from polymer clay, click here. See what I was avble to create using those beautiful beads. As well, I was able to incorporate the hologlitter polymer clay beads as well as others! About 90% of these necklaces are comprised of beads I got to make.
Below is a video featuring the pieces, some now listed in my Etsy Shop A Bergie Creation. There are a few tips about creating necklaces as well. Watch Below Now...
Making jewellery with your own beads is greatly rewarding.
I hope you are a little inspired to make your own too.
Hi guys! Hope you all had a great summer or winter, depending where you are!
Hard to believe that two months have passed and finally, I am basically done the redecorating of our kitchen table, galaxy look. I will be compiling and editing the process with lots of detail pics. For most it may be boring, but it helps me to document the art work making process. Because there will never be a recreation of it again. Plus it is cool to see just how much a surface or piece can change, the more you keep working on it. It definitely, does not look at all, like the first round - when I said it was done!
The basically completed table - one end anyway!
I used over one gallon of polyurethane plus some acrylic varnish! And now I need can number five to work on my final coat! My dear husband keeps picking up the medium sized cans (975ml I think) Remember, my table galaxy has been created by hand. One brush work/finger smudge at a time. No paint pouring here.
Oh. just accidents like spilling my polyurethane on the table - just yesterday!
Never Ending Ideas
What keeps dragging the completion are the ideas that keep popping into my never silent brain. Alcohol Inks
One technique was the idea to use the alcohol inks that I mixed with mica powder. Don't you think they would make great stars!
That was after realizing the new Ranger pearl effect alcohol inks seem to just have mica powder to give the pearlized appearance. DIY Pearlized Inks
Wanting to save money, I got out my empty needle nose plastic bottles, isopropyl alcohol
Trying to create a sparkly star effect with Chameleon nail flakes and DIY mica inks.
91% or higher and combined powder with the alcohol and some drops os alcohol inks. Just shake a lot as you go, and voila! Not a bad idea. Of course the Ranger inks are very
More table top pics
pretty. But, making your own pearly recipes is effective too.
Anti Freeze?
One thing I haven't tried is the Extender formula for the alcohol inks. I have used alcohol as my extender. It turns out alcohol disperses the alcohol ink colours but the extender solution doesn't. The extender helps extend the drying time and literally extends or waters down the ink I will be trying a Ranger extender solution soon.
Wanting again, to be frugal, I saw a DIY recipe to create your own extender solution. Thanks to a friend, I have some anti freeze to create some. You only use a teeny amount of the green glowing anti freeze and some . 91% plus isopropyl alcohol. Haven't tried that either. But I will let you know how it goes.
What About Polymer Clay?
I have missed working with my favourite three dimensional material. It was a blessing to have sold some new polymer clay handmade jewellery this summer! It always helps to help cover the art making supplies I love having! Needless to say, I plan on working on some sculpture pieces in clay! Stay tuned. Not enough hours in the day!
This was GRAND FINALE number 1- As of today September 12, 2019 - I am trying to complete the FINAL Grand Finale!
Hi guys! So Sorry, it has been a while since making a new video that is art related. I have been creating all summer and of course this table top has taken up the last half of it!
Hope you have been creating and enjoying the final remains of summer. I would love to hear about what you have been learning or working on.
Finally, I was able to edit and publish part one about the transforming of our kitchen table. I started a month ago and as of today, September 12,I am still trying to perfect it! But out of interest to document and to help others go to sleep, I am posting the footage we took documenting the beginning process. There is a grand finale moment but, I took up the paint brush a week or two later and have worked daily ever since! It didn't hurt that I received a pile of new nail art powders and flakes that make great stars and cosmic effects! Watch the first part Below!
I apologize that part one has some very amatuer videography, but we are amateurs any way. The hope
is to demonstrate how you can take a plain piece of furniture or even a counter top or canvas, piece of wood, etc. and turn it into a work of art!!
Details on materials used Here is a list of the materials I have used to transform our table top.
You can use paint but I wanted to create layers and special sparkling effects.
After all that is what galaxies are, lots of sparkling stars and nebulas and such! 💕Primary Elements - click here to see a previous article about them 💕Nail Art Powders - Mostly Born Pretty brand including chameleon, colour changing flakes, mermaid and chameleon 💕Mica Powders - click here to see a previous article on my Pear Ex swatches 💕A few sizes of soft paint brushes none larger than about 3/4 inches wide. 💕A small fan brush 💕Holographic glitters - I used a lot! including microfine ones from Born Pretty 💕Course sand paper - I lightly sanded down high points when glitter felt too sharp.
Primary Elements
💕Polycrylic water based Gloss finish - basically polyurethane- I used a total of about 3 quarts/litres of polyurethane including some Acrylic varnish/medium
💕I did try using metal leaf flakes but ended up covering them.
Lessons Learned So Far
Well, I have learned that the more layers I add, the table top looks all rippled and lumpy. But then we are talking about 3 litres of liquid mixed in with pigments/mica powders and glitters. I recommend having more of a plan. We love the end result but I am disappointed about the lumpy
look. When you touch it, it is fairly smooth. We will both find out the very final end result in a few more videos. I hope to finish today! I say that every day.
If possible buy the flakes in larger sizes, it got costly using teeny pots that empty so fast.
The Primary Elements by Lumiere are amazing. A little goes a long way. The deep colours are mega intense. A few specks of indigo goes a long way too.
Always stir the polyurethane before using!
Pearl Ex Powders
I did try the colour shifting paint from Folk Art but did not like it - very unpigmented,
Hope you are inspired a little.
Part two is coming soon.
Here's my husband Craig and his recent progress with his painting of the railway. As always, he has some stories to tell. As well we discuss painting style and why consistency is important.
Hi guys! This is a short video talking about trying the Born Pretty chameleon nail art powders and flakes. Adding them to black or very dark polymer clay works the best. Theses pigments are amazingly beautiful. It is hard to believe that one powder or flakes can shimmer with two or more colours. It all depends on how the light hits the surface. To get more interesting effects, stamp textures into the clay and you will see even more great two tone effects! See the pictures of a few samples I have tried,
Watch Theses Beautiful Pigments Do Their Thing Right Here
Okay, this may gross you out. If you want to see a short short video about what happened when I tried oxidizing some wire without liver of sulfur, take a look! PLUG YOUR NOSE!!
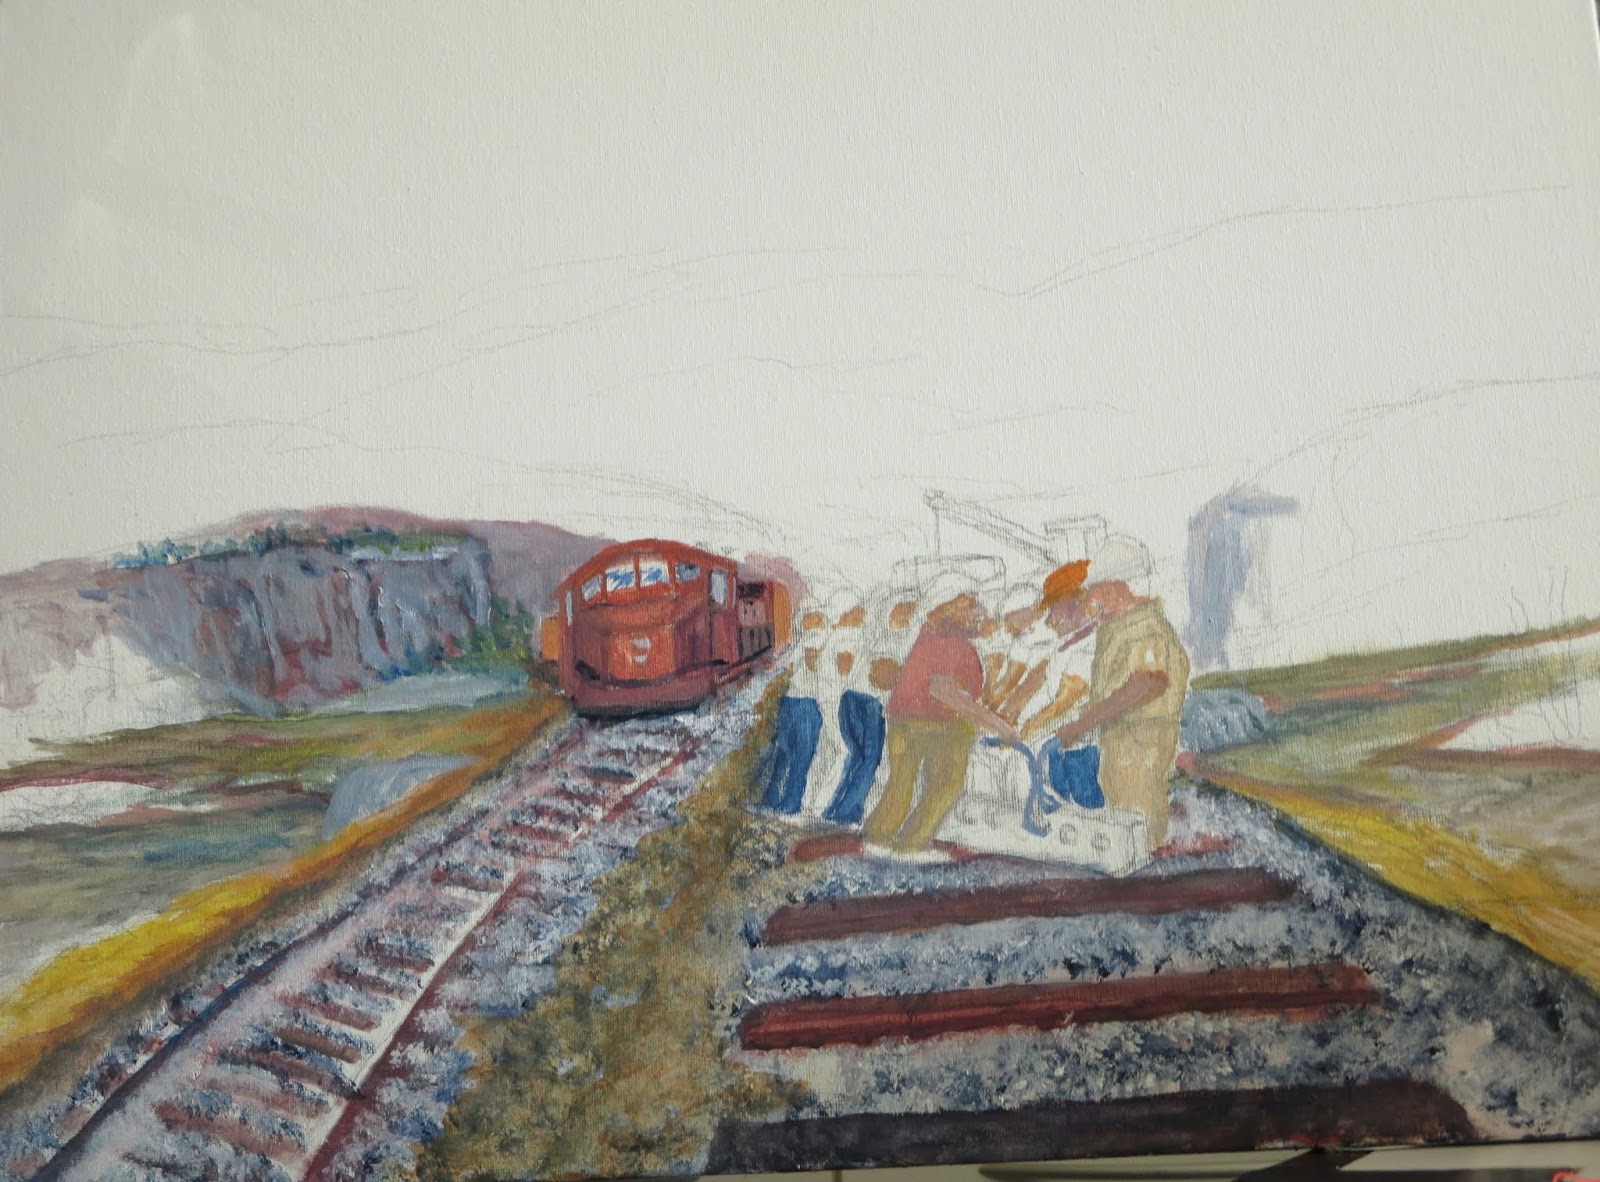
So sorry. I actually missed this video clip of Craig at the very beginning of painting number two. We are calling it the Switchmen. You will learn why as he shares his progress. So take a look and listen to the adventures of Craig as he paints his memories.
Hi guys. Yay, Craig started another painting. If you have been following us at all, you know he likes to paint what he remembers, not from photos. Along with his art, he loves telling stories. Wach as he starts with a blank canvas. Watch Craig begin his new painting Below
Come back to see more updates!
Here are a few more pics of what I have been doing! Connect More
Been a while since posting anything. Not that I haven't been creating. That is something I do everyday in some form or other. Wanted to touch base, say hello and share some pictures of what's been happening in my/our studio. What have you been working on?
My husband Craig has begun a second painting that we are going to follow his progress with. This time he is painting from his memories. An old job he once had. Here is a sneak peek.
Come back to see more updates!
Here are a few more pics of what I have been doing! Connect More