Friday, October 30, 2015

My Polymer Clay Journey: Make Your Own Logo or Signature Stamps


My handmade "logo" clay stamp...first a few words about signing art work...
If you draw, paint, doodle or make art in any way shape or form, you learned early on, to sign and date your pieces. It was my Dad who showed me that. Every beautiful drawing or painting he did, had his name and the date on it.

This article is about how I was able to create a stamp that I can use to "sign" my polymer clay pieces. To watch the YouTube video with details not in this write up, click here or right below.


"You're Not Van Gogh!"
A self taught artist for the majority of my 49 years here on this earth, I was able to finally enrol in our local Lakehead University's Honours Bachelor Of Fine Arts Program. By then I was about thirty
Vincent Van Gogh Self portrait painting
years old.  I hadn't been able to attend there out of high school, due to the inaccessibility of that particular program. As the years passed, one thing lead to another and eventually, a new, pretty much accessible building was made.
Yay, finally! It only made sense for me to apply. My portfolio in hand, I applied and was accepted. Part time, I was able to complete a full year of credits in about three years. Even though I was already a professional artist, I did learn a lot about composition, printmaking, painting, drawing, art history, and design.

Now, remember I mentioned how most of us learn early on to sign and date our art work? In fact, I tell every child I receive art from, to do the same. Well, here I was in a first year painting class, later in life, established already with my own style and such. After completing an assignment one day in our 4 hour studio class, I did what I always did, I signed my name neatly, in the bottom right hand corner of my abstract painting assignment. As my professor walked toward me to check out my masterpiece, my heart racing anticipation of her praise, my jaw dropped when she asked me, out loud, in front of my entire
Digital Drawing Self Portrait, by Anita Berglund
- Nope, Not Van Gogh, clearly!
class...
"Is your name part of the composition?" Embarrassed, and shocked, and yet understanding her point,
 "No!?" 
dribbled down my chin. She then proceeded to inform me (yes publicly)...
"You are not VanGogh. "
With a hand to my forehead, I exclaimed,
"I am not?" 
Just kidding, I was too humiliated and confused to be such a smart aleck. I bit my tongue. I wanted to ask her how on earth were we to sign our paintings?  She never taught us anything about that, and I never asked even after that day because I assumed it was what all artists, of all ages do!
Hmmm....I admit, I had been proudly and boldly writing my name on my pieces, my whole life. It was what I saw when I looked at other artist's work, Dad's included and rightly so. Perhaps over the years I was getting a tad bolder, wanting my name to pop out. After all, how else would anyone know it was an Anita Harris original? (Since 2001, Anita Berglund original)

Lesson Learned
Needless to say, from that day forward, understanding fully, that I am not Vincent Van Gogh, I sign
My Dad, by Anita Berglund -
see, look to the right, discreet right?
every painting as discreetly as I can. It doesn't pop out, you have to look for it. A part of me wishes I wouldn't have changed this but, she was correct. I got it, my signature did add to the entire look and threw off the composition. In fact, a recognizable element, such as a name or word, has more visual weight to it and through off the balance compositionally speaking. Silly me, thought that all viewers expect a  signature and automatically know that it is not to be considered part of the overall composition.
But, when you pay hundreds of dollars for a university class, it makes sense to glean all the useful, life changing information you can, otherwise what would be the point? I still don't understand some of the students I meet who pay thousands to a post secondary institution, yet, they seem to care less about actually learning and retaining, what they paid for - BY CHOICE, to learn! Hmmm....oops, bunny trail...

Discreet, can you find my name?
My professor would be proud, I hope!
On that note, I still sign my work, but I make sure it is blended in better, or at least not popping out in neon lights.  My husband Craig, signs his on the side edge of the stretched canvas, I always want him to at least sign the front, but he won't.

Now, on the subject of "signing" your creations, be they two or three dimensional. I want to share what I have discovered about how to personalize work done in polymer or other clays for that matter.

Three Dimensional Signatures
Since 2008, when I added jewelry making to my portfolio, signing my work is not possible. Other than packaging your pieces with your logo and signature on the card, it is pretty difficult to sign or mark your pieces. I don't want to be scratching or engraving small earrings or necklaces.

Since 2014, when I began my polymer clay journey,  I discovered that it is possible to imprint your pieces with a signature or logo of sorts. I learned this from watching one of my favourite polymer clay You Tube artists, Cindy Lietz, click this video click here to see where I got the idea, or click this link to see her article about the company that makes and sells these nifty stamps.

Frugality Births Invention
Of course with me, I always like to try to be frugal and try to figure out how I can make something
myself, if possible. So her video inspired me and voila, here is my first attempt at a couple of three dimensional stamps made from polymer clay, to stamp into my clay.

Above is my short video to show you, if you are interested in what I did. I didn't actually film the "making it" process, but if you are interested, I am more than happy to make a video or tutorial with more details. Let me know below.
Hope you learn something useful.

What Do You Think?
Have you had any issues or experiences regarding signing your art work? I would love to read about them in the comments below. If you have any questions, special requests, or thoughts and feedback, also, I would love to hear from you. Just write it all down below and if you are interested, you can subscribe to this blog by clicking the button to the right.

If you are interested in checking out my other creative projects and connecting in other ways and such....
Subscribe to our Anita and Craig Berglund YouTube Channel (where all of these videos and others are uploaded)
Follow A Bergie Creation on Twitter  the how-to's if you are interested.
Follow A Bergie Creation On Pinterest
Check Out A Bergie Creation Handmade Jewelry Shop on Etsy
Join A Bergie Creation Facebook page....
TUMBLR 
DEVIANTART
My other Blogs you can Subscribe to
A Bergie Creation  Blog
Walking Way Overrated ( Find out why here)
Sure Hope GAZETTE


Tuesday, October 20, 2015

Polymer Clay Journey: Making Texture Rollers...

Making texture sheets, using your own designs, is a lot of fun and a great creative expression that can be re-used as many times as you

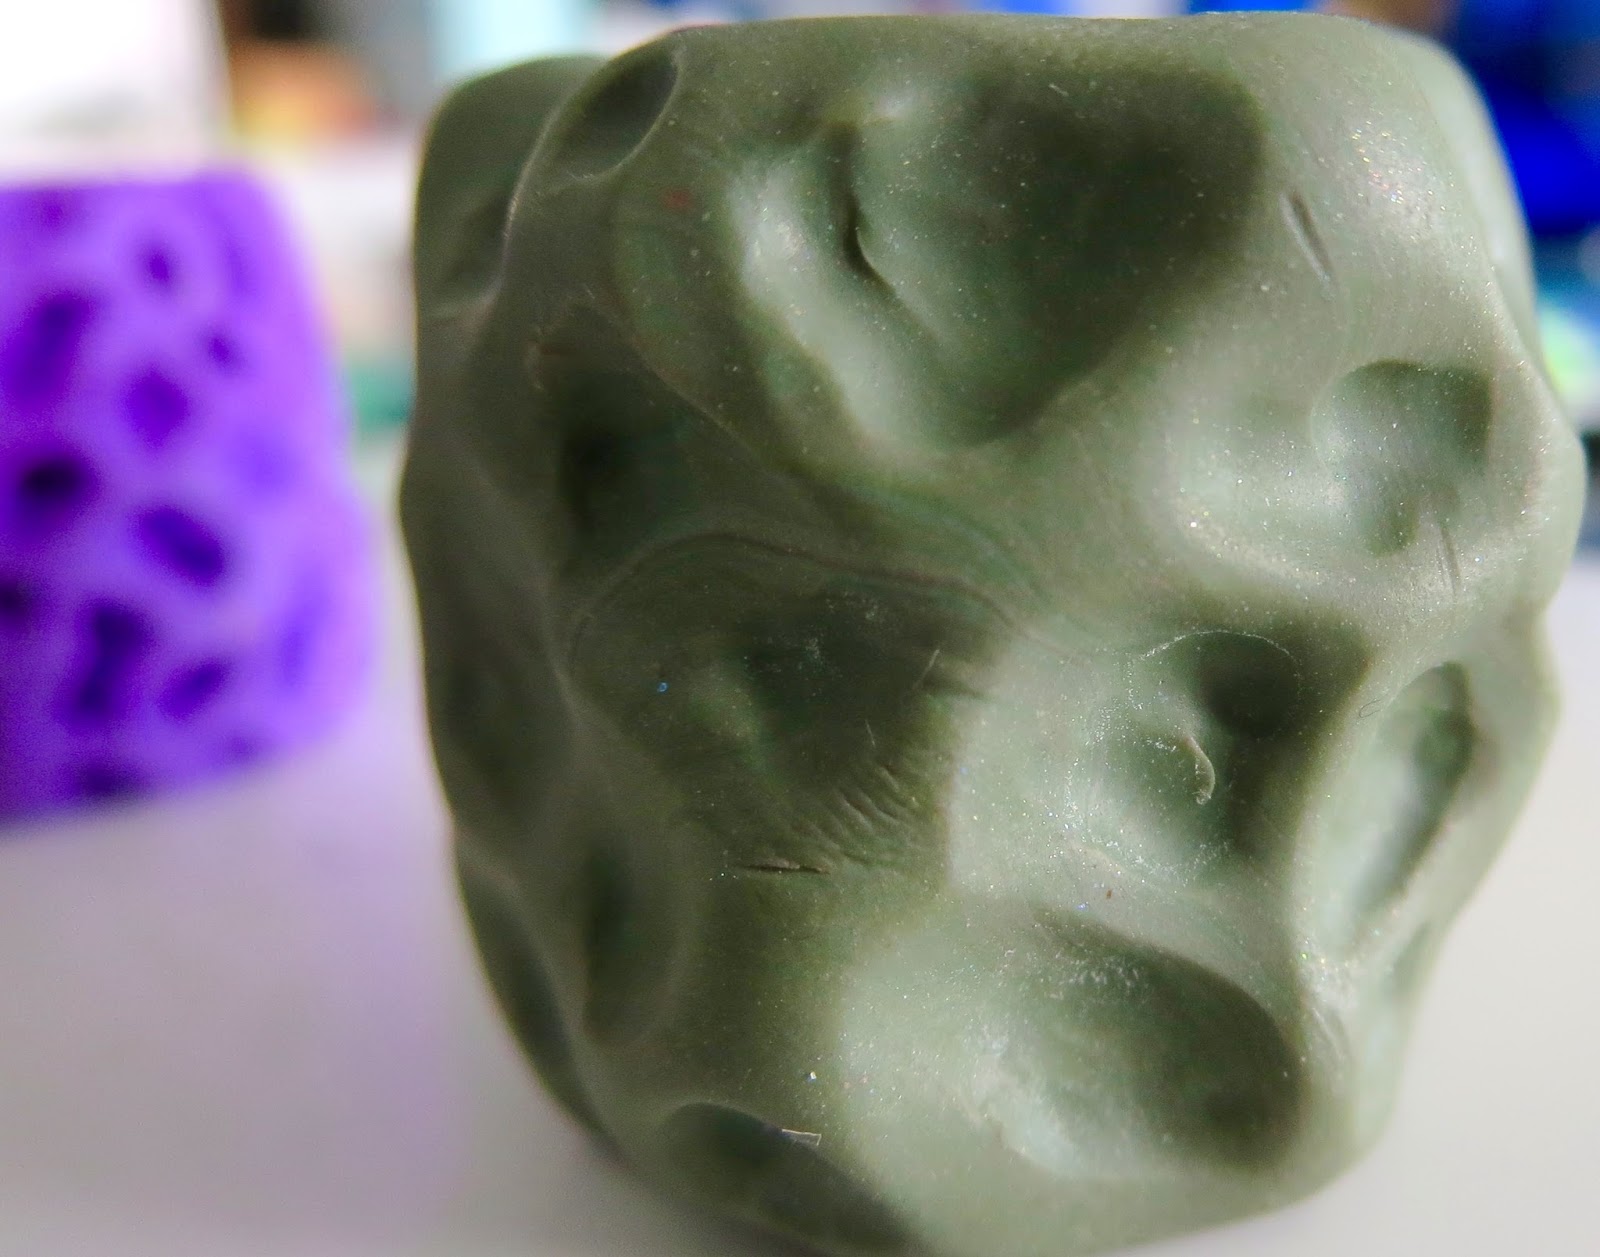
want. Unless your sheet breaks of course. After seeing texture rollers  in a Polymer Clay Tutor product demo and the sculpted tool you can buy, I thought why not? So I tried making some texture rollers out of polymer clay and here are the results. 
Just watch the corresponding video below on our YouTube channel. 

Materials Needed and Baking Clay Advice
 If you have hands, that is your number one needed tool.

∆ You don't need fancy tools, just a craft or X-Acto knife

∆ Polymer Clay

∆ You can use anything to help make your impressions into the
I like to cover my tools and tin can holders in clay!
clay, popsicle sticks, toothpicks, utensils, needle tools, ball tools, cake decorating tools. Just do not re-use anything you use for polymer clay on food after. Keep them as special tools.


∆ If you want to purchase inexpensive polymer clay tools, I bought a lot for free shipping on Ebay from Asia. Just search for wax carving tools, clay tools, cake decorating tools, wire tools and nail art tools. From those searches, you will find a lot of cheap, helpful useful instruments.


∆ A Dedicated pan to bake on, I use a ceramic tile on cake pans I no longer use and then cover the items with an aluminium pan to protect the clay from discolouring.

∆ A Smooth craft sheeted surface. I use a large ceramic tile or piece of glass to work on.

∆ Bake your clay as per the package directions and then some. I
Add caption
follow all the advice I have heard which is bake always, at least for one hour to make it stronger. You can't burn your clay at the temperature on the package. Only if your oven isn't working right. Then it helps a lot to use an oven thermometer to make sure you oven is heating to the correct temperature.


A Closer Look
As well, here are some photos. No, I didn't film any of the actual making parts, but I think it is pretty self explanatory. I suggest looking up the video mentioned in the texture sheet article by Katie Oskin. Just think instead of a flat sheet of clay, you need to lay or imprint your designs or textures on a polymer clay cylinder. It is a great way to use up scrap clay. All clay is useable and has no reason to be wasted!


Love To Hear From You
If you have any thoughts, questions, ideas or suggestions, please write them below. I would love to hear from you or if there is something you would like to see or learn about. If I can help, I will do my best.

HeArtfully Creating,
Anita


Subscribe! Like and Share!! (if you want of course :o)

LIKE HeArtfully Creating Here on FACEBOOK: https://www.facebook.com/HeArtfullyCreating/

HeArtfully Creating Blog: 

A Bergie Creation Shop Blog: http://abergiecreation.blogspot.ca

A BERGIE CREATION - my handmade jewelry shop

Facebook:

Twitter:

YOU Tube Channel

Pinterest:

HeArtfully Creating: 

Monday, October 19, 2015

I Joined the 2015 Polymer Clay Challenge, October 19 2015

I know it is the middle of October, but I am still discovering great polymer clay learning opportunities. One of this is this, the 2015, Polymer Clay Challenge. Check out how to join here on Katie Oskin's great website.

I will be listing what my weekly goals are by the end of the day. Just wanted to officially join. If you are interested, join too!


Friday, October 9, 2015

Polymer Clay Journey: Making your own Texture Sheets/Plates

As with any artistic discipline, I like to learn all I can and develop what I can in an attempt to be as original and as unique as possible. As a visual artist I must say, when it comes to the huge variety of polymer clay tools, such as texture sheets, texture rollers, and image transfer methods, cookie cutters, moulds for all shapes....etc.

As tempted as I was to purchase some to help make beautiful pieces. I just couldn't do it. Why? Because as a visual artist, I really struggle with feeling bad or guilty, not working with my own images and shapes. And even if you aren't a professional artist, you can still make your own designs. All you need is the desire to do so. It is far more rewarding, for me anyway, to know that a piece of jewelry or whatever it may be, was all my own work. Maybe I have guilt issues, using existing tools like texture sheets, but it is where I am at at this moment in time.
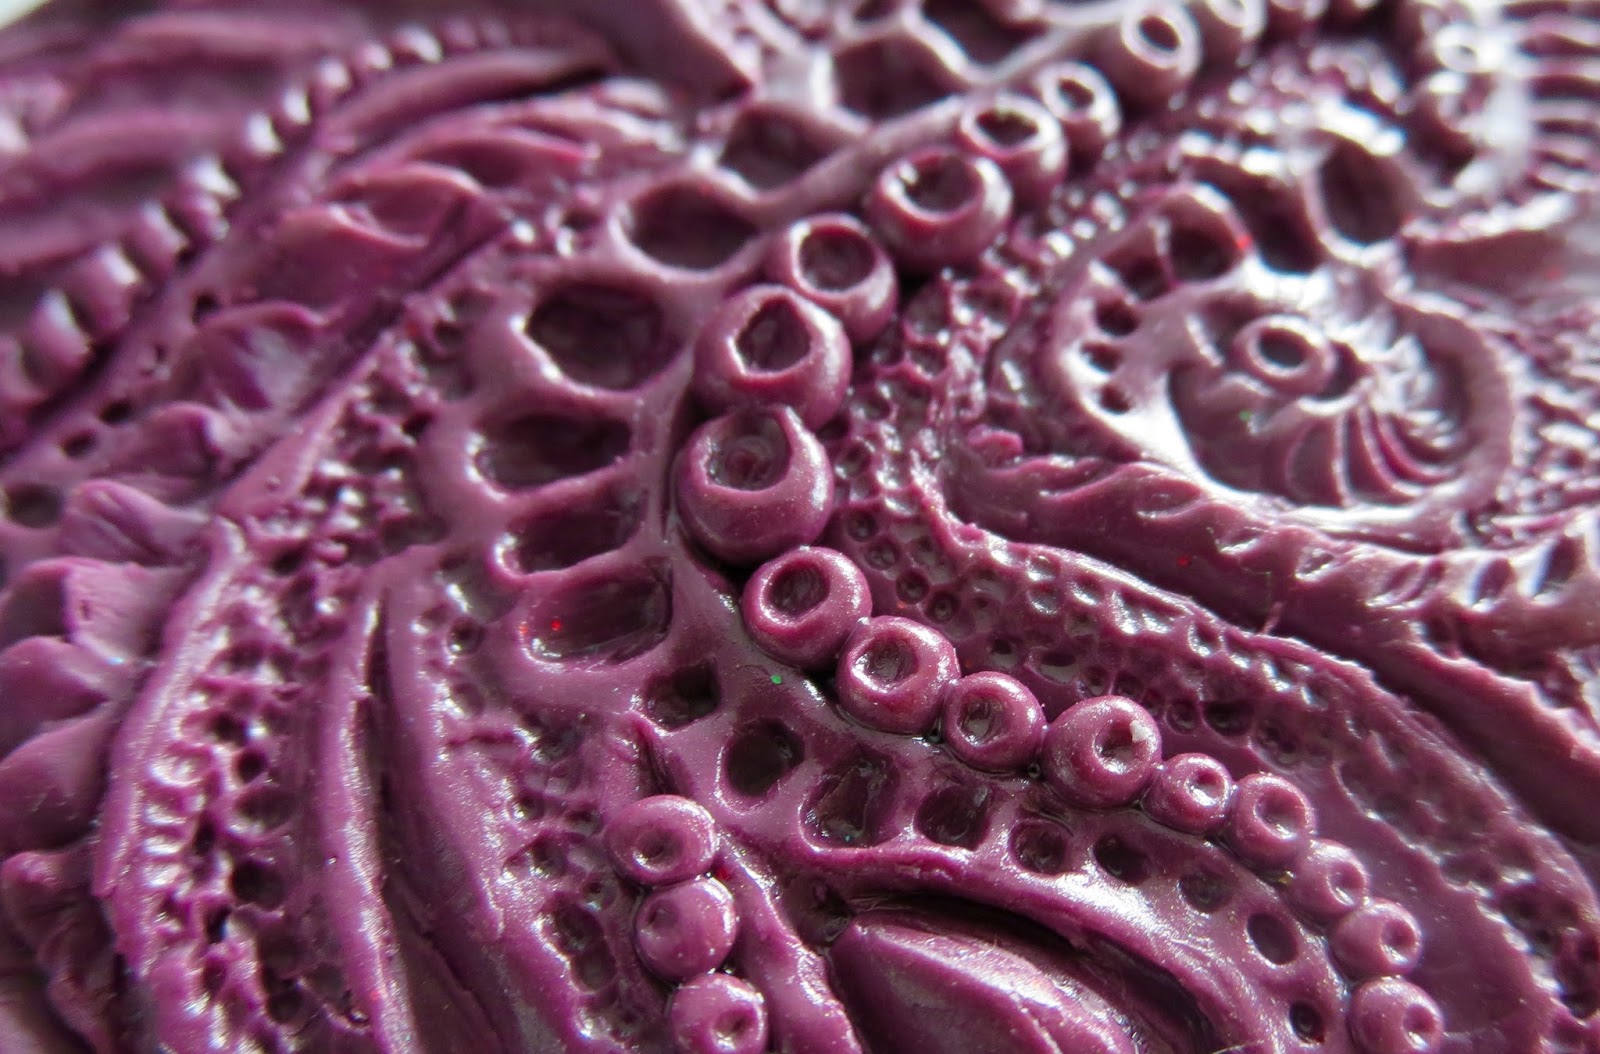
Here is my first texture plate and the impression I made on the right in a pendant.

Here is my first texture plate and the impression
I made on the back of the pendant 
That being said, at the beginning of my poly clay journey, I didn't know that it was possible to be completely original by making your own textures plates or sheets, as well as moulds. That was until I started searching and discovered folks like Katie from Katers Acres, and some other poly clay artists, who offer tutorials online on how to make a texture plate or sheet out of polymer clay. Yes, there are countless texture making materials out there. But, it is so much more rewarding, if you so choose, to design your own textures and designs and then be able to use those textural designs in your clay creations.


Here is the result of raw then baked clay, after pressing
the texture sheet (on left) into raw clay.


This video is a highlight just to share some of the texture sheets and rollers that I have made from beginning to end. Think of it as doodling on a sheet of clay. In my case, some of the texture plates were carved or pushed into, and some were in the technique of "addition." meaning, you roll out clay lines, dots, shapes and such and add them to a flattened piece of clay. Then bake it and voila, you have your very own texture/design making plate.
After watching a review on Cindy Leitz's Polymer Clay Tutor channel on YouTube, I learned about texture/design rollers you could purchase. Here is that video...

She is another artist I have and keep learning from. I suggest checking her videos out. However, the designs, would not be my own, so I experimented successfully with making my own texture rollers. They work wonderfully! Not saying all these tools
 that you can purchase are not good, they are great for anyone who doesn't want to or can't make their own designs.

Suggestions When Using A Polymer Clay Texture Sheet.
Silicone never sticks to anything. That is fine if I was using silicone, but so far, I am not. It means that since my texture impression stamps are made of baked polymer clay, that means there is a fish that the textures can stick to the clay you are trying to imprint on.
What to do? I actually discovered that Baby Oil is one of my favourite tools. I rub baby oil all over the surface of my baked clay texture roller or sheet in a thin layer, especially putting it into the deeper crevices. The professionals may shake there head at me, but I just know that because the clay is so porous, it works well at releasing the raw clay.
Or you can use a spray bottle of water. Just lightly spray the clay with water or the plate/roller and then water releases your texture maker. Water and clay do not mix, so make sure it is dry after. Blot it gently with a lint free cloth or bounty paper towel.

This video doesn't show the making" it process, just the final results. But I will share some links below so you can see how Katie from Kater's Acres first showed me in her video.

Hope this helps a little.

Questions, thoughts or Comments, please feel free to write them down below.
Subscribe! Like and Share!! (if you want of course :o)

LIKE HeArtfully Creating Here on FACEBOOK: https://www.facebook.com/HeArtfullyCreating/

HeArtfully Creating Blog: 

A Bergie Creation Shop Blog: http://abergiecreation.blogspot.ca

A BERGIE CREATION - my handmade jewelry shop

Facebook:

Twitter:

YOU Tube Channel

Pinterest:

HeArtfully Creating: 

Tuesday, October 6, 2015

Polymer Clay Journey: Making Your Own Colours

Well, I told you about my experimentation with mixing polymer clay brands. Now, I want to share a short video about experimenting with colour mixing. I don't mean mixing one colour of polymer clay with another to achieve yet, another colour. Nope, I mean trying to turn say white and/or translucent into an actual bright colour. I had already dabbled in mixing translucent with alcohol inks and mica powder, that has been done by others and worked fairly well if you want pastel hues. Maybe I did something wrong. It baked well and has lasted.
Watch The short video below


This experiment arose when I was wanting to order a slew of colours from a polymer clay store in the USA, but since our dollar is not doing so great, I thought about how I could try to save a bit by mixing my own colours using white. For some reason, I chose to mix translucent promo clay with Premo white. I wish I could have recorded the entire process, but I assume boredom might set in for the viewer. So this video is a brief description of the materials I used to colour the clay. I did post the raw verses baked variations of the clay, because baking it, is the true test. It seemed to work. I used the following to create colours, sometimes I combined more than one medium. If you try this, and I suggest you do, make sure you try adding colour little by little. Keep an eye on how squishy and gooey it may get. It all depends on what you are hoping to achieve.

All I know, is yay, it worked. Regarding acrylic paints, experiment because they are water based and I found that turquoise craft  paint was thick and worked well, no, I didn't let it dry, it was mixed in wet, as was everything else. And other acrylic paint, lime, was too water and did not work.


When using dry and oil pastels, careful shave the colour into a powder like substance. Avoid making chunks or it won't mix in. Unless, you want that chunky texture.


Oil Paint works really well. But, be careful because as you can see in the video, it can loosen the polymer clay a lot and make it too ooze to be used. So be cautious. If it gets to wet, you can try absorbing some of the extra oil by laying it between printer paper. That is what I have learned from many great You Tube tutorials. Not regarding oil paint in clay, but just if your clay from the package is too soft to hold the shape you want.

Pigment Ink, I used silver so it took lots and lots, and in the end it turned the clay pale grey. I had to blot silver from the pad directly onto the clay to get anything that looked like silver. But, know that you can use pigment ink on your polymer clay when it is raw and bake it.

Inka Gold is one of my favourite wax or water based pastes. It comes in really nice bold metallic hues. It has a tendency to dry out, but I learned that you can add warm water with a folded up baby wipe or I used a paper towel. Close the lid and let it re-hydrate. It can be mixed into the clay, and also used on the surface. Most add it once baked, but I tried it raw and nothing bad happened. So experiment. I did mix it using a bit of craft paint it worked okay and stayed true to colour when baked.


Alcohol ink, is something that isn't in this video, but like I said, I used it before and it works well to colour clay. It can be messy, but as you know, I like messy. It is wonderful to feel the clay and mix it in by hand.

Mica Pigment Powder also known as eye shadow basically, can also be used to either accent a piece of raw clay as well as be mixed into raw clay to colour it. Metallic or Pearl clays by PREMO and other brands are created when translucent clay is mixed with a lot of mica powder to give it that shimmery effect. Maybe they add other pigment, not sure.


A combination, alcohol inks, mica and glitter.


Hope you there is something useful for you here. I would love to see your experiments in colourizing clay and any other creations. Also if you have thought, comments or questions, please write them below and don't forget to like, subscribe and share this if you like :o)

Thanks for stopping by!

HeArtfully Creating,
Anita

Subscribe! Like and Share!! (if you want of course :o)

LIKE HeArtfully Creating Here on FACEBOOK: https://www.facebook.com/HeArtfullyCreating/

HeArtfully Creating Blog: 

A Bergie Creation Shop Blog: http://abergiecreation.blogspot.ca

A BERGIE CREATION - my handmade jewelry shop

Facebook:

Twitter:

YOU Tube Channel

Pinterest:

HeArtfully Creating: 

Sunday, October 4, 2015

Polymer Clay Journey: Lesson Learned about Mixing Clay Brands

Still loving working with polymer clay. In the beginning, I was following what the poly clay artists taught in their videos and tutorials. Lots to learn and now put into practice. 
One of the lessons I faithfully followed initially was...

#1 Polyform's PREMO and Souffle (all made by polyform) clay is the strongest and best for artistic purposes, like jewelry making.
Assuming that was true, I didn't try anything else. After all, what did I know as a newbie. Since my hands are weak though, I did notice that some of the colours (turns out some may have been on the shelf too long and firmed up) were pretty tough to condition, squeezing and manipulating the clay until it is pliable and all the polymer and such is well mixed, ready to use. Not wanting to depend on the pasta machine or clay conditioning machine, I want to use my hands as much as possible.

Curious, eventually, I purchased some Sculpey 3 and Fimo Effect and Fimo Soft. After all, Sculptey 3 is used by our  dear young friend Luke, who first introduced me to polymer clay. He is a faithful Sculpey 3 user and has made hundreds of adorable characters that are pretty durable. Check his pieces out below.

Well, I learned that SCULPEY 3 is so soft, it requires no effort, a dream, but, it is too weak for thinner pieces. Not to mention, I love that Sculpey 3 and all of the FIMO lines offer a lot more colours that I love. But strength is important in my pieces. First meet Luke and see the sampling of his hundreds of characters, all made by him. He has been making these guys for about five years or more now!
LUKE'S polymer clay creations. The fellow I first learned about  Poly Clay from.

LUKE'S polymer clay creations. The fellow I first learned about  Poly Clay from.

LUKE'S polymer clay creations. The fellow I first learned about  Poly Clay from.

LUKE'S polymer clay creations. The fellow I first learned about  Poly Clay from.
Combining Clays Works for Me
Wanting to work with a soft clay and more colour options, I began mixing my main clay brands, PREMO with Sculpey 3 and Fimo. Does it work? Well, here I am to share my experiment, so, yes! Of course clay strength depends on what your purpose or use is. In Luke's case, Sculpey 3 is soft, easy to use and because his pieces aren't thin and delicate, they stay strong. Because most of my pieces are to be worn as jewelry, I make sure if I am to combine clay brands, I make sure Premo or Souffle is at least fifty percent of the content.  And then based on advice I obtained from my research, bake the clay at the highest temperature. For example Premo is baked at 275 degrees fahrenheit and FIMO 265 degrees, if I combine the two, I bake or cure it at the 275 temperature. Nothing burns and so far all cures well. It is up to you, but I like to just turn off the oven and let it cool down on it's own.

I must say,  FIMO seems to be pretty solid as well when baked. It is all an ongoing trial and error, learning experience. I like learning by watching tutorials and by testing it out myself.

Lesson Learned
Mixing brands of clays can work. My biggest lesson lately has been, take the advice from the expert poly clay artists, but as you develop your skill, try new things. You aren't limited by anyone. If you are curious what would happen if you mix this or do that, then try it. If you are really young, make sure you always have an adult to supervise the oven use, as well as making sure you do not work with sharp blades. There are alternative ways to cut your clay if you have wee fingers.

POLYMER CLAY JOURNEY - Biggest Lesson Learned

Most Important Baking/Curing Tip
Thank you to Cindy Leitz from the Polymer Clay tutor Yout Tube Channel. Always bake your clay longer than the package directions. Not hotter, that would burn it and spread noxious fumes into your home. But, if the package say, bake for 30 minutes per each 1/4 inch of clay thickness, bake it an hour. Christi Friesen, another great tutor, artist, also recommended using an oven thermometer. After what I learned, make sure you listen to what these folks say. After all, they have done that work, just to teach us!

Use an oven thermometer to make sure your oven actually is reaching say, 275 fahrenheit. At first I assumed it was reaching that temperature, so, I baked a lot of clay pieces. But, I struggled with breakage even after an hour or more. Lo an behold, decided to listen to their advice, and it turned out  our little toaster oven was only reaching about 230 degrees, not 275f!  BIG LESSON LEARNED!


A polymer clay stamp I made out of polymer clay!
Subscribe! Like and Share!! (if you want of course :o)

LIKE HeArtfully Creating Here on FACEBOOK: https://www.facebook.com/HeArtfullyCreating/

HeArtfully Creating Blog: 

A Bergie Creation Shop Blog: http://abergiecreation.blogspot.ca

A BERGIE CREATION - my handmade jewelry shop

Facebook:

Twitter:

YOU Tube Channel

Pinterest:

HeArtfully Creating: 

Thursday, September 17, 2015

THE STORY OF MY SHOP "A Bergie Creation"

A closer look at my Etsy Shop Story....
I have been creating ever since I could hold a pencil. As a self taught artist, my main discipline has been Visual. Everything from illustrating, to painting, to graphic design. It didn't hurt that early on inspiration seeds were planted, as I got to see my Dad's colour pastel and oil landscape paintings. Not to mention, my parents always provided me with craft kits and art materials. I remember playing
around with "Dip It" plastic film, wood burning, rug hooking, spirograph, paints, Laurentian Coloured pencils, plaster of paris moulds and figures to paint, spool knitting....oh, the memories.

Out of High School, I was hoping to take our university's Honours Bachelor of Fine Arts program. Sadly, it wasn't fully wheelchair accessible so I was unable to attend. After some employment stints, (not art related), while always drawing and such, I finally decided to enrol at our local College. (about 1989-1991) in Arts Administration. Even though it was a great learning experience, especially since, I got to complete a 4 month internship in fundraising at the Royal W inning Ballet and in the education department at the Thunder Bay Art Gallery, I concluded that the management side of the arts just wasn't for me. Creating is in my blood.

It helped that, after obtaining a one year employment contract as the education assistant, while at the Gallery, I was given the opportunity to do just that, create. Better yet, I learned how much I love teaching and inspiring children to make art. Aside from assisting with art lessons,  I also got to teach some cartooning lessons to children. They also let me Illustrate their fundraising cookbook!


Whether in school or working, my entire life has always been spent creating wherever I could, illustrating, painting, sketching - designing whatever and even the few arts and craft projects. I give credit to my dear Grandma Harris, who would have me sleep over at her home when I was a kid and she always had a craft kit for me to put together, if no kit, there were styrofoam egg cartons and other materials to cut up and make something from.

Aside from my usual creating projects, learning the new age of computer desk top publishing became a new passion. Again, self taught, I was hired to work on a local small publication doing layout and design. That lead to the inception of a small coffee paper, called Superior Coffee Talk. A friend did all the leg work, seeking out advertisers and shops that she would then deliver to. It was great fun to work on designing and publishing a fun little paper for a quick read during a comforting cup of joe.

In the late 1980s, I forgot to mention that I was blessed with receiving my first solo exhibition in the
Pictograph Art Gallery in Atikokan, Ontario. The subject back then, reflected my heart at the time, fashion illustration. And...about twenty years later (about 1998), thanks to our university finally becoming fully wheelchair accessible, I enrolled part time in that HBFA program and honed my composition, design, painting, drawing and printmaking skills. Not to mention, receiving great inspiration by being able to learn a tonne in a couple of art history classes as well as, being selected to participate in a few "Lakehead University's juried art exhibitions."

In 2001, I was blessed yet again, with falling in love and marrying my now husband, Craig.

About nine years ago, I was blessed with an Ontario Art Council "New Works" Grant. The theme was "All Creation Sings." My inspiration was to paint God's creation in whatever manner inspired me. The paintings were in acrylic and the subject matter included fruit, flowers and vegetables. Inspired by Georgia O'Keefe, I too feel that you can't just look at something like a flower at a distance or as a whole. It is when you look very closely that you can seen amazing details that most people miss. That is basically how to best describe my paintings.

On my own, working on some meaningful polymer clay figures.

polymer clay in my shop

Acrylic paint on canvas by Anita Berglund

Acrylic paint on canvas by Anita Berglund

A marker rendering by Anita Berglund

A marker rendering by Anita Berglund


To some up my Etsy Shop Story.....
Creating has always been in my DNA, my blood, if you will. It is too difficult for me to focus on just writing a story about my shop, because there is so much more. The actual online shop was a practical decision for me. In that, due to being physically challenged, I am unable to travel and do things like sell my work at Markets or do the "leg" work seeking vendors. When I saw what Easy offered, it was a perfect opportunity to  sell my work.

Drawing, Illustrating, Painting, design work and such, have always been my number one focus. It wasn't until 2008, when a spontaneous, practical need, prompted my dive into designing and making jewelry! I love it, but like my always bouncing brain, my ideas lead to changes in materials and designs, so nothing is ever the same way. Well, the only consistent design, is my number one seller, "The MINI Collection" small hoop earrings.

Most recently, my newest creative tool has become polymer clay. Love the fell, the colour and the endless possibilities. For more details about me personally, please feel free to check out my blogs and YouTube Channel.

For me, making jewelry has been like painting with wire and beads and most recently, polymer clay!

A SIDE NOTE:  Please, if you have children, encourage them to create. Always have art making materials available. No, you don't have to spend lots of money, just paper and pens and pencils, crayons...pressing flowers, leaves in pages, cutting, glueing, pasting....I think you get the idea. And remember, don't tell them that sky's aren't purple or green, if they colour it that way (I say that because I really did hear a parent say that to their child once, it was so painful to hear and watch)...there are no rules when it comes to kids and art. It should never be a painful process, if they aren't enjoying themselves, then, don't force them.

Tuesday, August 25, 2015

"Painting" With Polymer Clay - Celebration Sculpture on a Desert Island

Watch the video above....
Hi. I just wanted to share my second ever "painting" with polymer clay celebration sculpture/figurine. A very loved family member just had a special land mark birthday so I wanted to make something special for her. Usually, I make cartoon like birthday cards in two dimensions. Since I have discovered polymer clay, I have been learning how to make "cards" in three dimensions. I love the feel of the clay and learning a whole new art form. (For me anyway)

This piece took about three weeks to make.It was a total work of love.
Join me in the journey. It took about five attempts to finally achieve what I wanted to.
Never give up. Consider each "failure" to be a lesson on the road to honing your skills.

Watch the video at the top of the page. By Anita Berglund Copyright 2015

Share your thoughts, photos of your creations or let me know what you would like to learn or see on Heartfully Creating. If you want to learn more, see the links below.